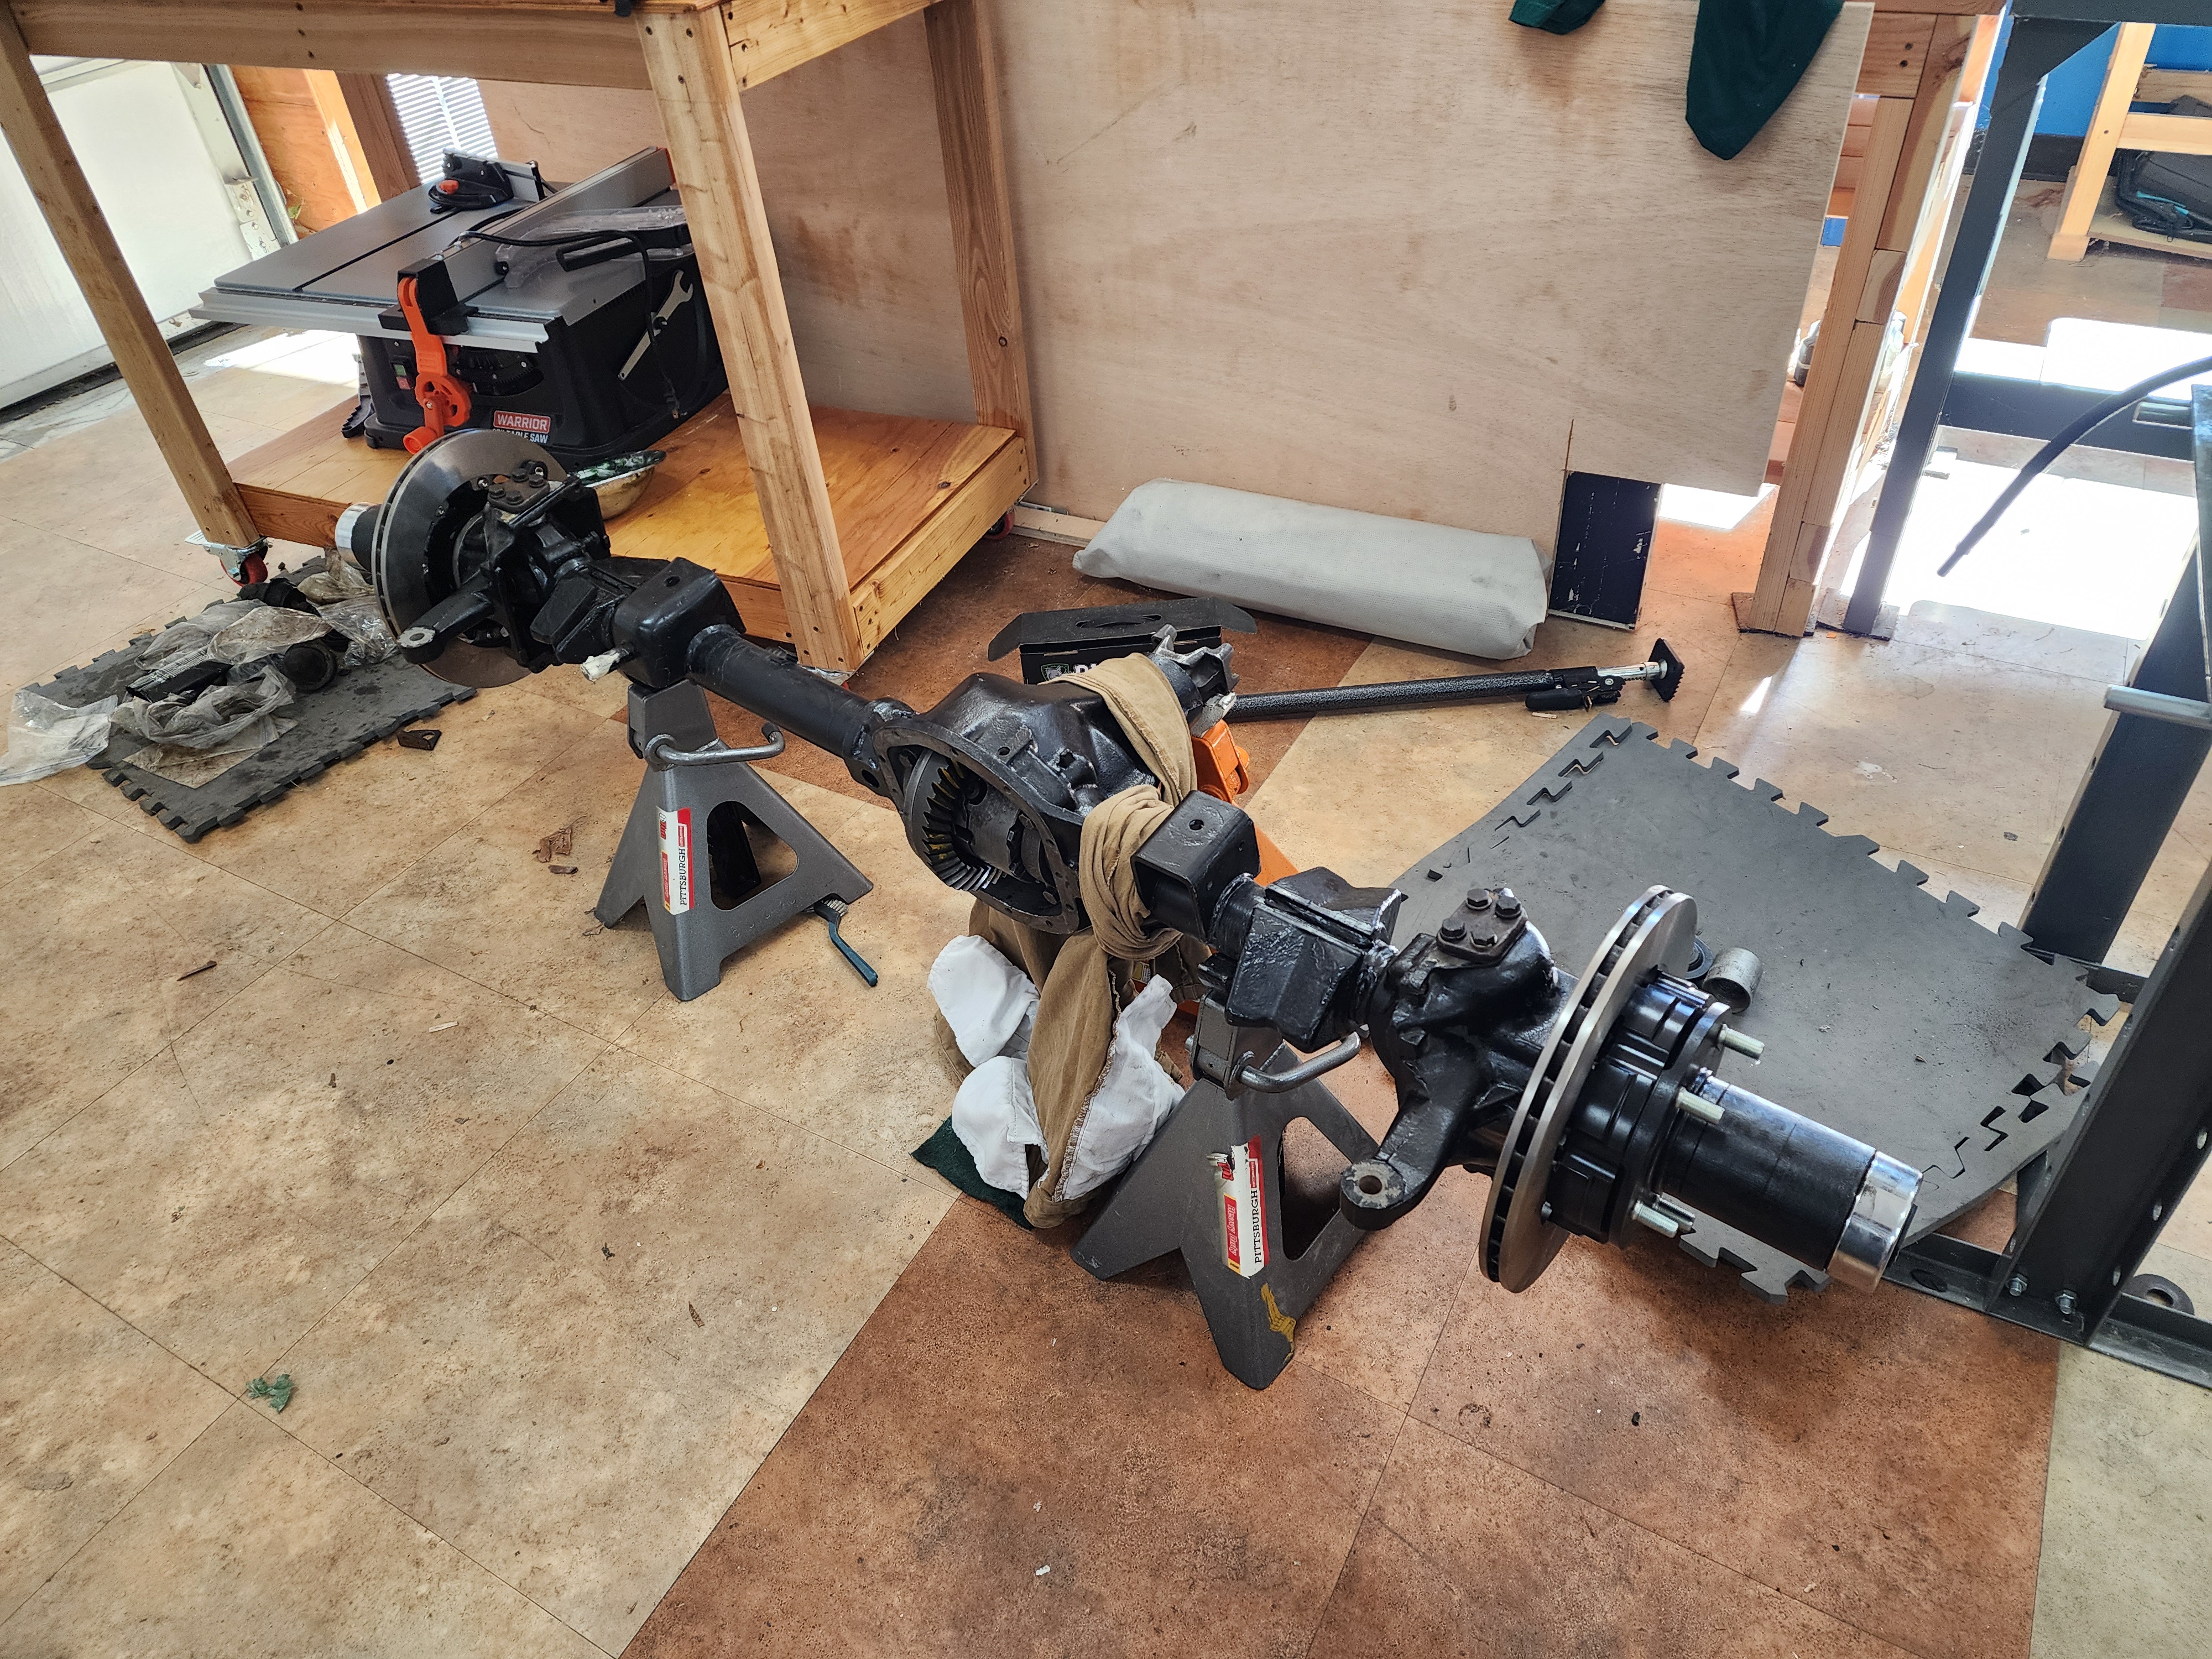
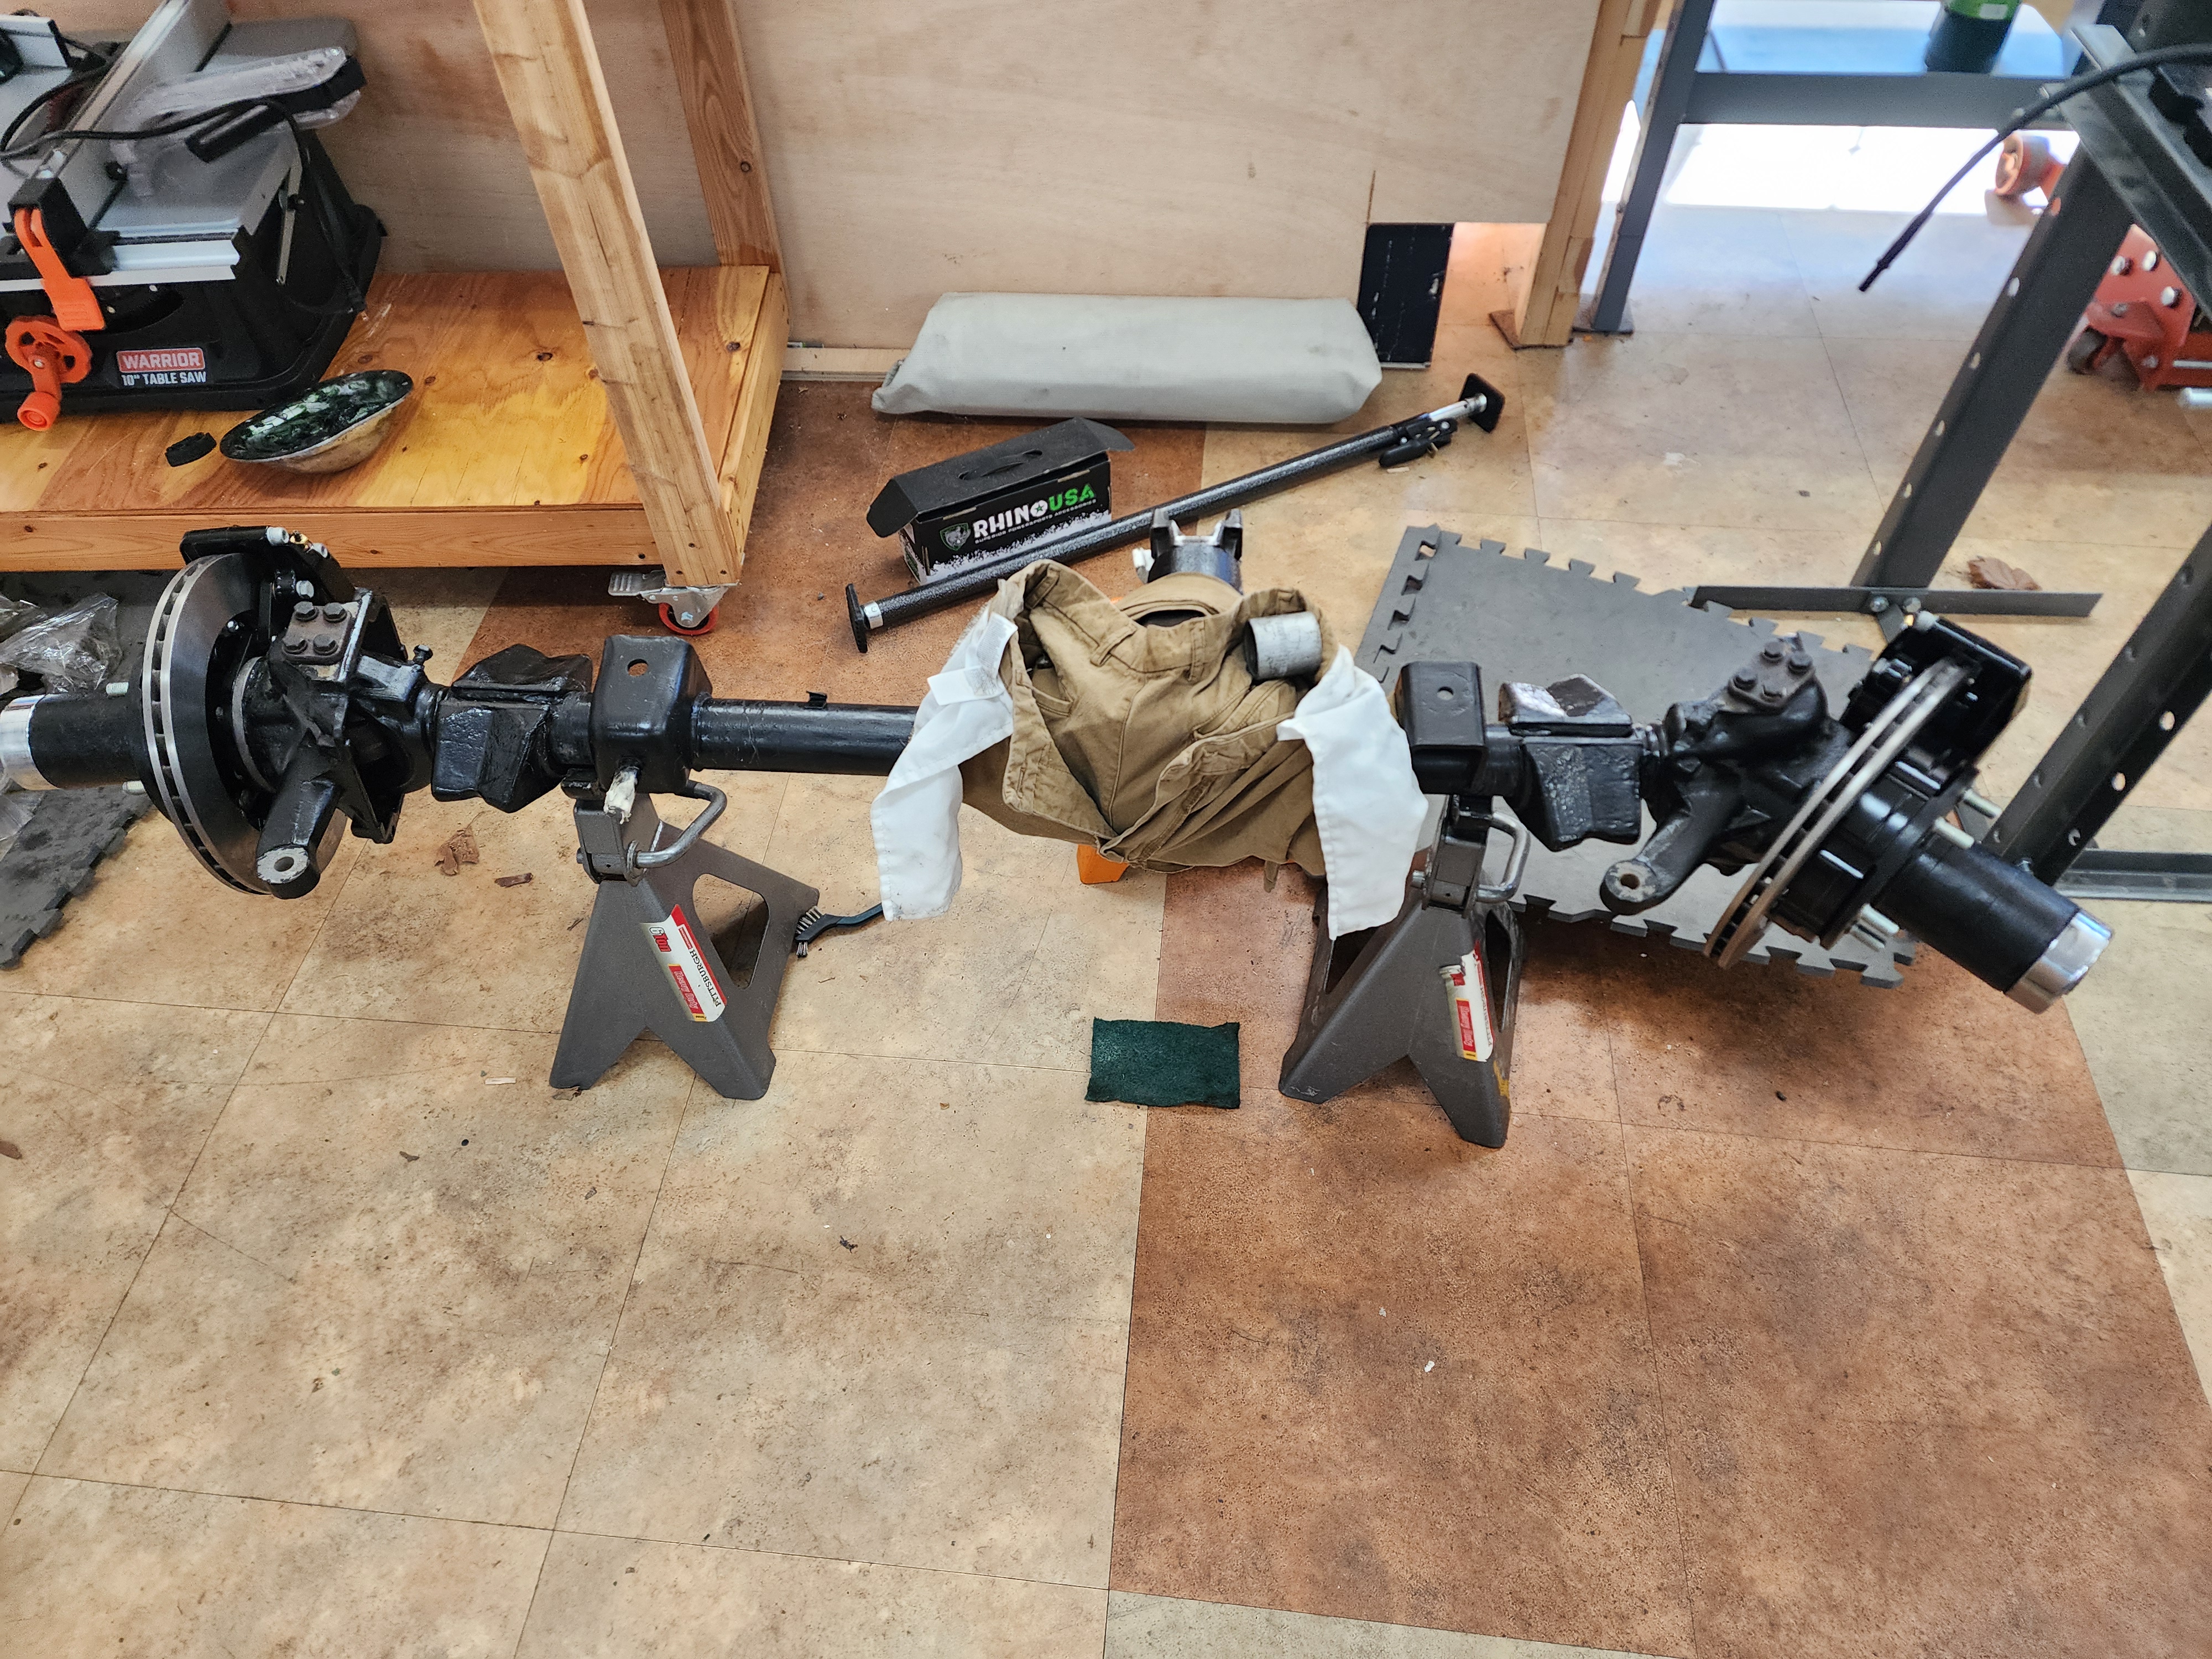
It's Spindle Week!
That’s right folks, I’ve been working on getting the axle shafts in and the spindles mounted in preparation to hang the fancy disc brakes. Considering not that long ago I was still futzing with the wrong shims, it feels like a bit of a miracle to be so far along so quickly. Naturally, even this section of the process hasn’t been without some (albeit small) surprises.
Steering Knuckles
Before you can attach the spindles, though, you need something to attach them to. Cue the steering knuckles. In most instances I’ve ever dealt with, adding the knuckles involves pressing a top and bottom ball joint onto the axle, and then mounting the knuckle to the ball joints with a big nut.
On the Dana 30? Totally not that.
This axle replaces the self-contained ball joints with a dust shield, a regular roller/cone type bearing, and a grease seal. Then you insert a specialized “kingpin” through the knuckle and into the bearing. Easy enough to press in, except - I ordered the rebuild kit that is supposed to cover the entire range of years from 66-71. It has a slightly different dust shield, and a little rubber Dot™ that acts as a damper so the steering isn’t as harsh.
Now remember I said that my axle is apparently a late ’66 and it would be important later? Here we are! In ’66, the axle ears aren’t built with enough room to fit that style of dust shield and damper. Which means your intrepid builder just lost a week because he had to re-order new seals (have to trash the current ones taking them out) and new dust shields of the proper type (because he trashed those getting them out before).
Okay, reset. Pop in the dust shields, the bearings with a healthy helping of grease, and the seals. Back in business! Now I can properly shim, test, and reshim the kingpins before finally torquing them on for good.
Spindles…I mean axle shafts
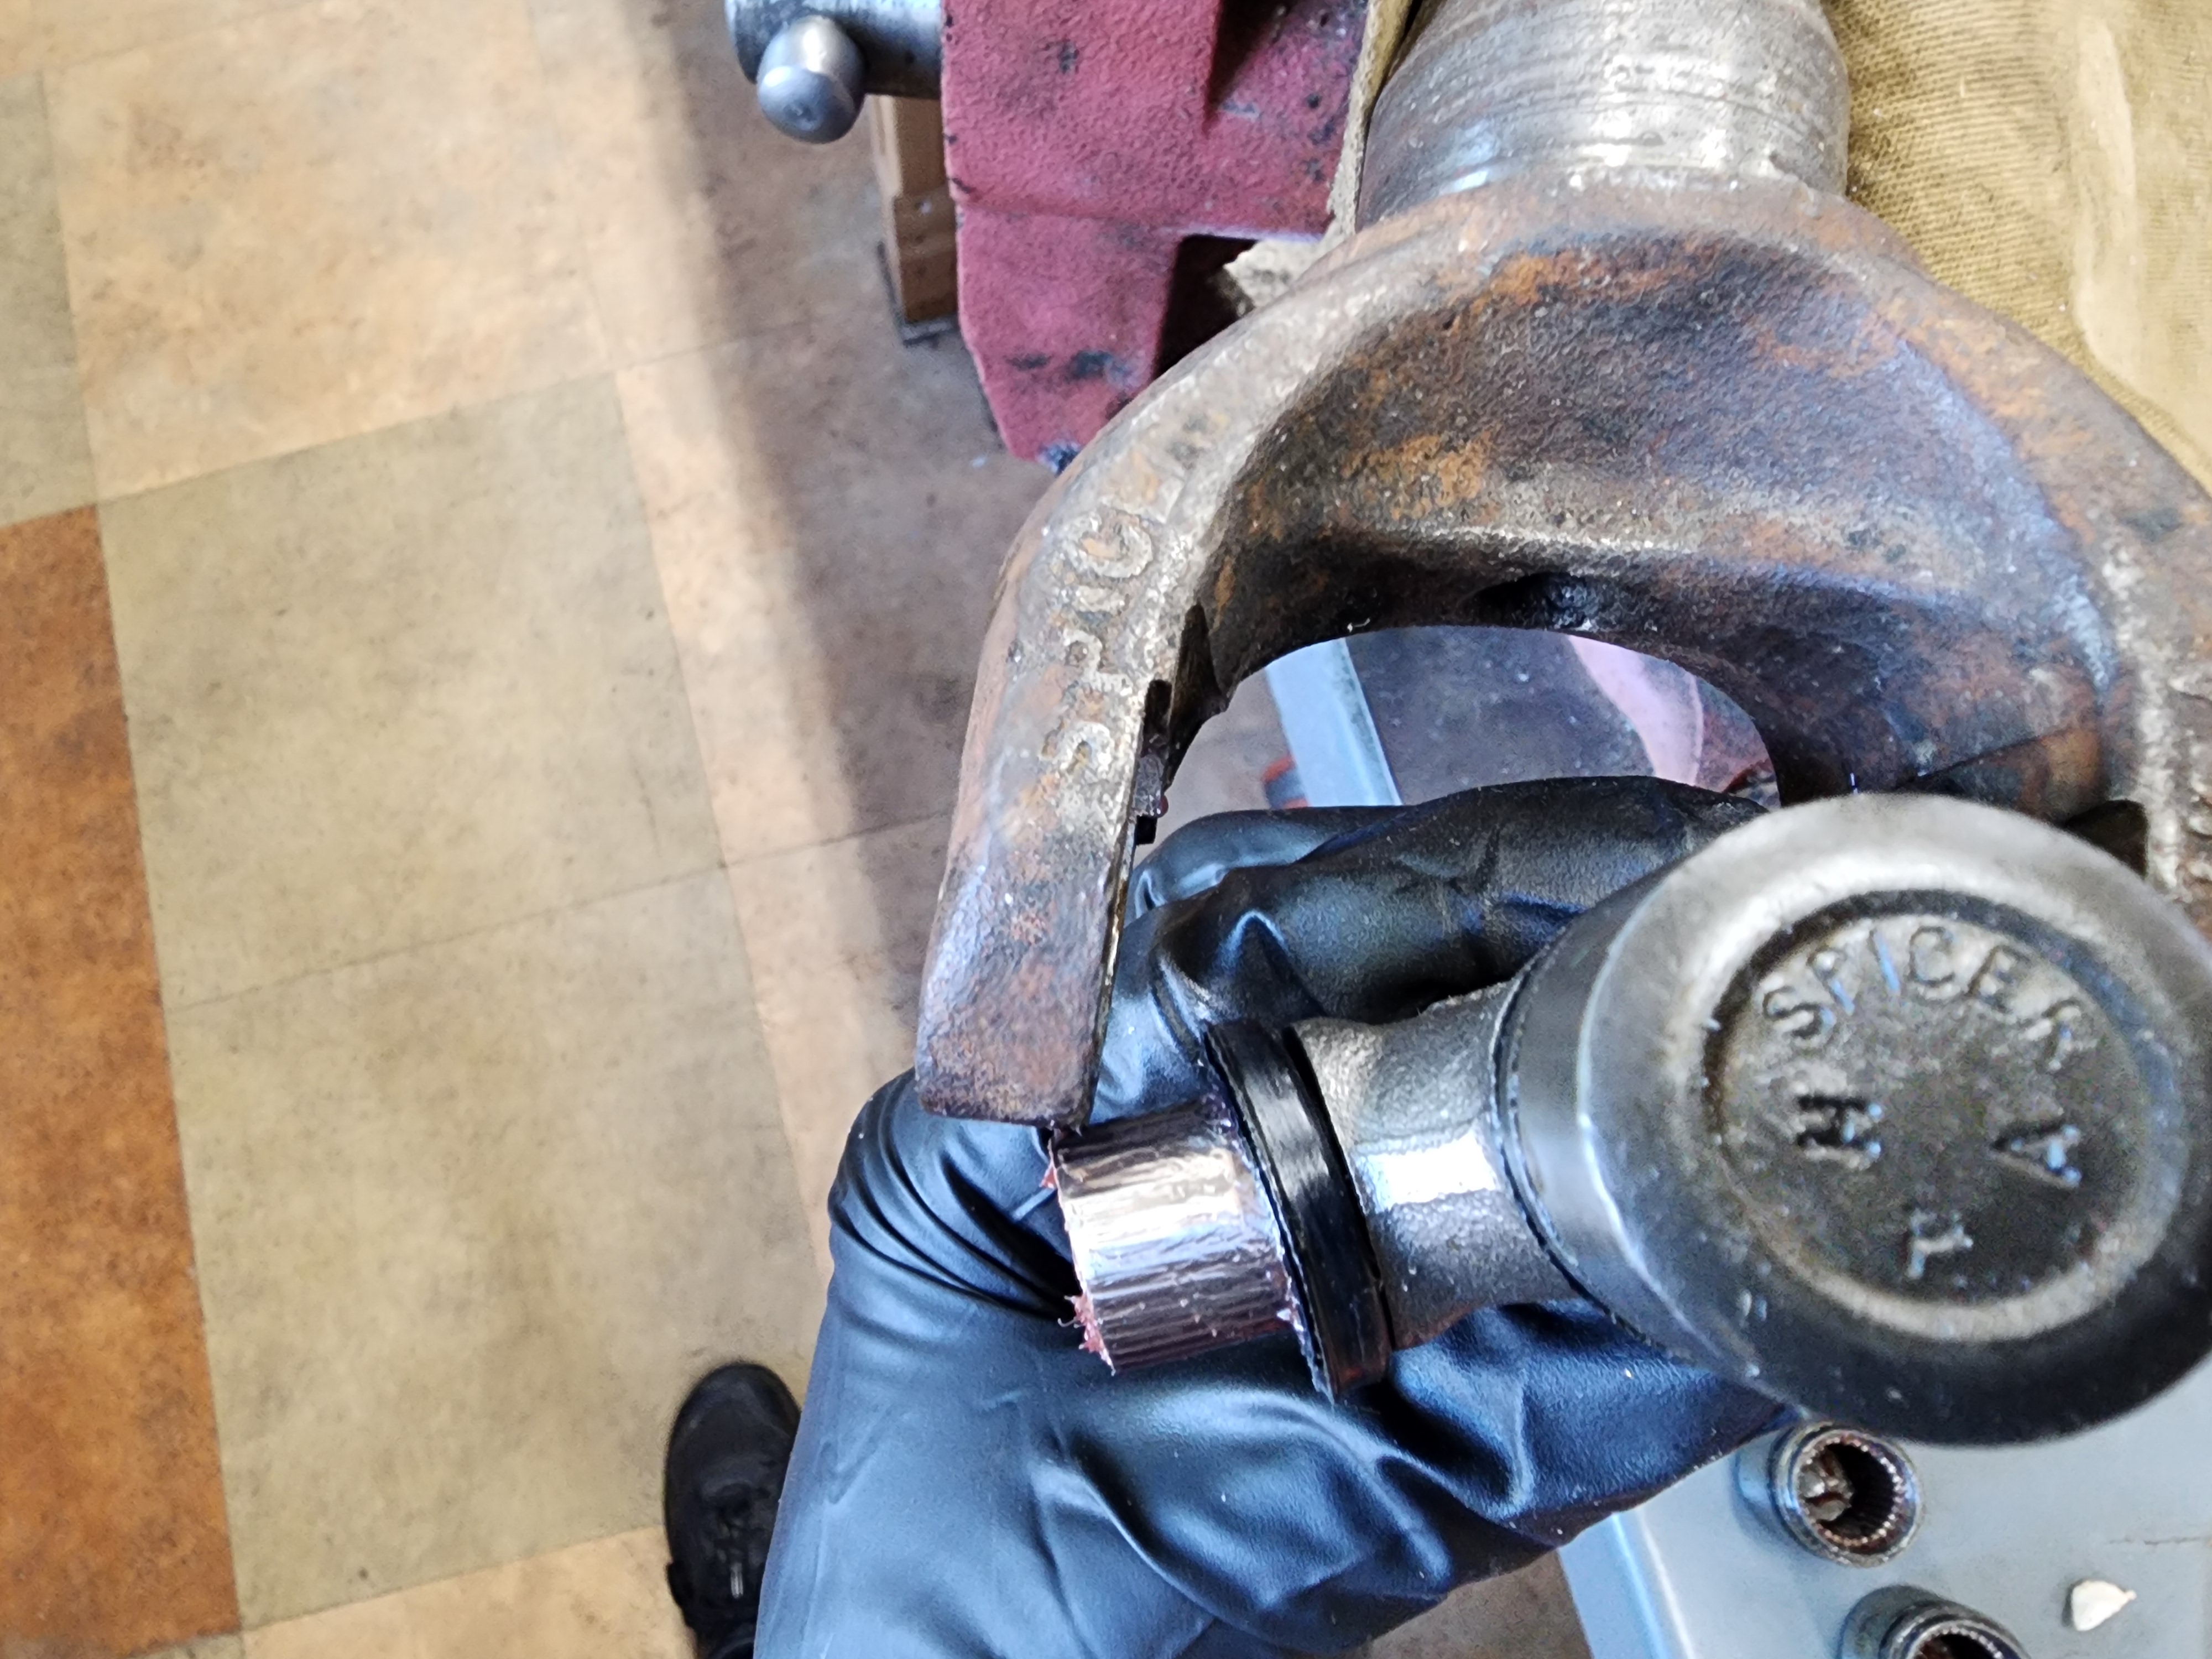
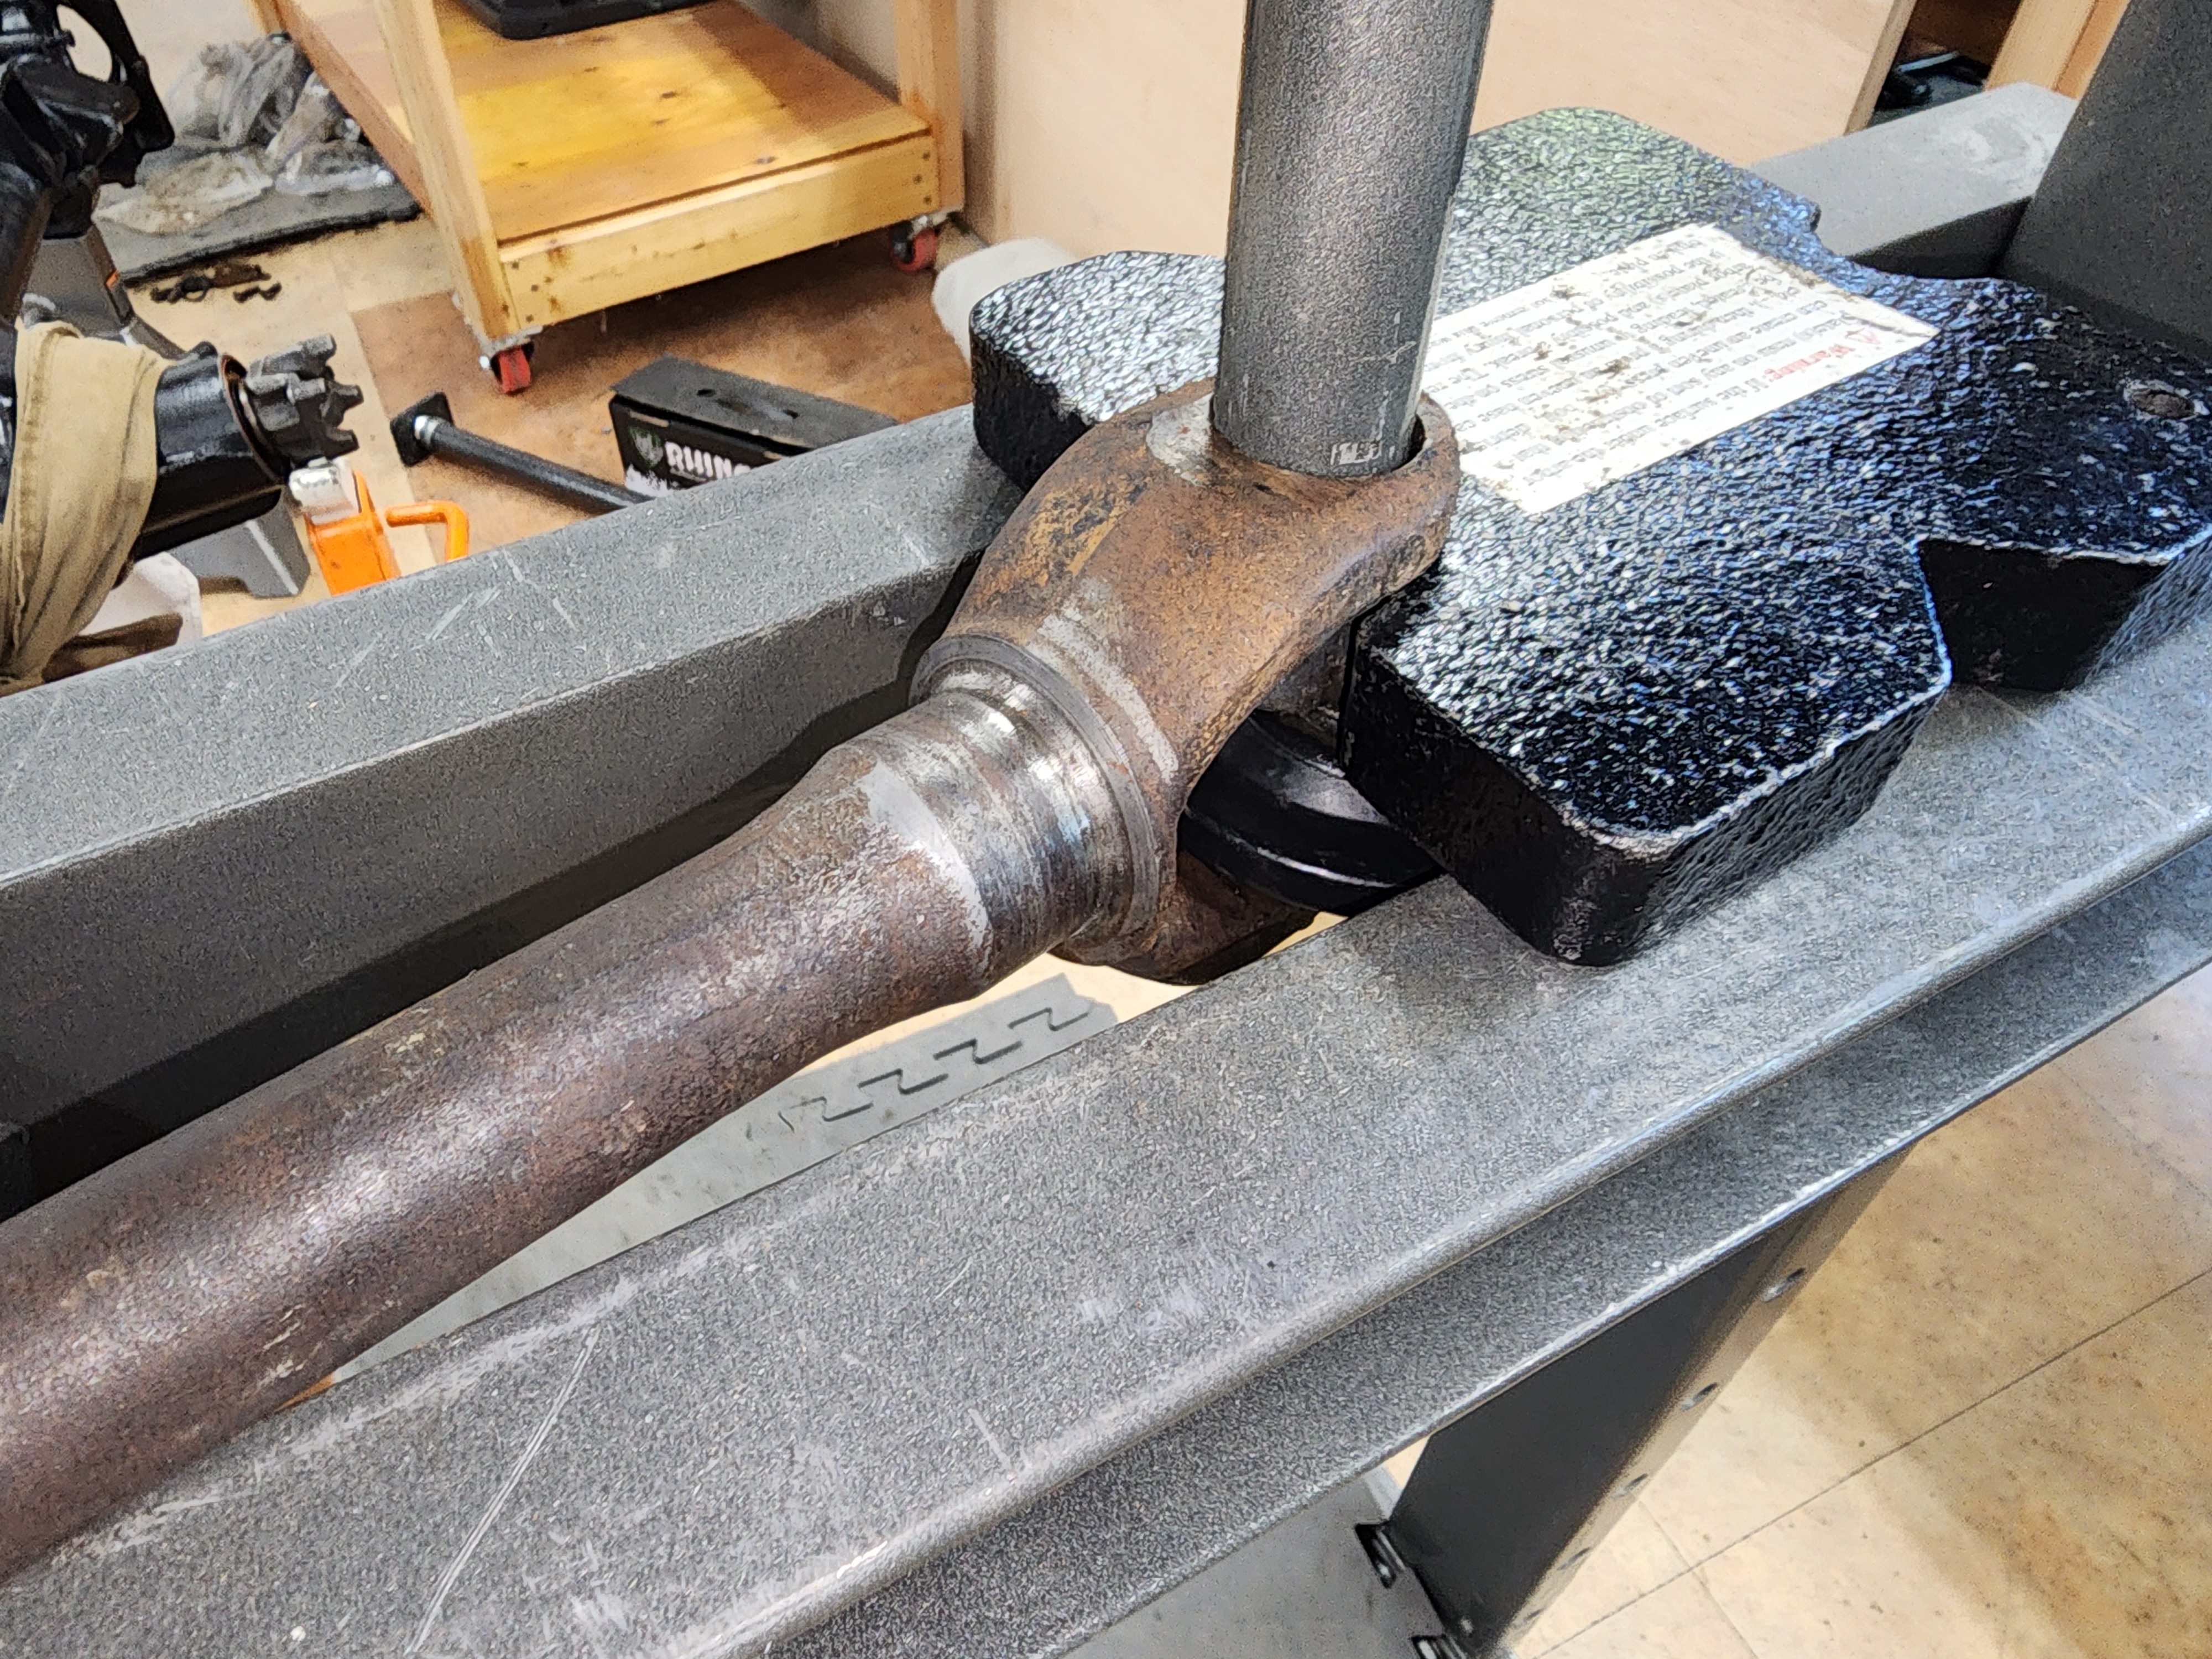
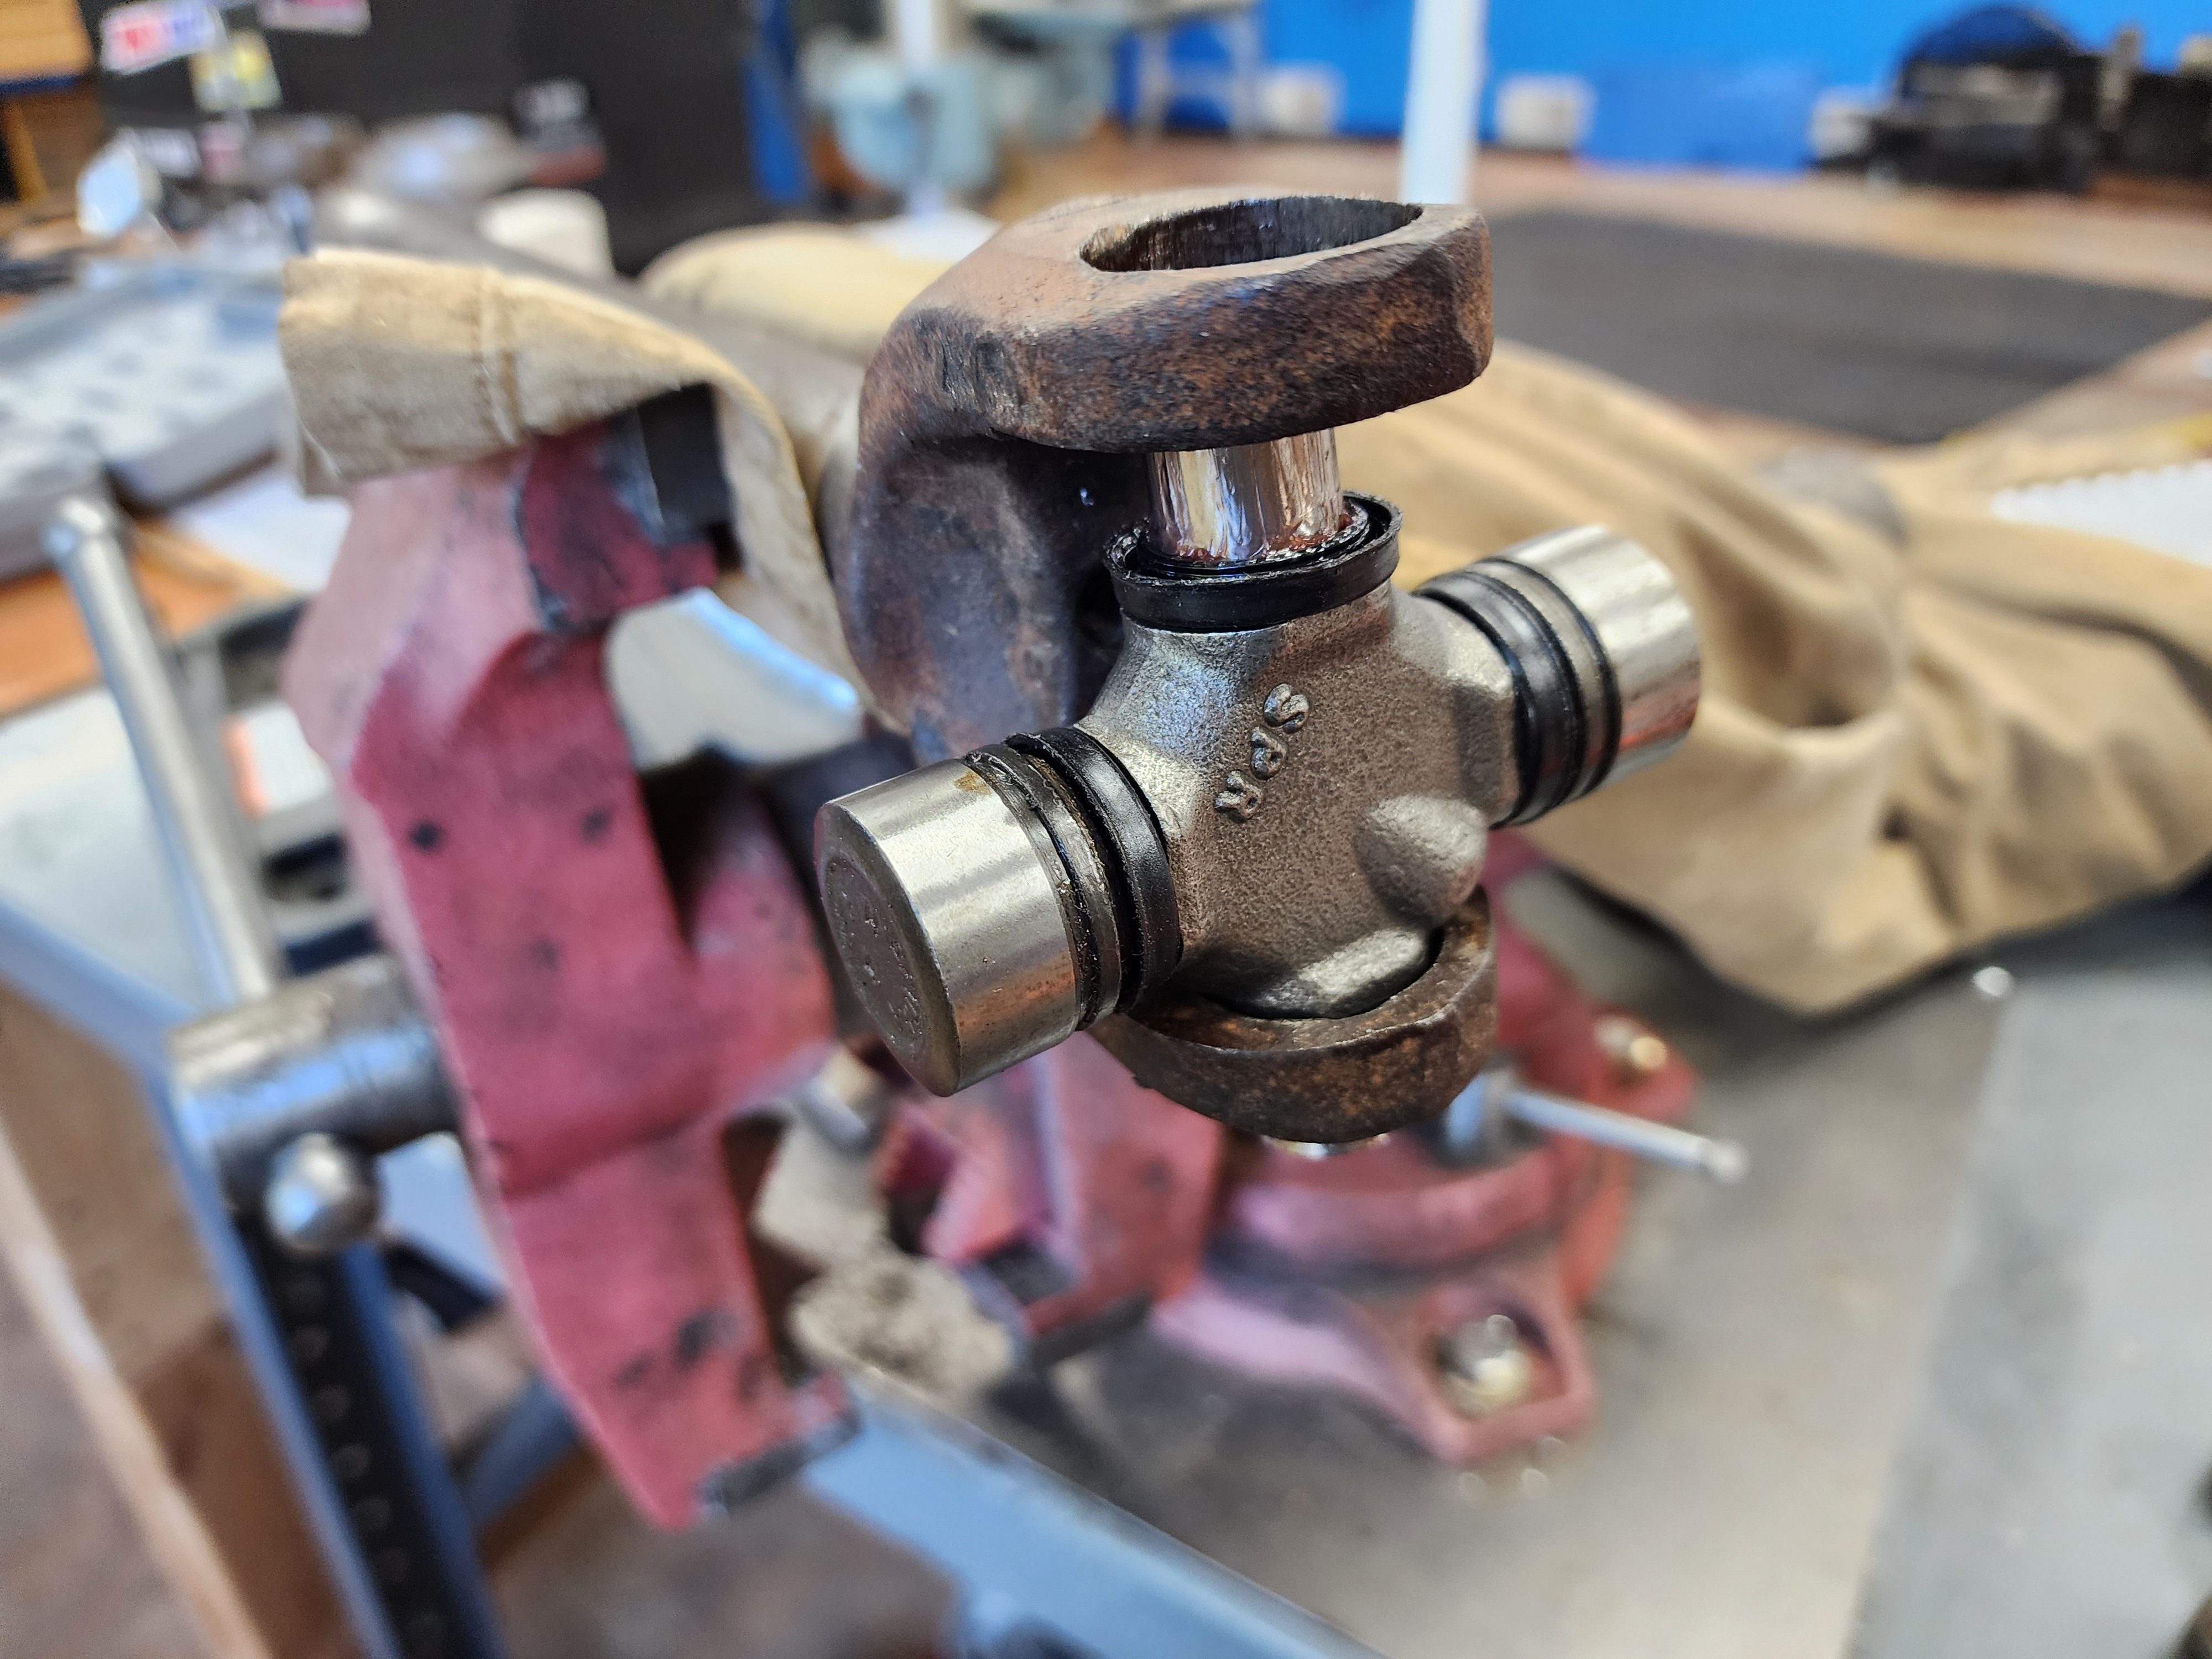
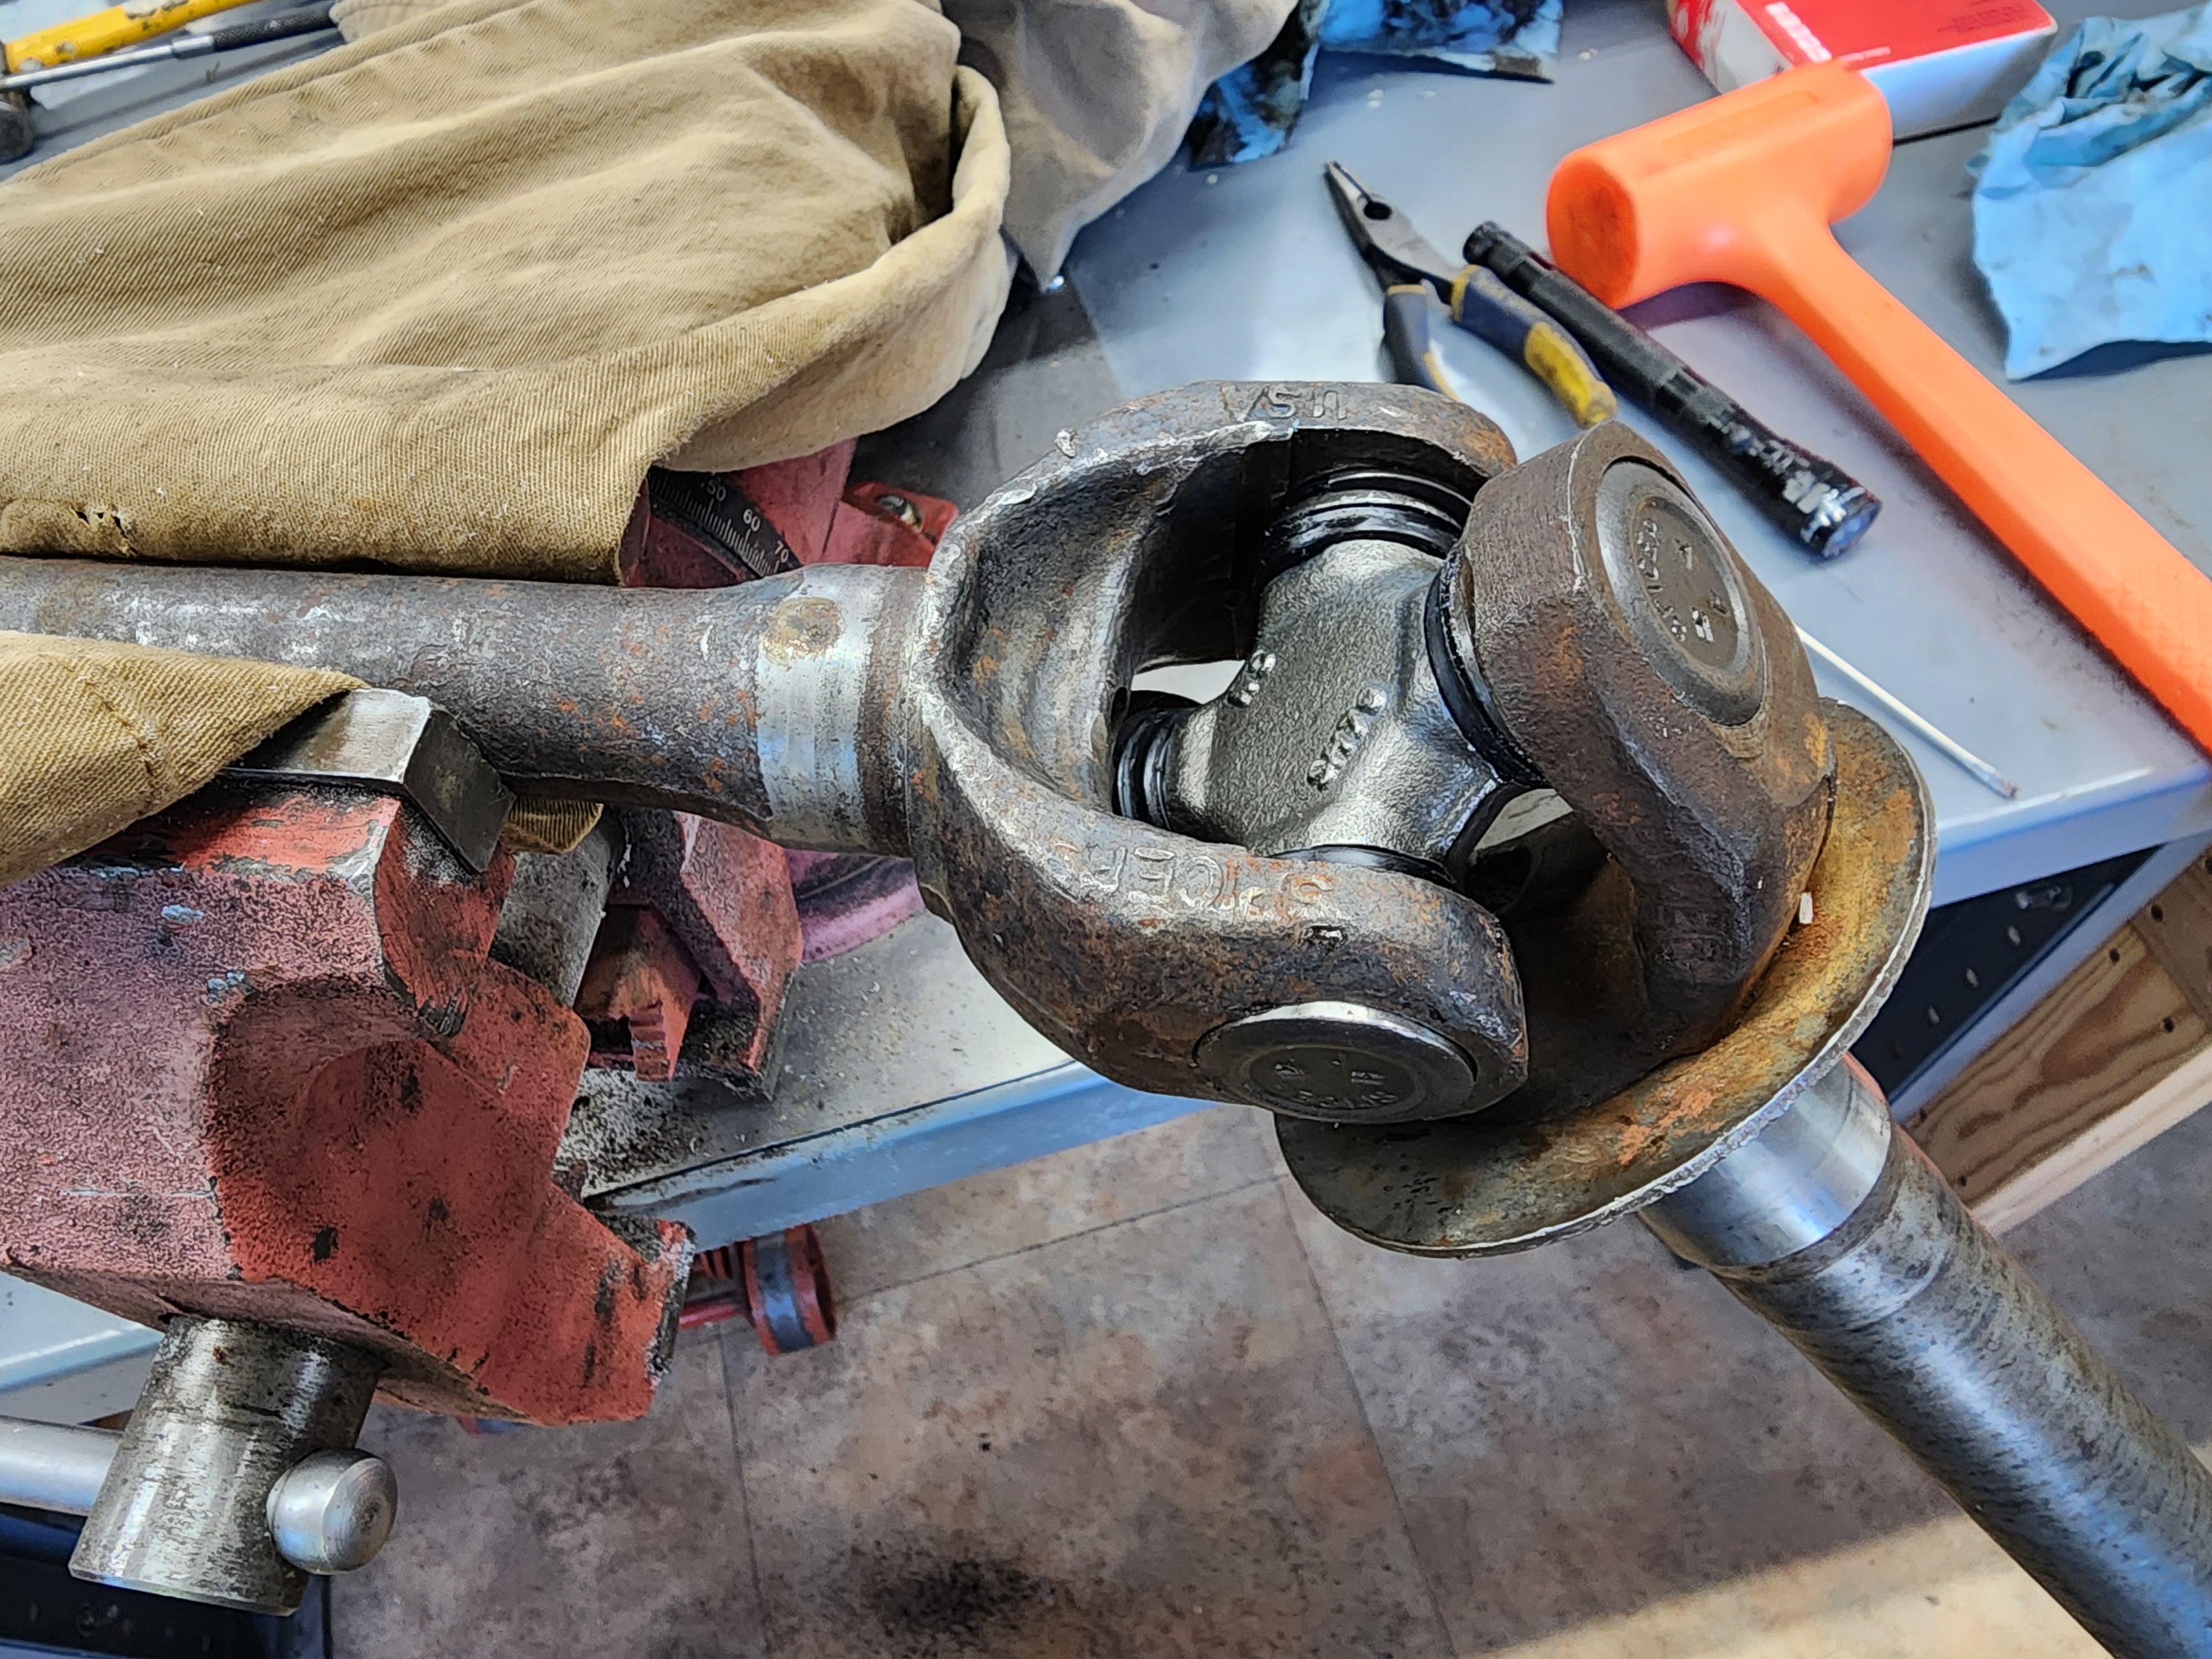
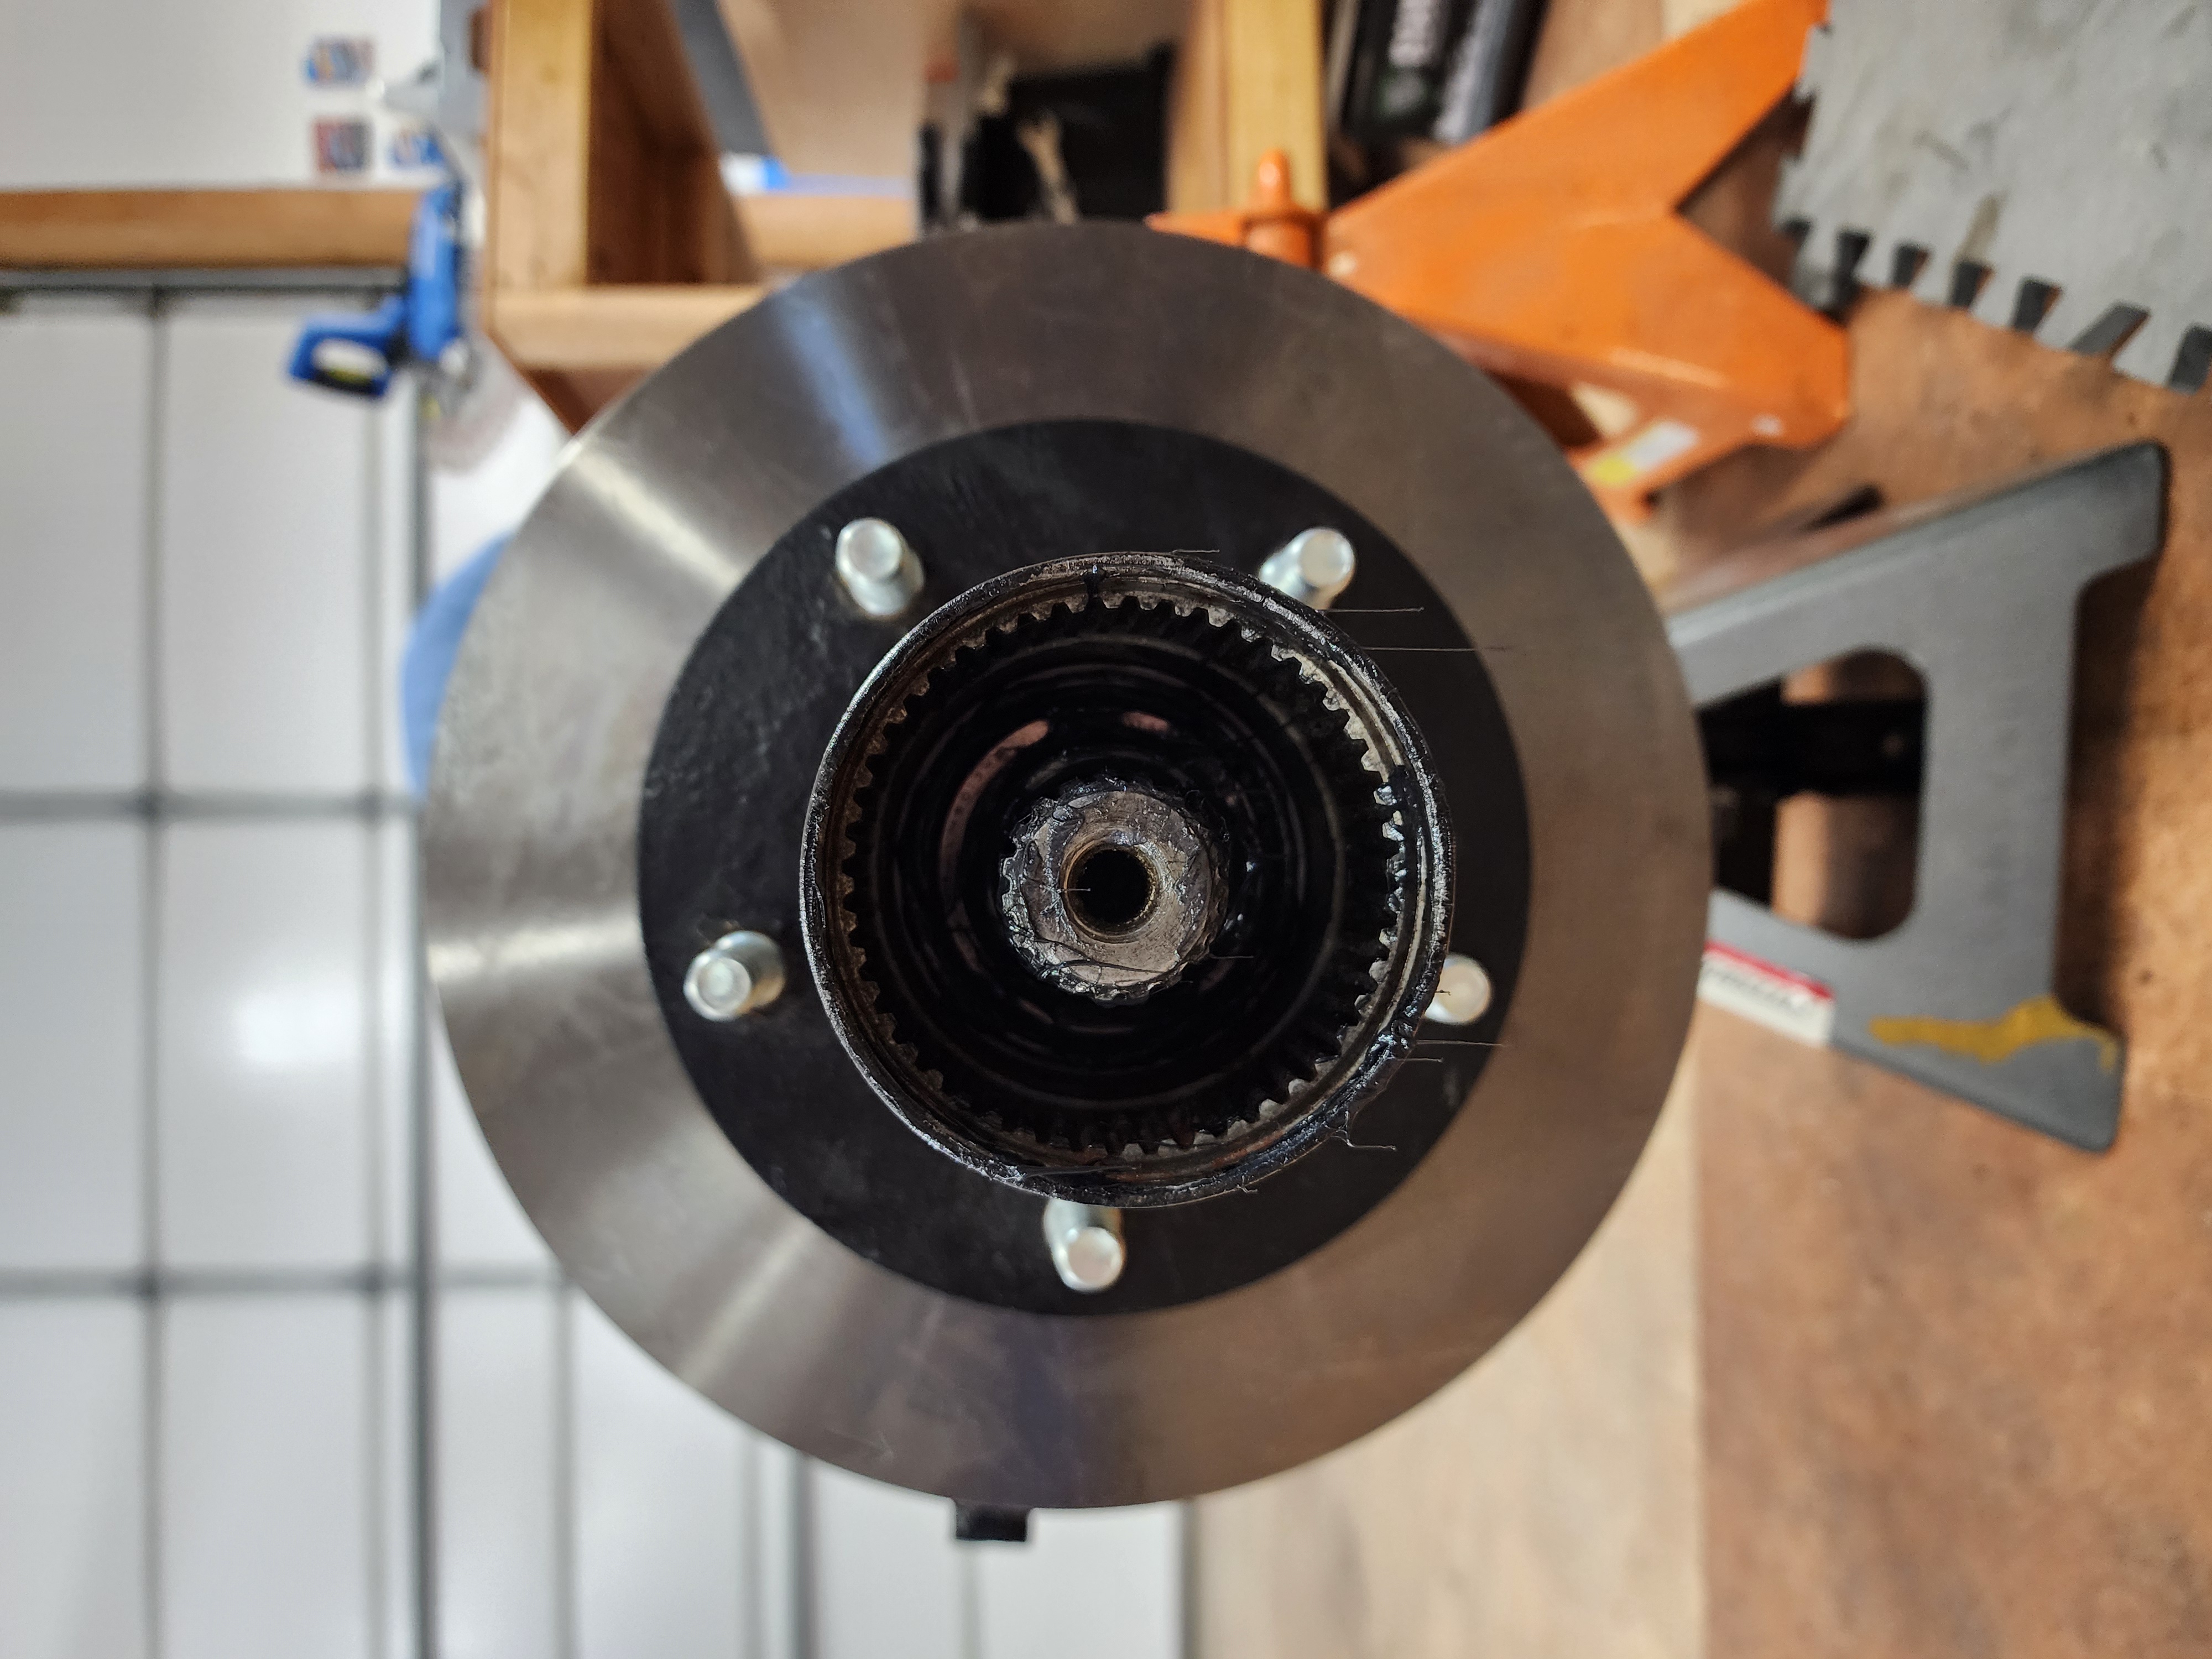
On to the spindles! Whoops, got to install the axle shafts first. Which need the u-joints installed. No big deal, right? Of course, wrong. The first one goes in fine, but the rest all have bent ears so the u-joints won’t fit in.
A quick Google search later, I have a shaft stuck in the hydraulic press and am ever so carefully trying to spread the ears just enough to fit. Three shafts later, we have a (u-joint) connection!
Spindles for real
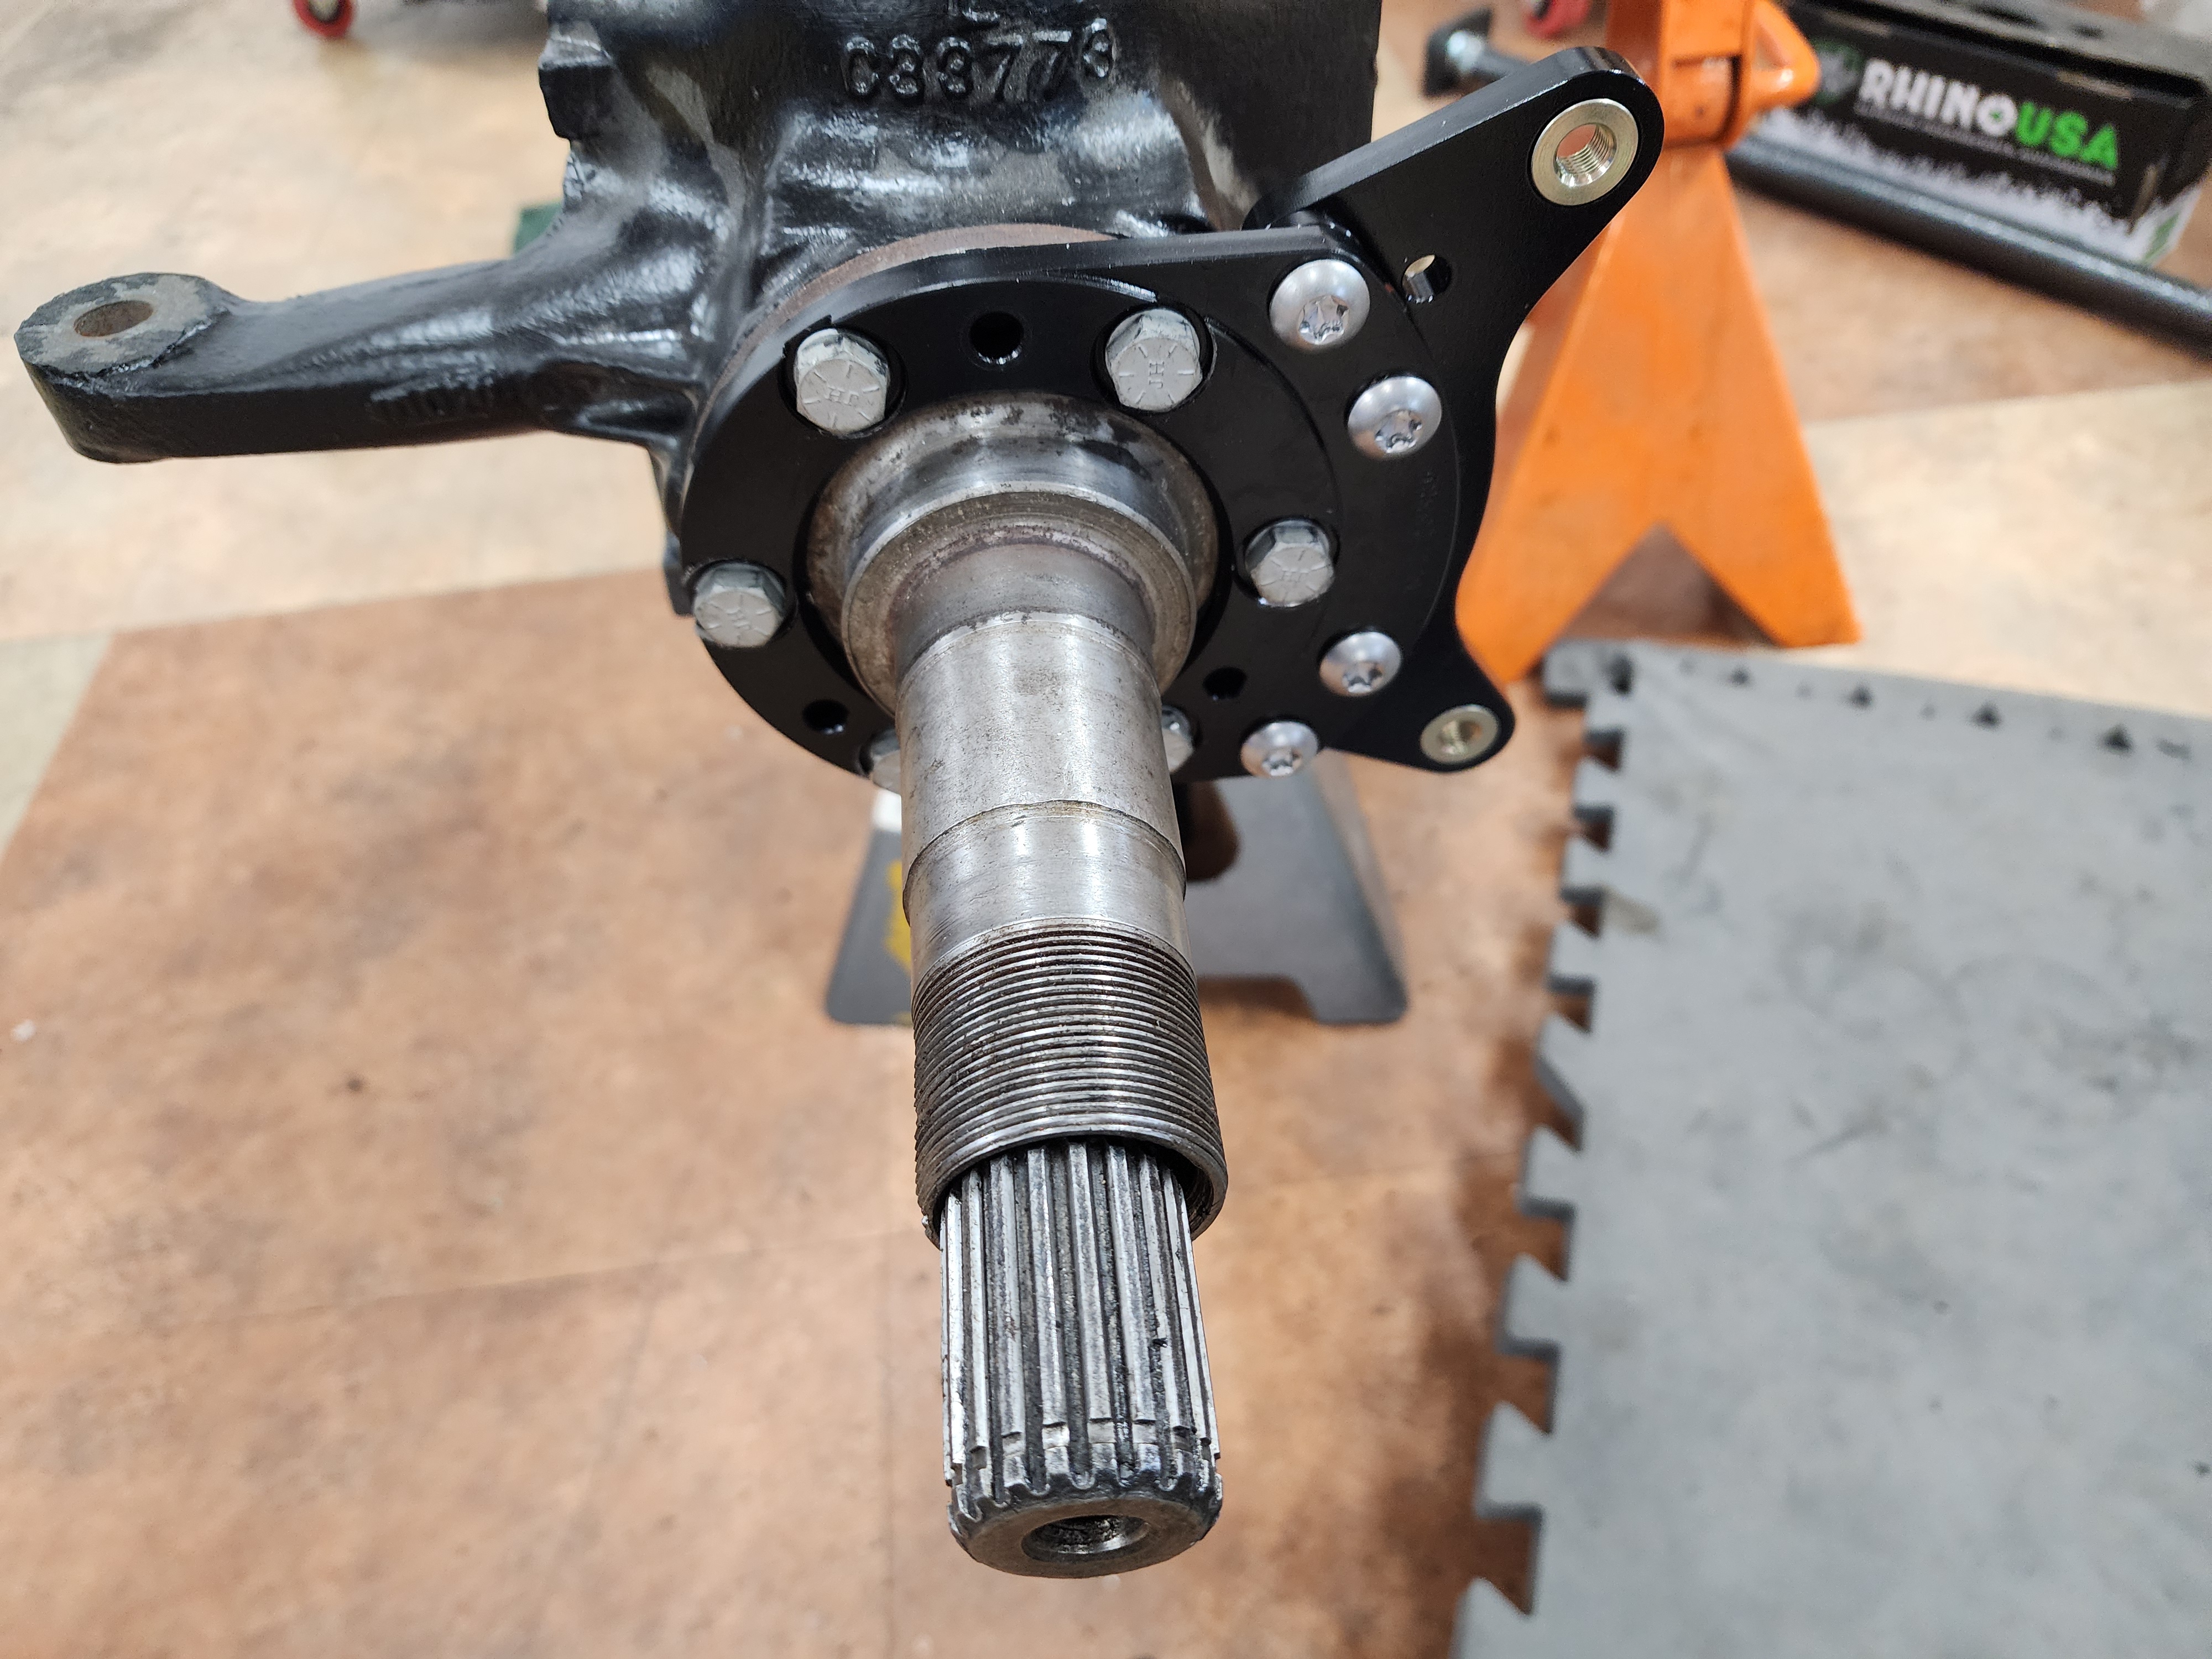
Now it’s anticlimactic. Same for being able to use a fancy new brake part, The bearings and seals go on the spindle just fine, and on to the next step.
I will note, however, that I did have to reference this video in order to see how the seals went on properly.
Hubs-a, Hubs-a
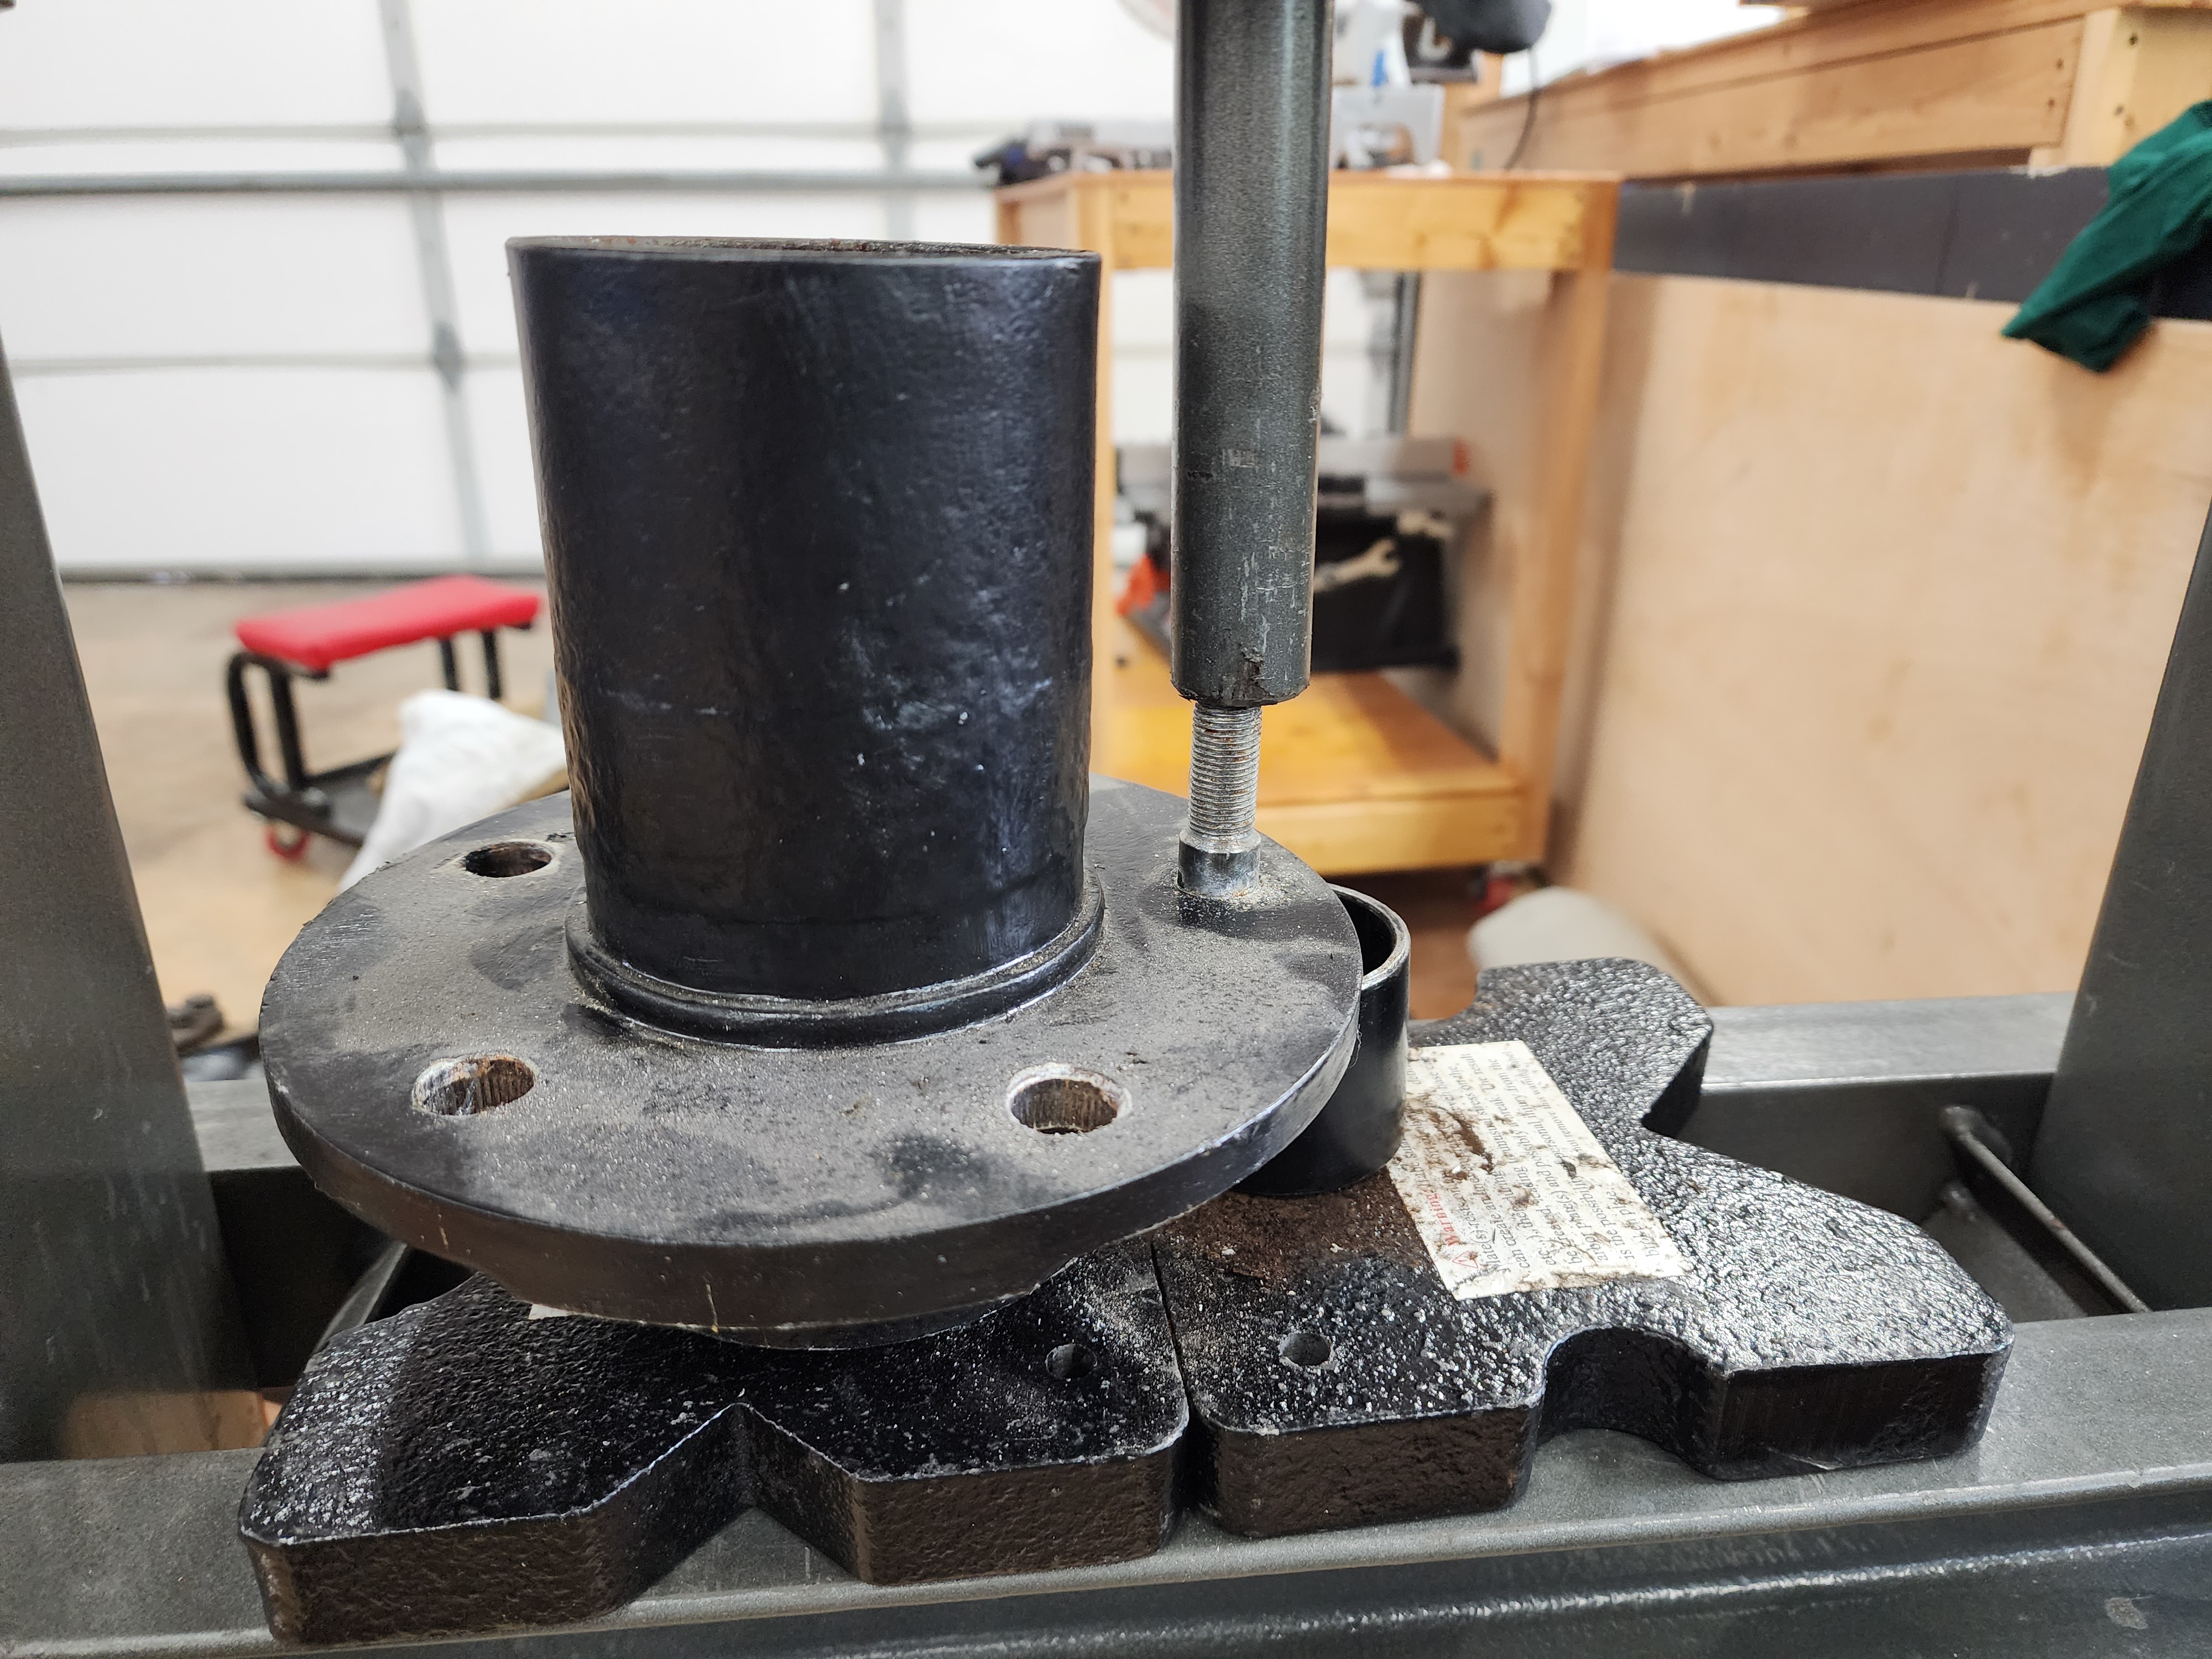
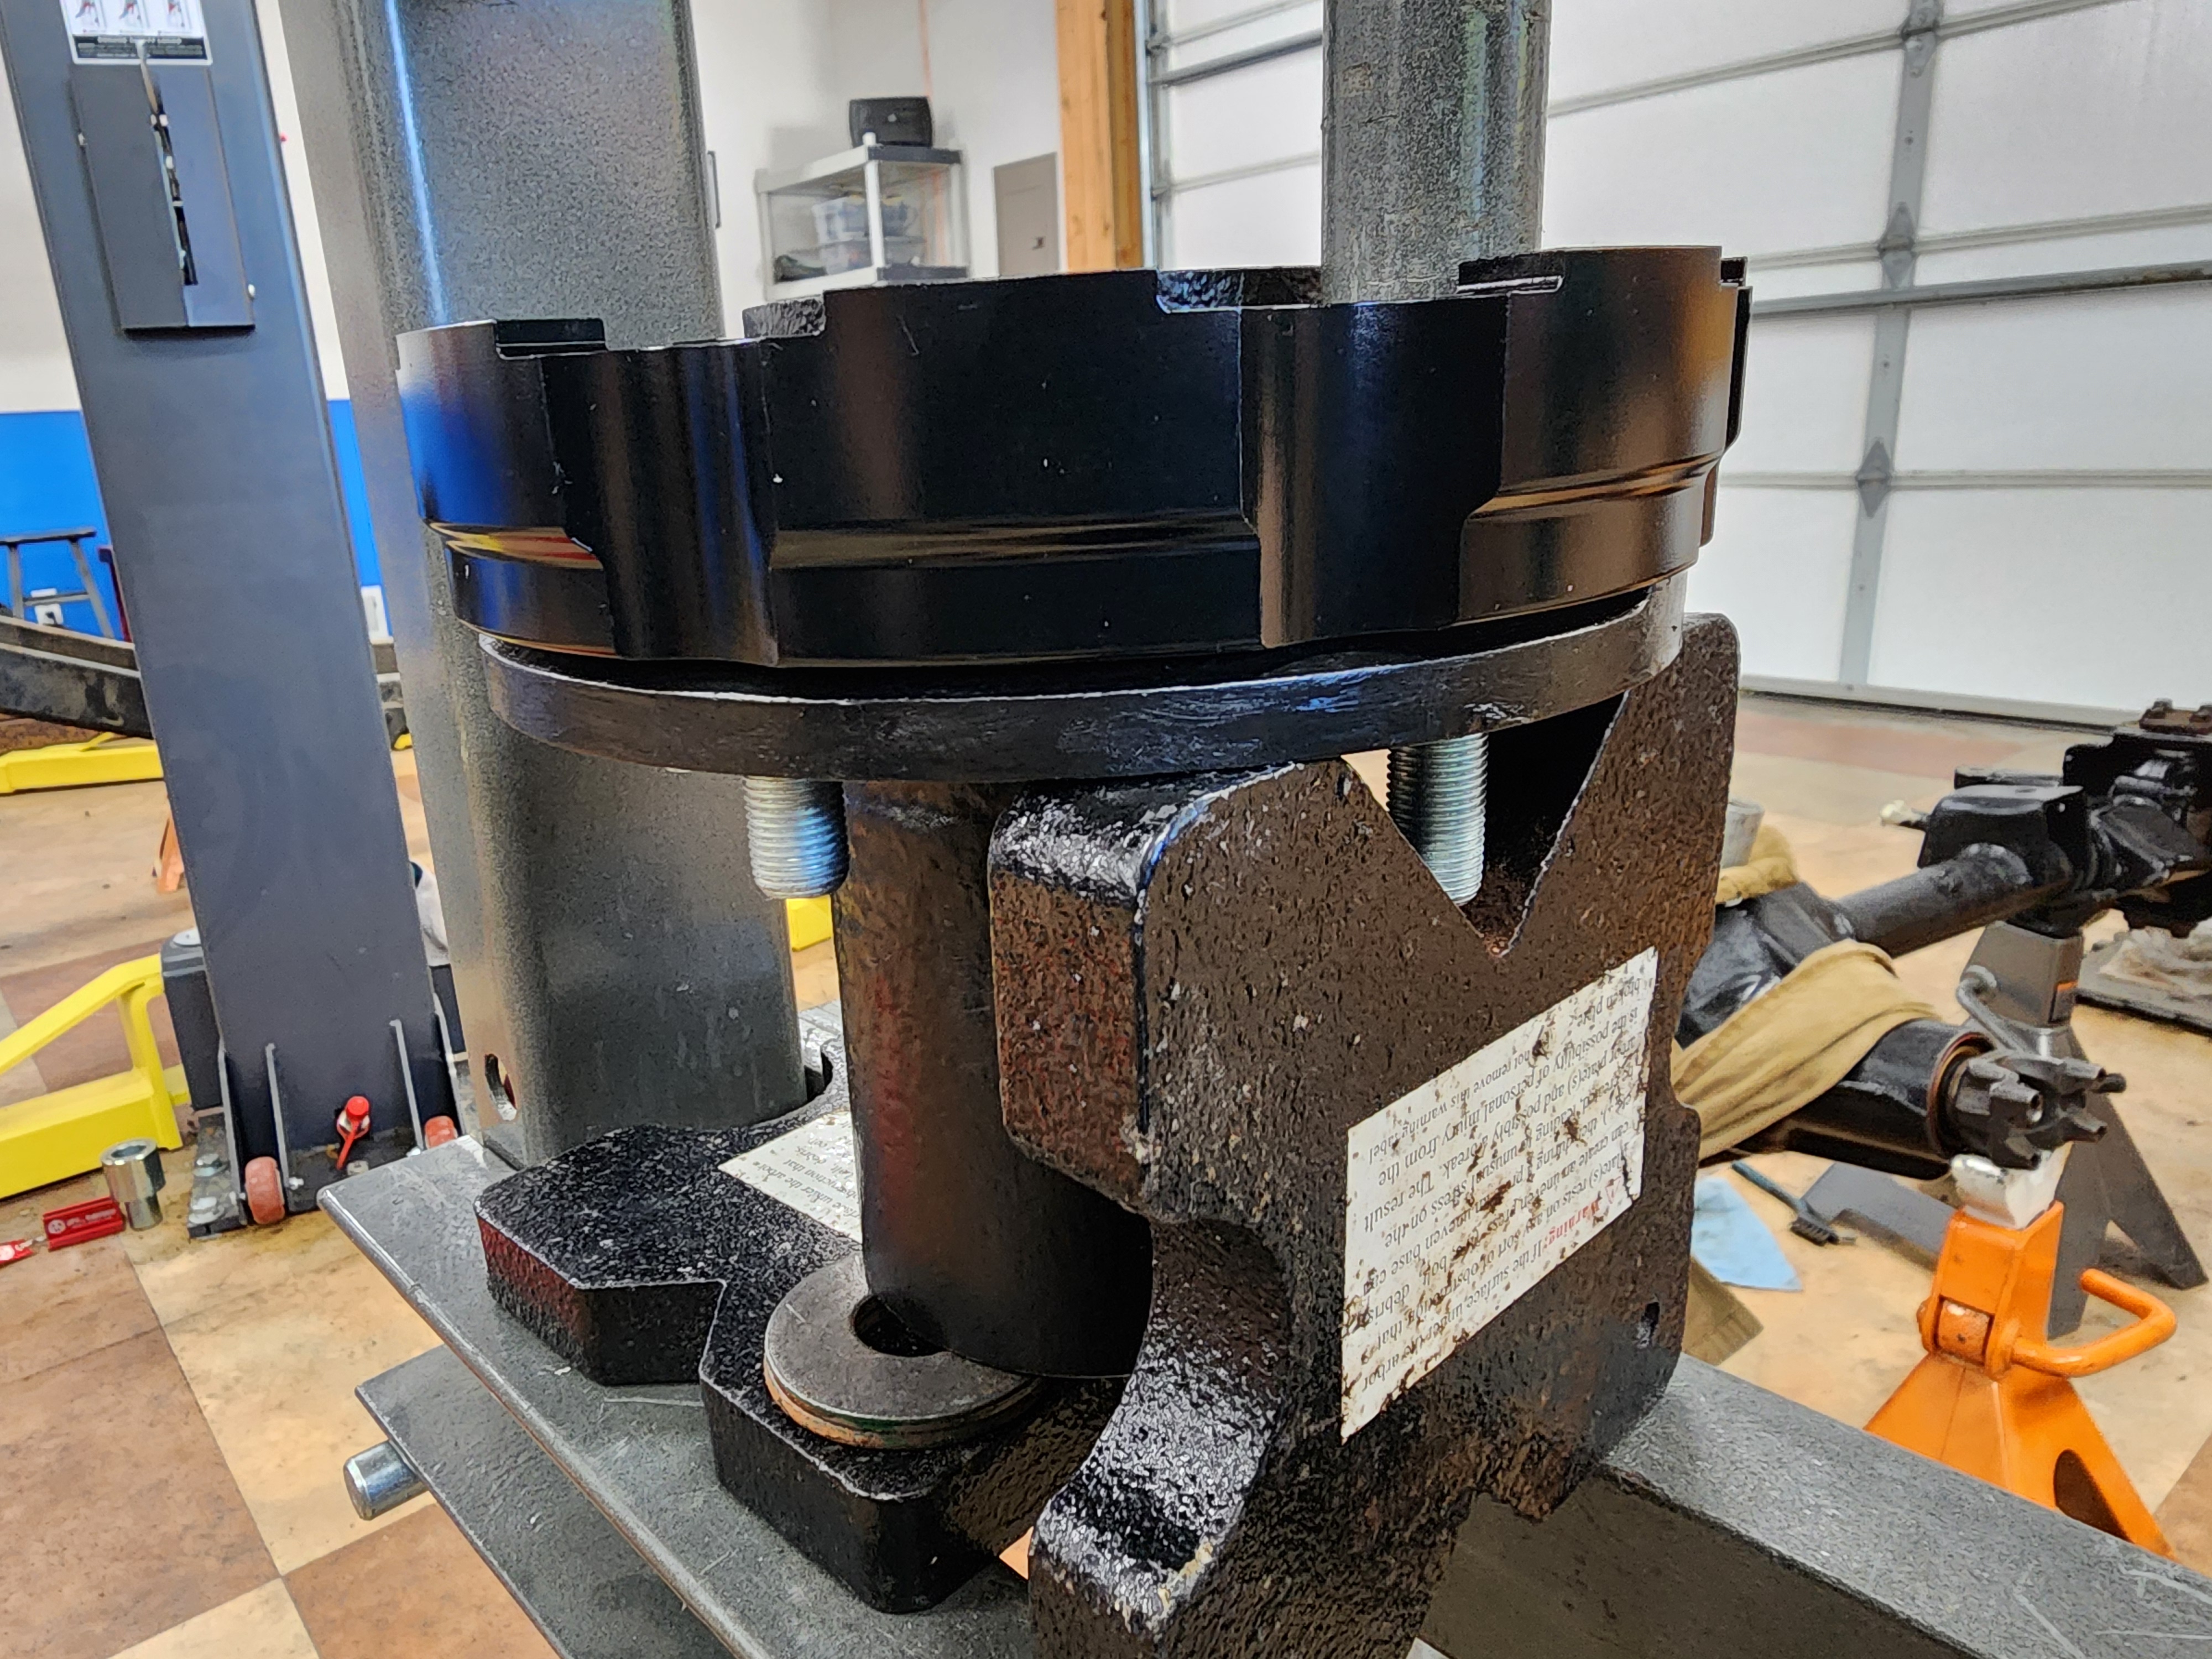
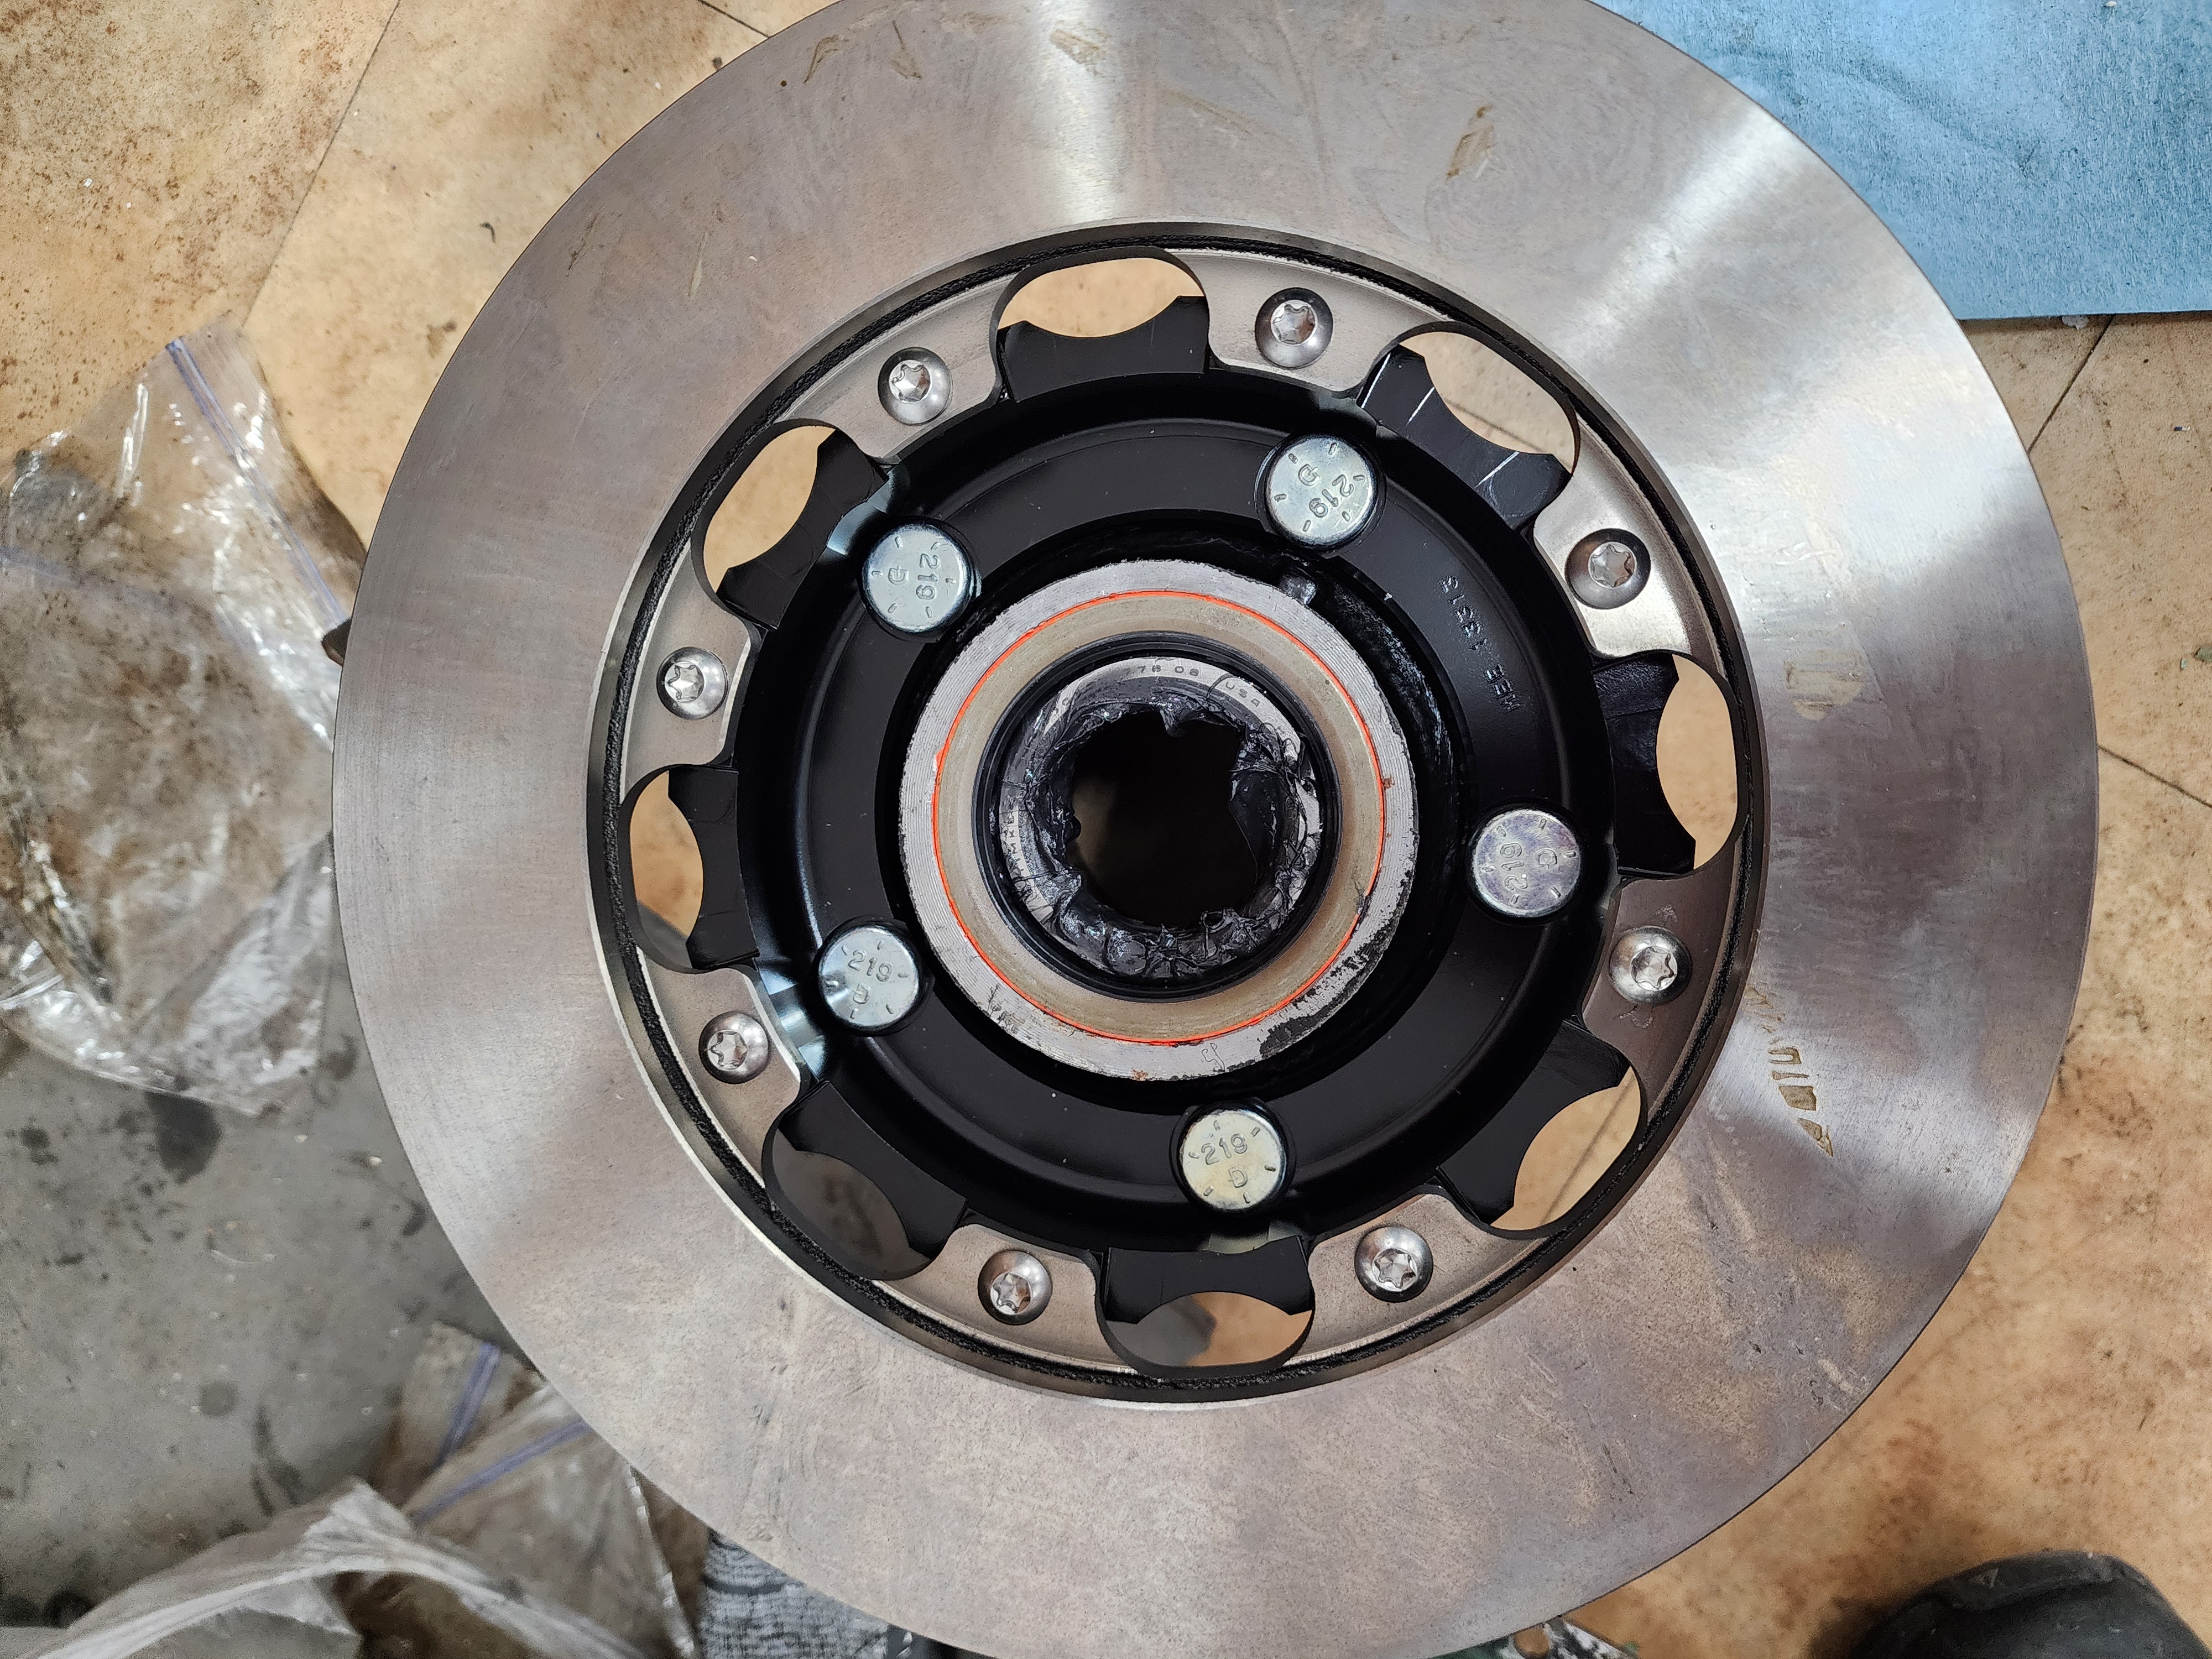
Turns out the hubs need a bit of prep before they can be mounted. First I press the inner and outer wheel bearing cups in. Then I found that in order to mount the rotor hat, I need to press out the current wheel studs and press in new ones with the hat mounted. Easy peasy. Pro tip: a trip to Harbor Freight for a small hydraulic press would be a good idea.
With the hat mounted, you can mount the rotor. Follow that with greased up bearings and a seal. Slide the hub onto the spindle, and then add the outer wheel bearing from the outside.
Now the ooey-gooey parts. Everything is greased up (like a pig, have to complete the phrase), and you get to play with it. I recommend a friend here.
Have your friend hold the hub. Add the adjusting nut. Torque, with your friend rocking the hub back and forth. Loosen, torque a bit less. Back off a half turn. Struggle with getting the lock washer aligned with the pin. Finally, torque down the look at. Mercifully, only to 50 ft lbs instead of the 200 ft lb the F- 250 requires (well 150 since the spindle socket won’t stay on after that).
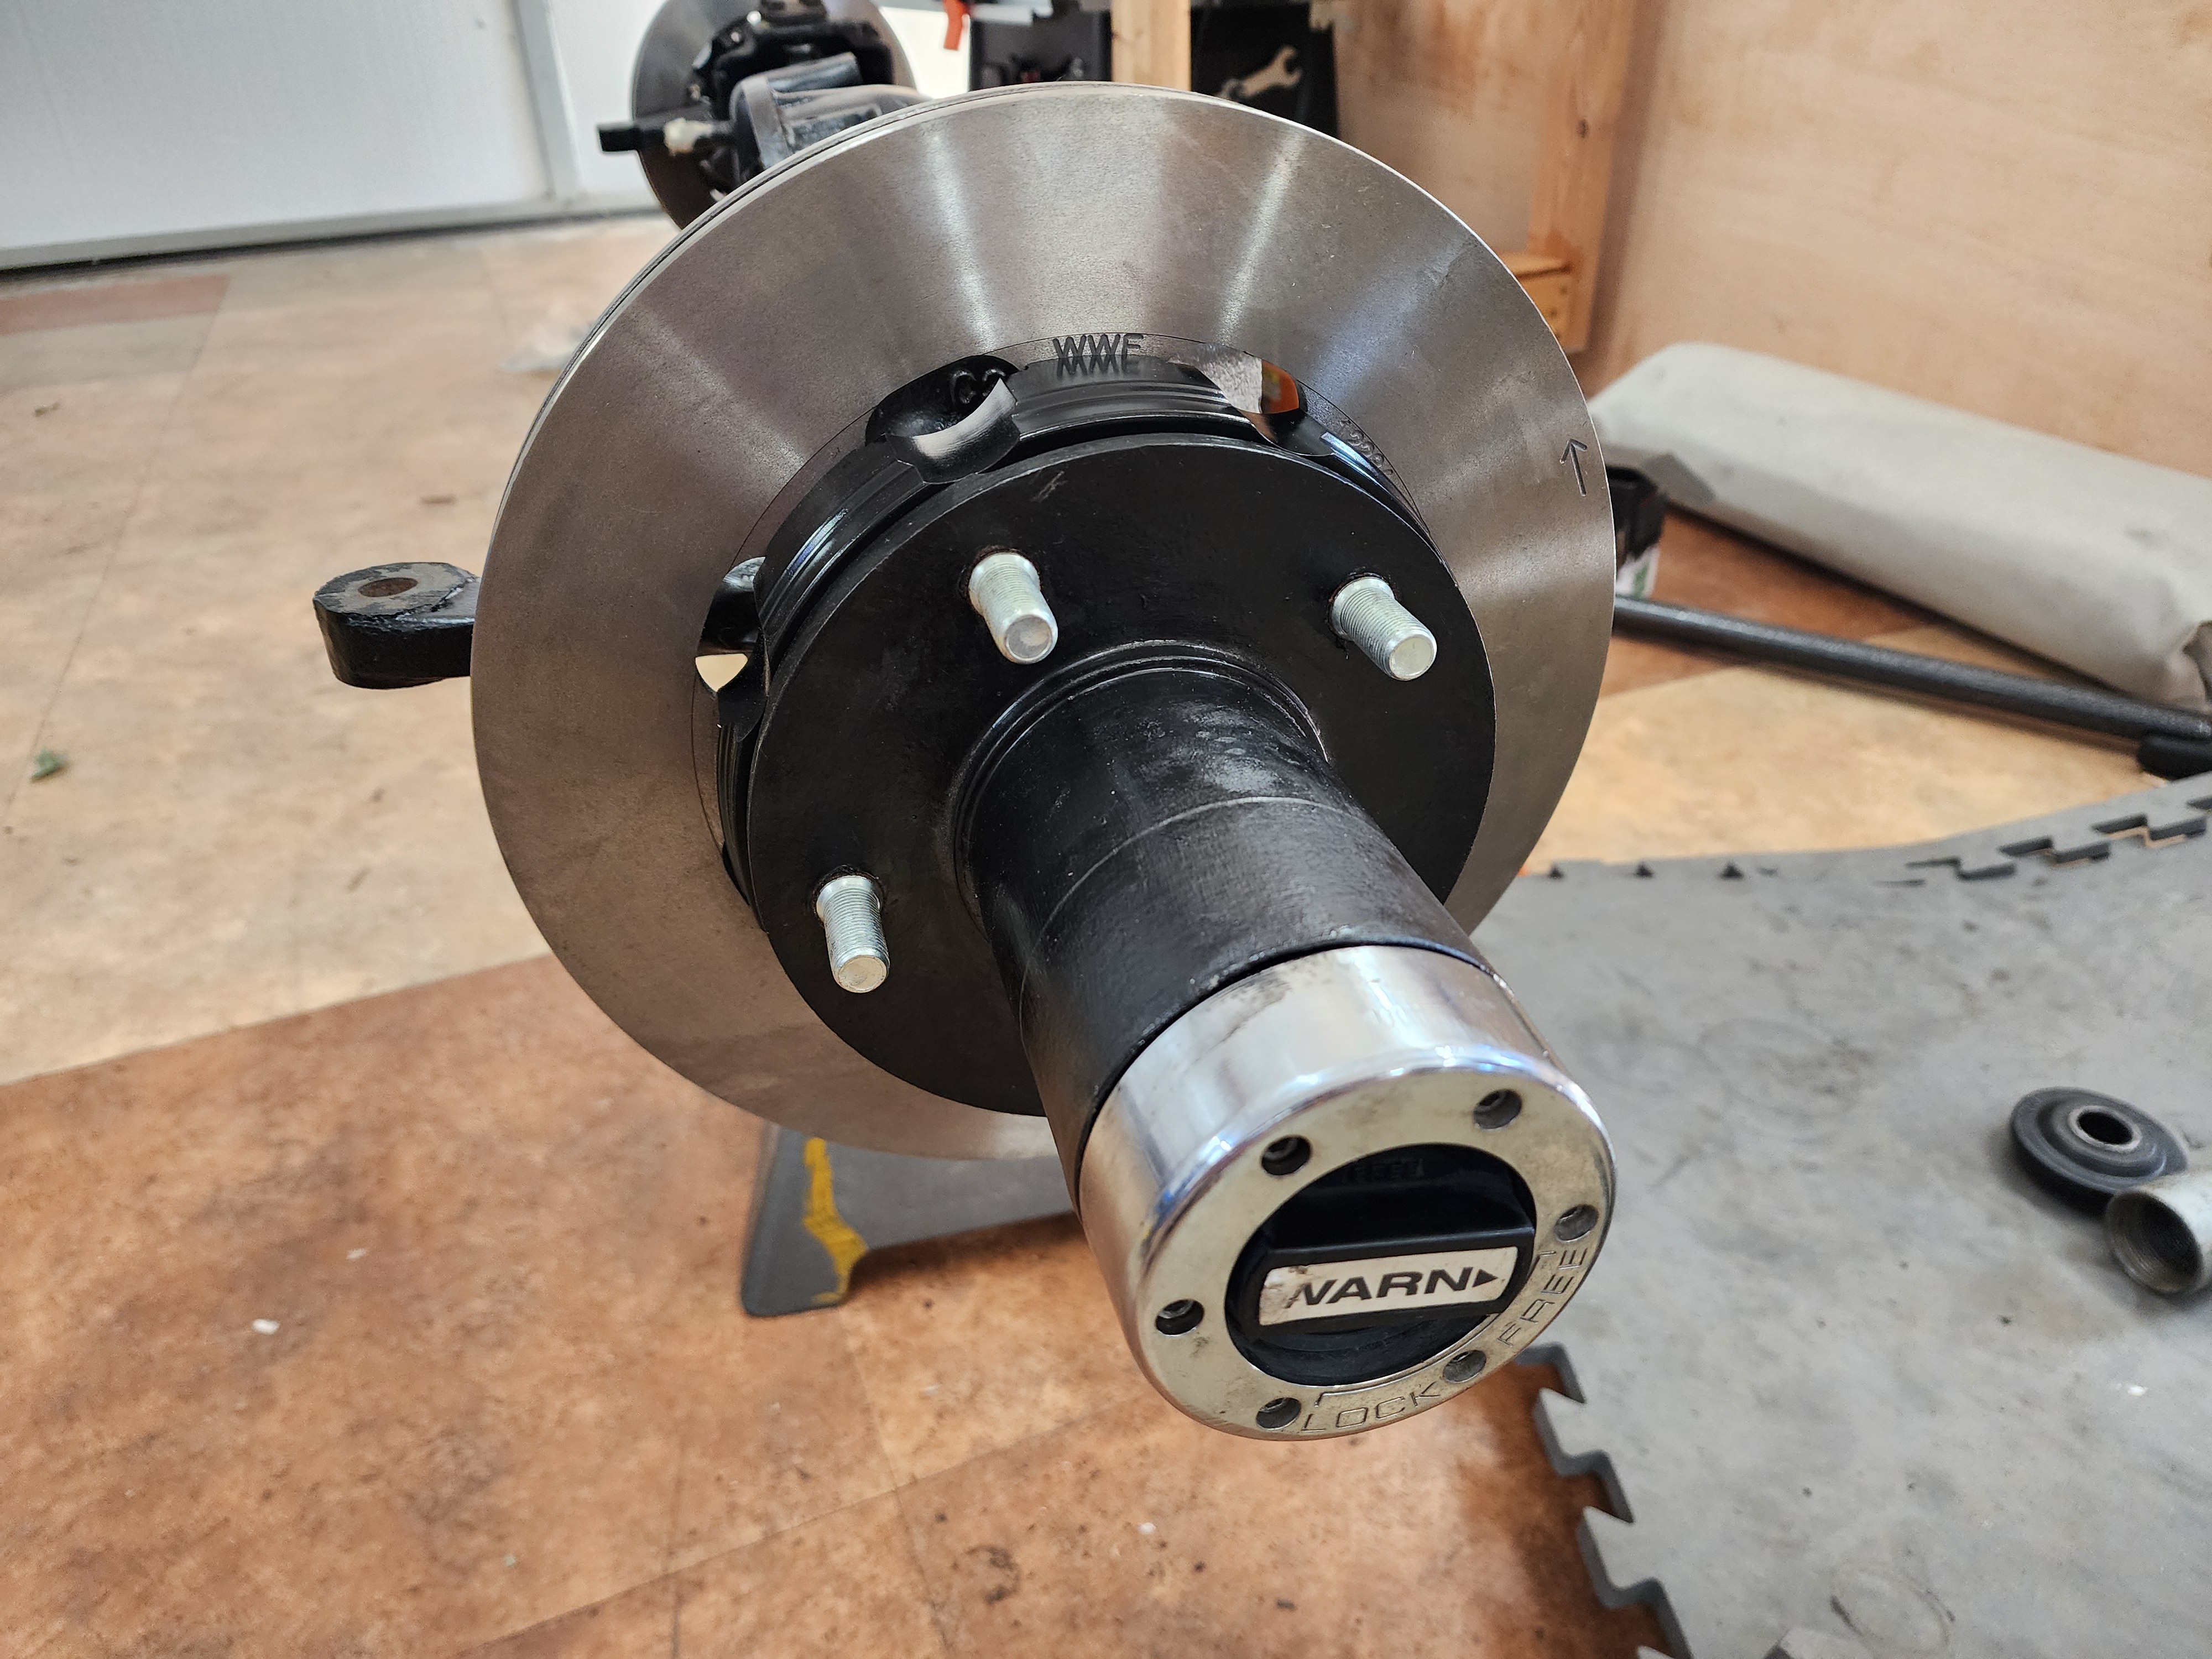
Install the locking hub piece, snag rings, and then screw the hub back on.
Repeat other side.
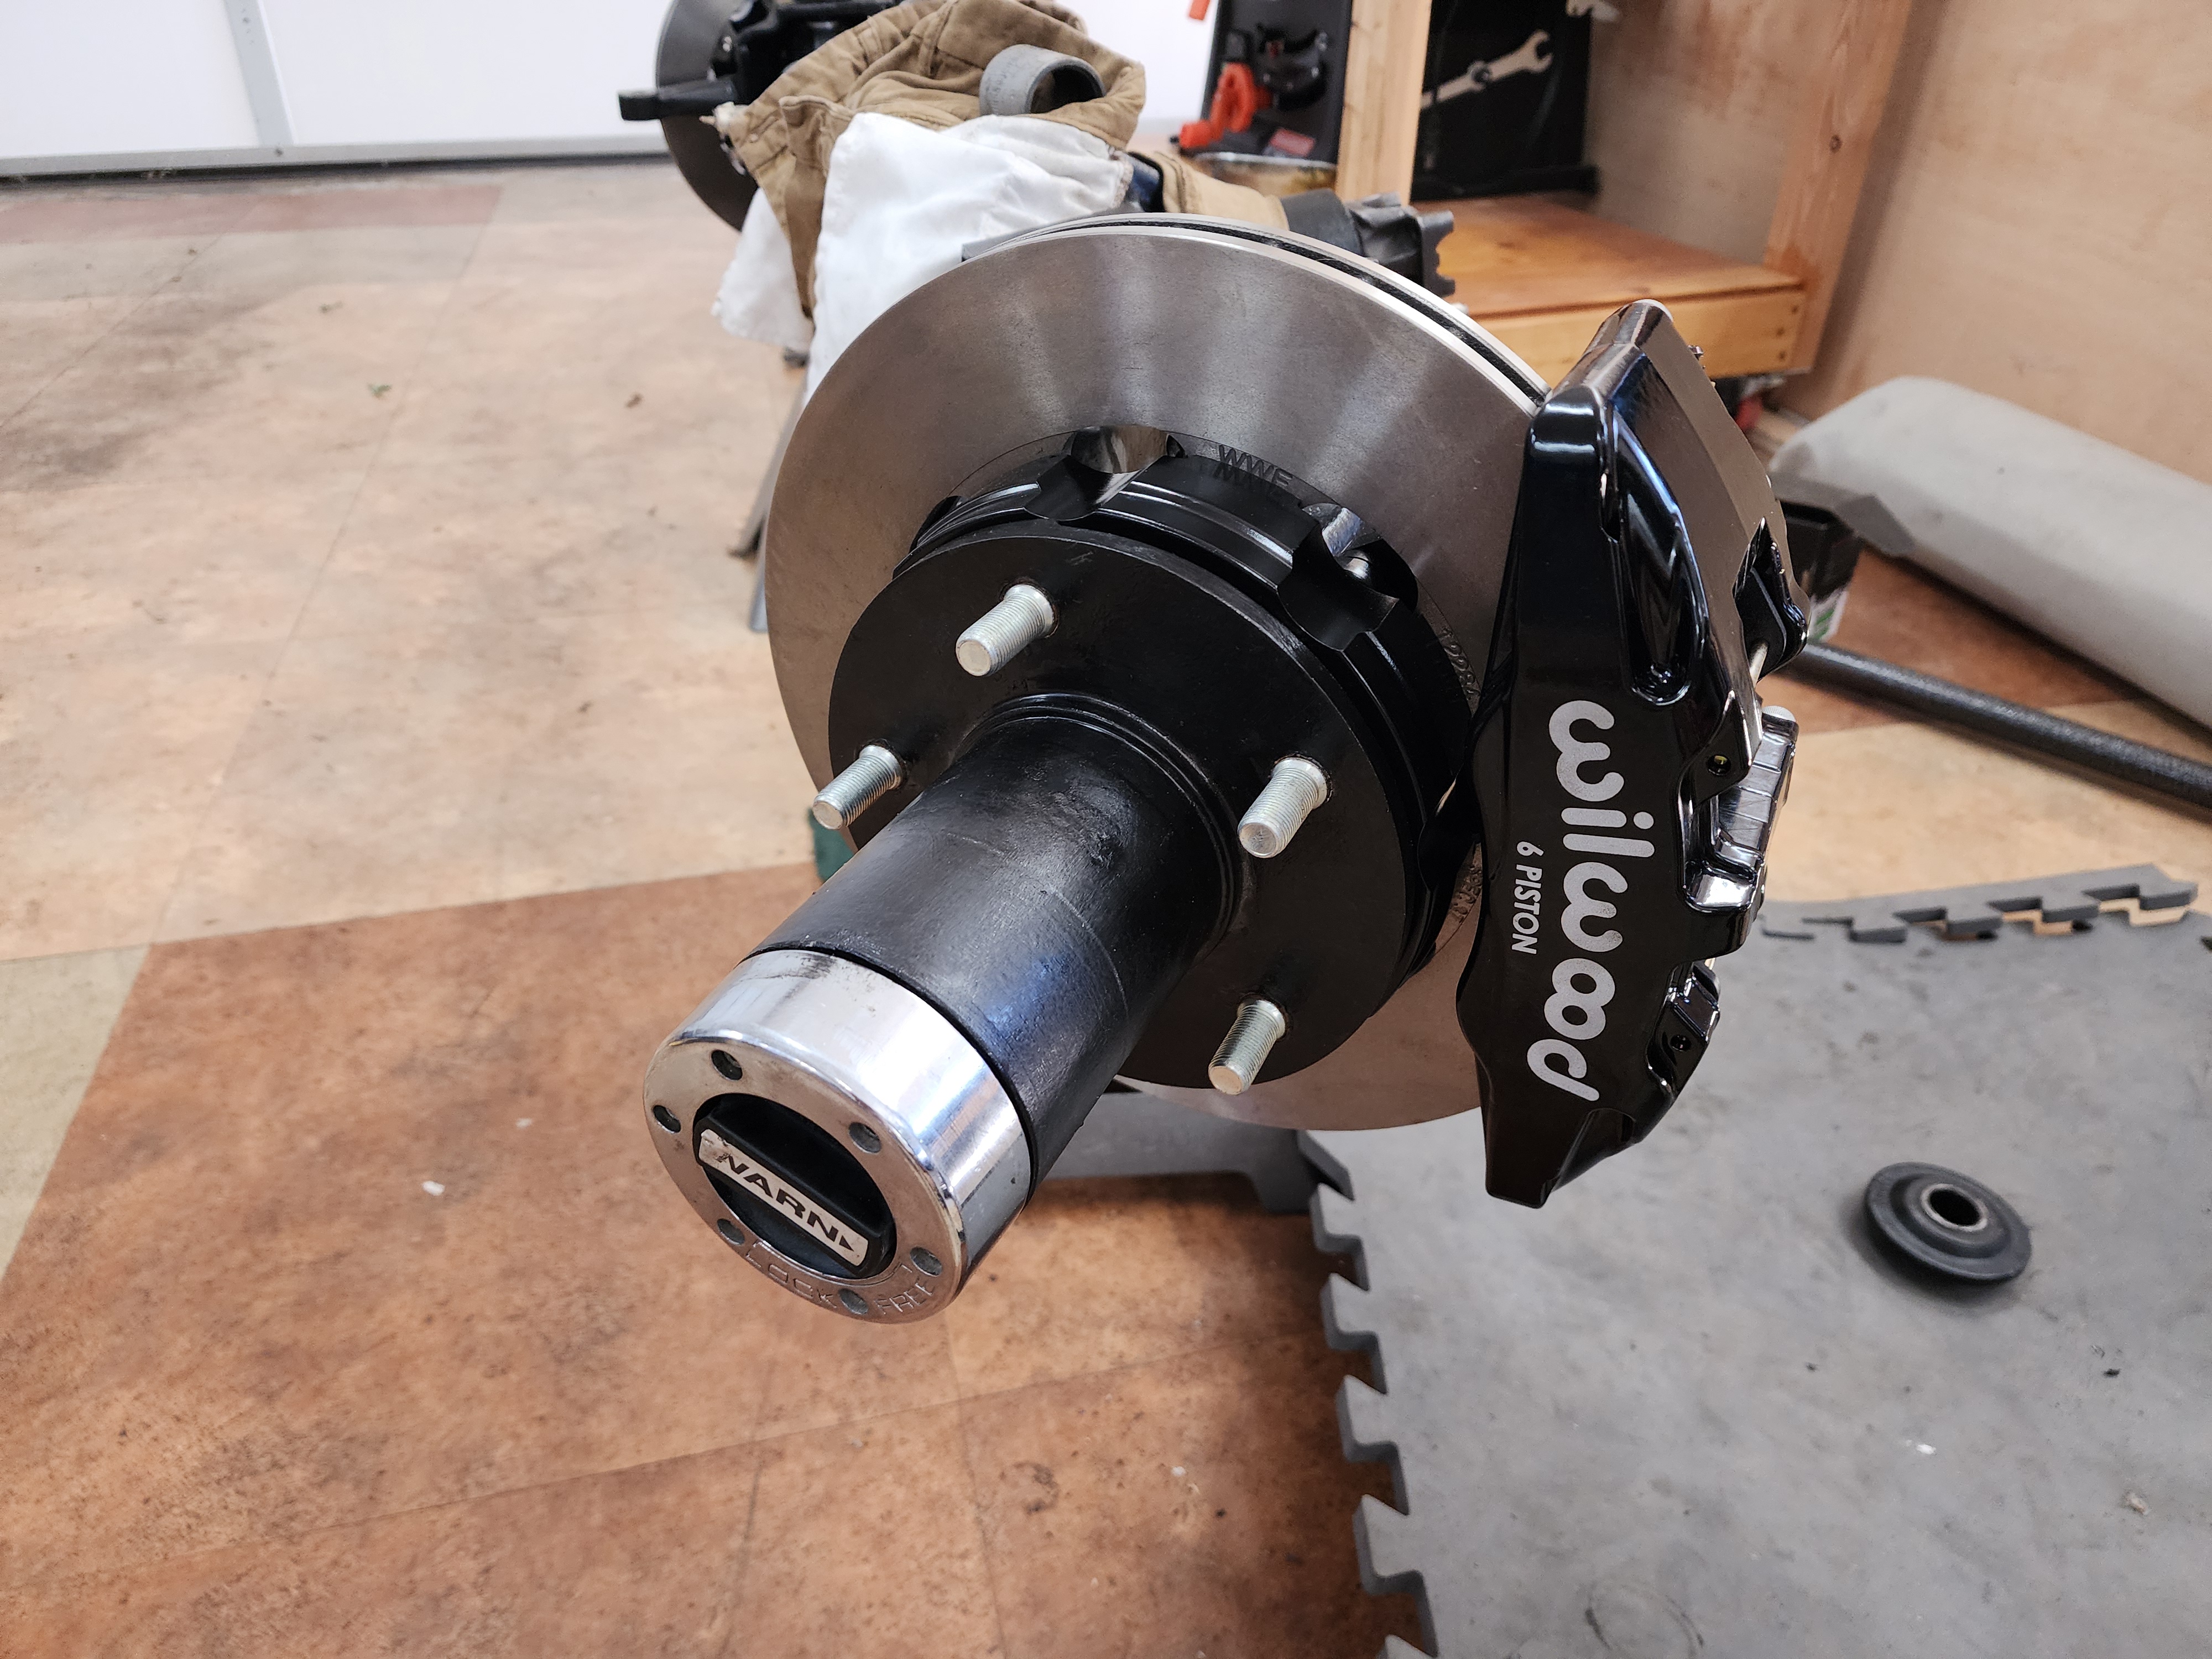
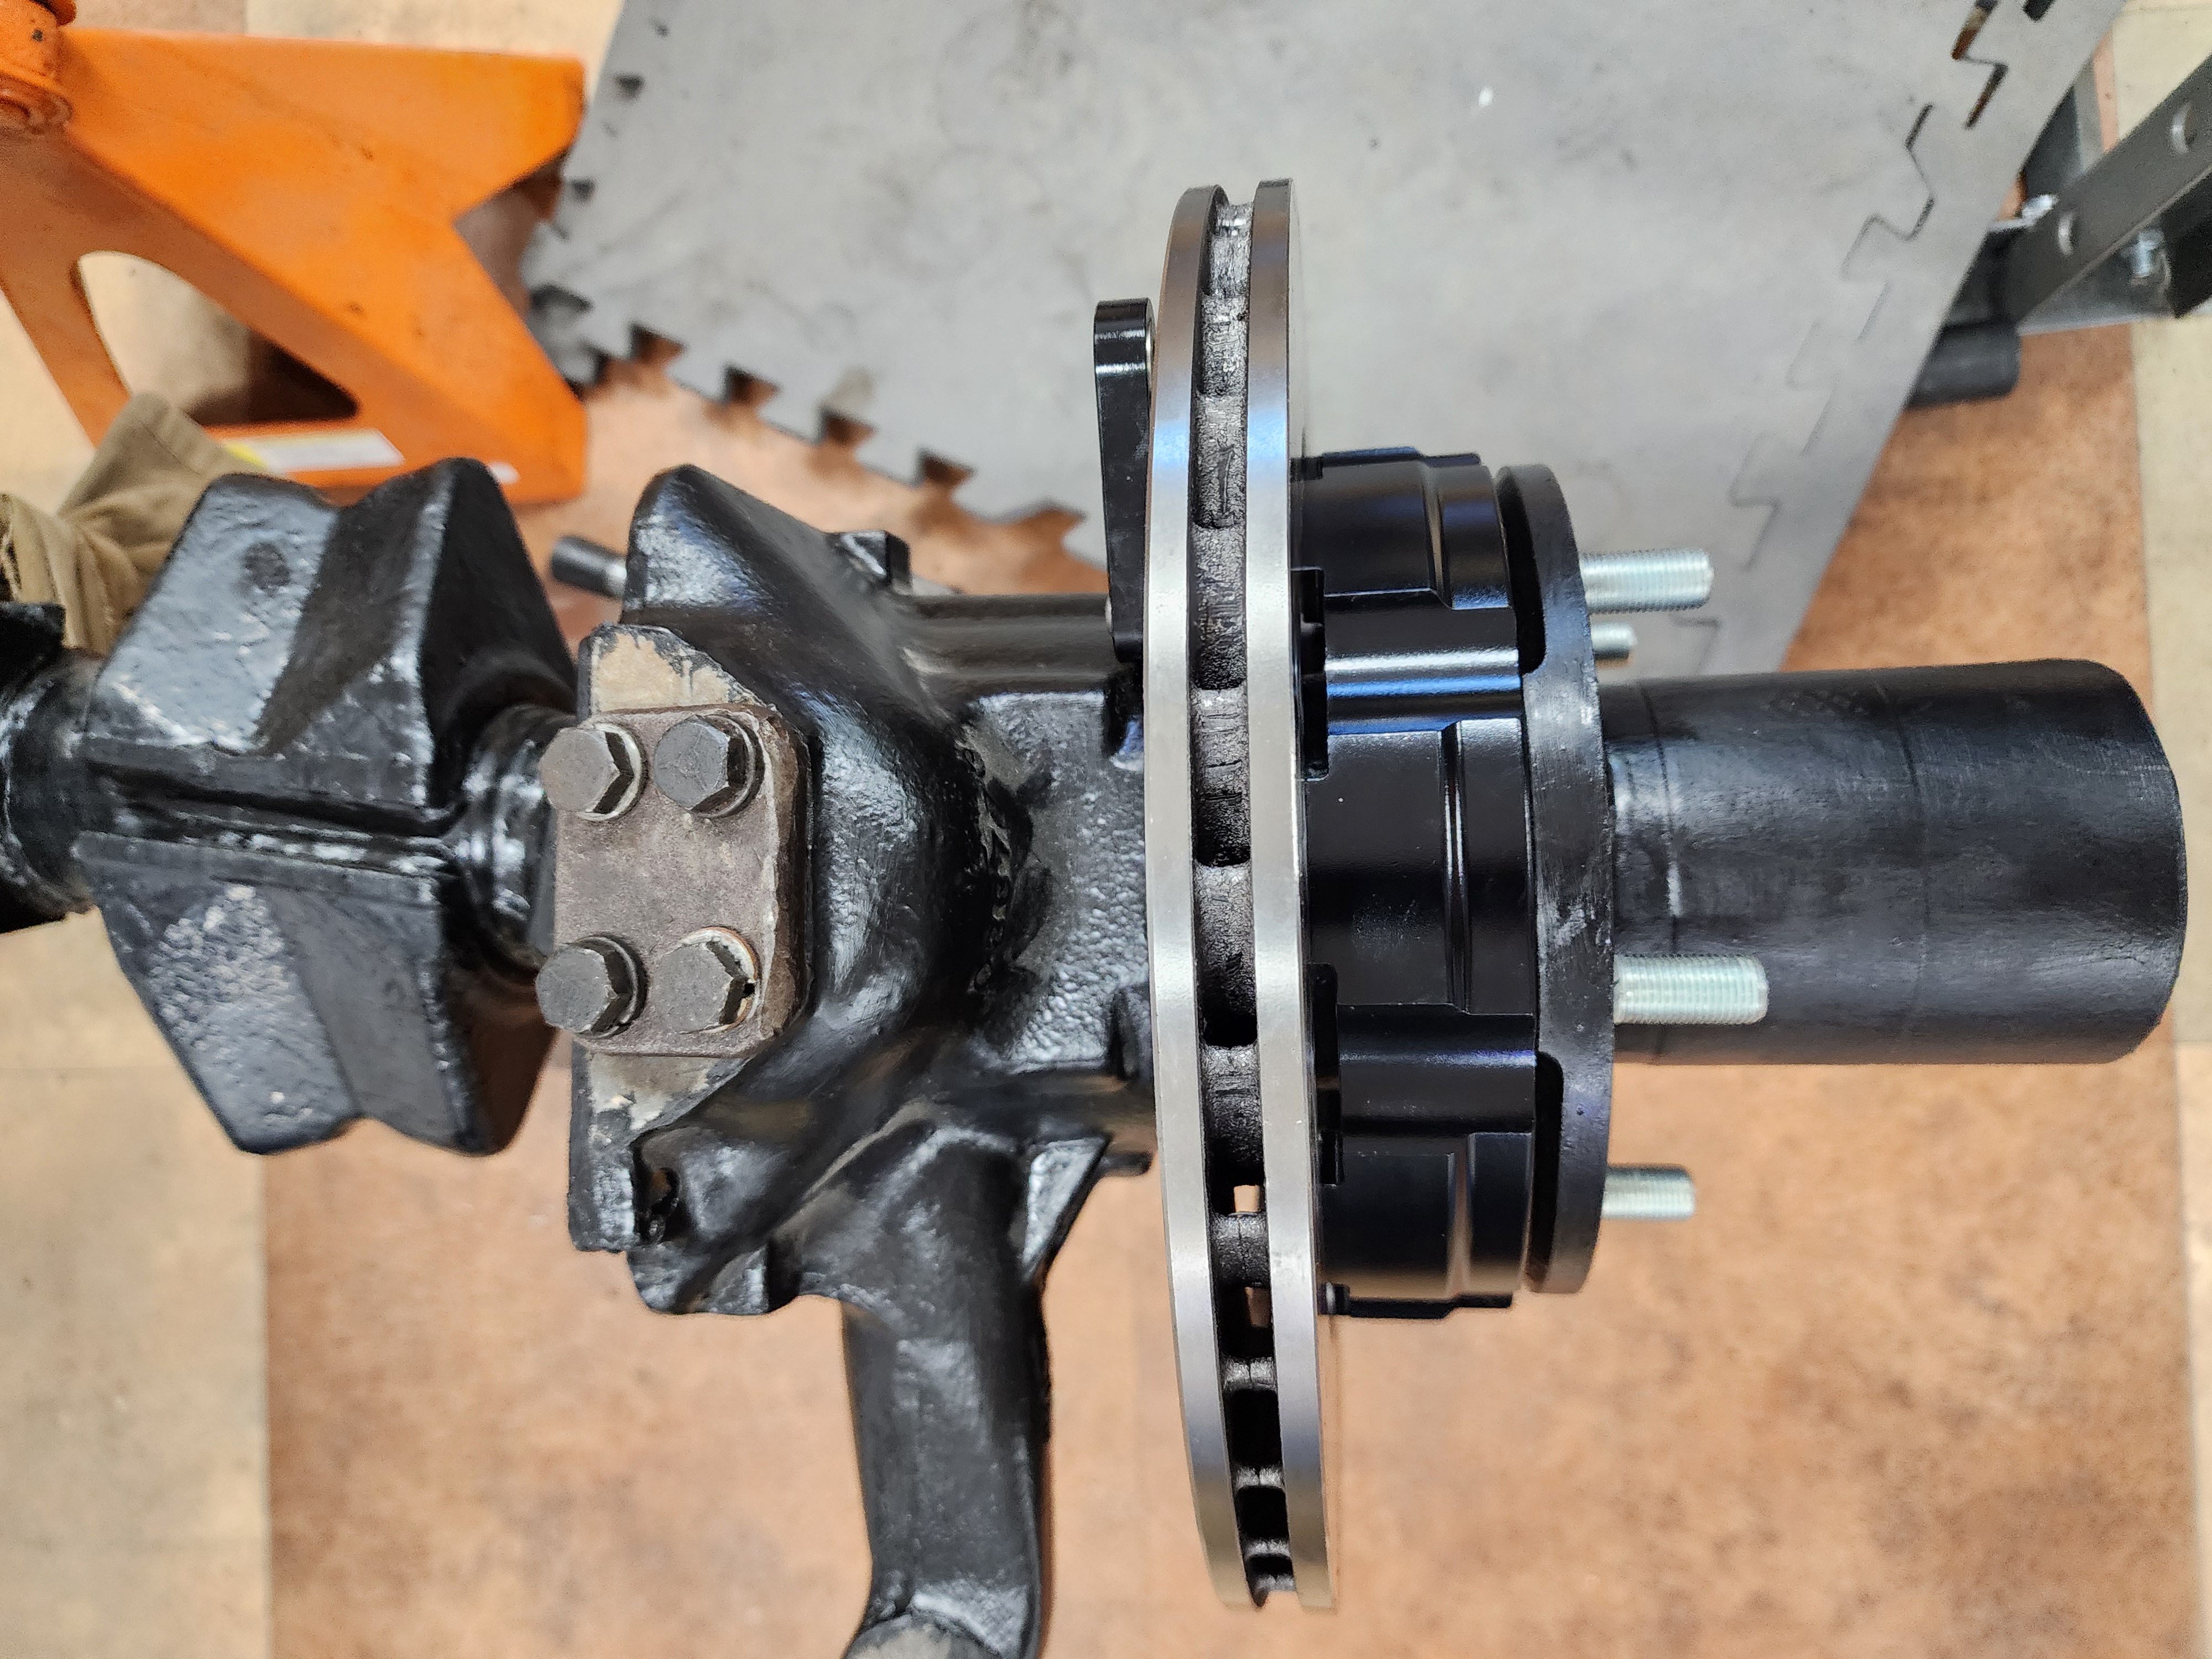
Stay off the brakes
The calipers and pads go last. Frankly, they are easy potatoes. The most difficult bit is that the pad retaining pins don’t fit the holes in the pads well. Well, I have a punch that fixes that.
And voila!
You have a completed Dana 30 axle! I ended up ordering a new cover for the differential because the old one sucked. I’ll install it when it arrives from RockAuto.