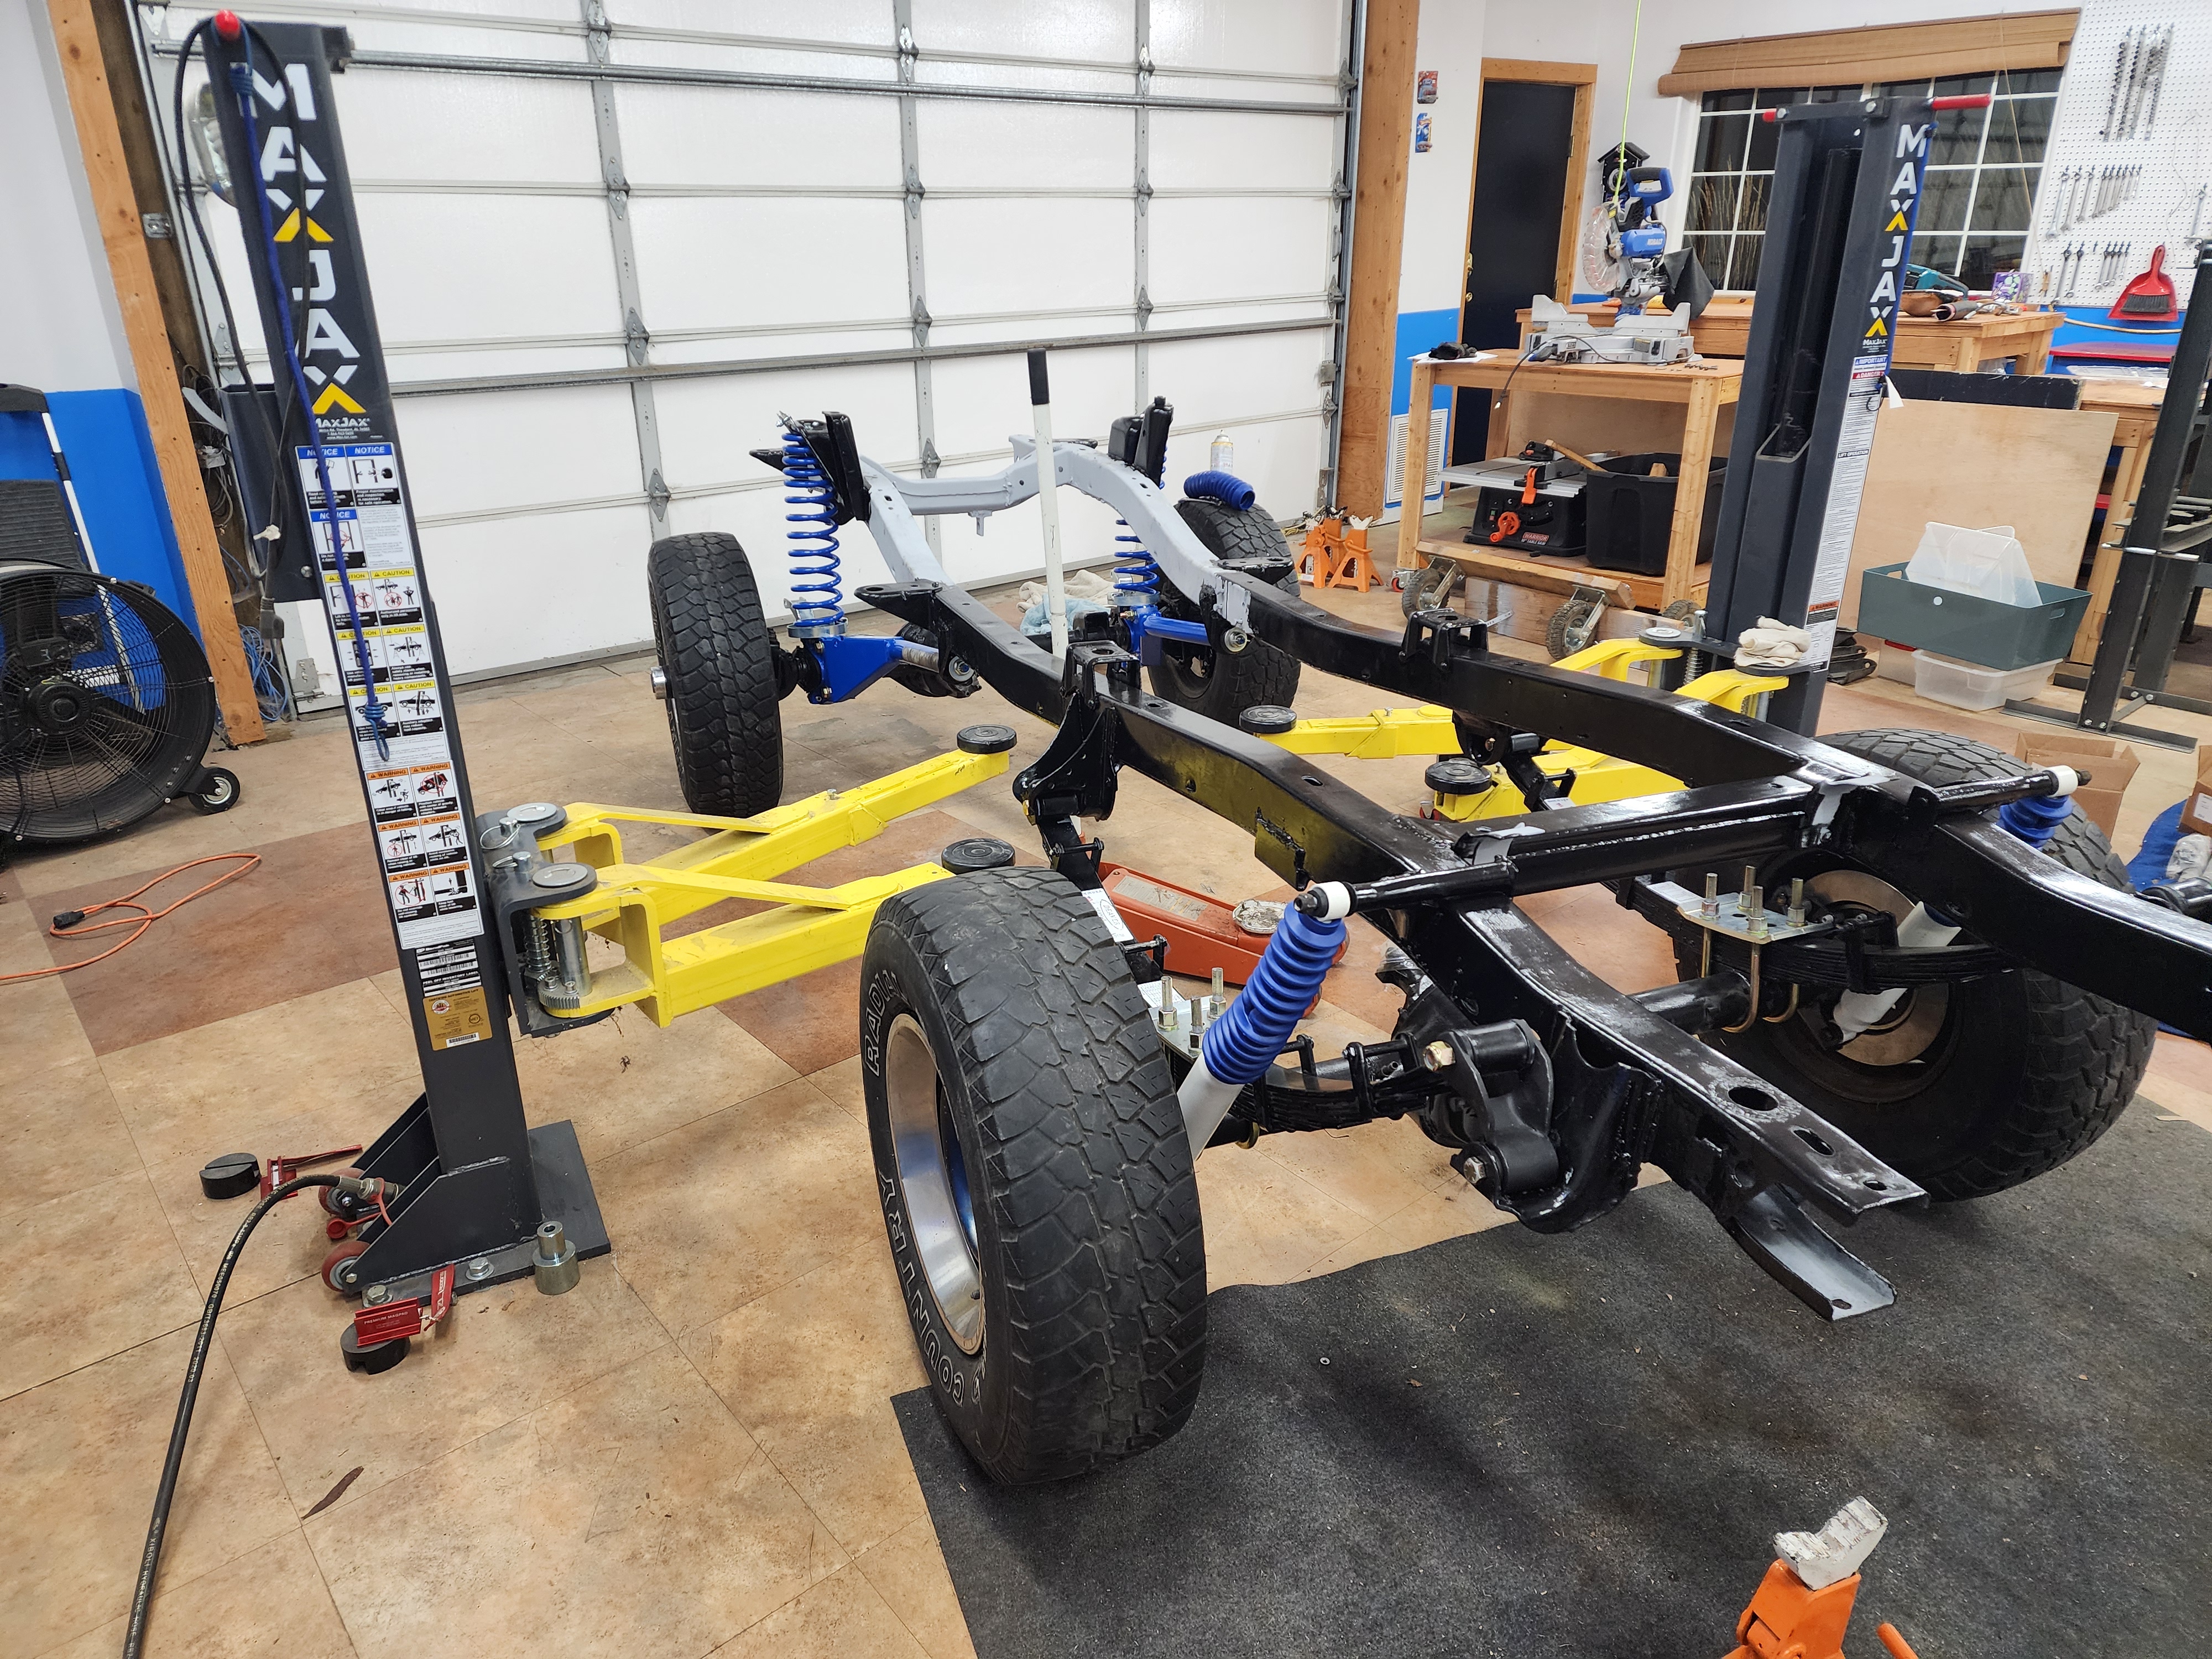
Assembly
This is a pretty big checkpoint. Yes, I’ve rebuilt the axles. That was big too. But this is really the beginning of assembly. Of actually bolting parts together and, at the end, having a product that looks suspiciously like an automobile.
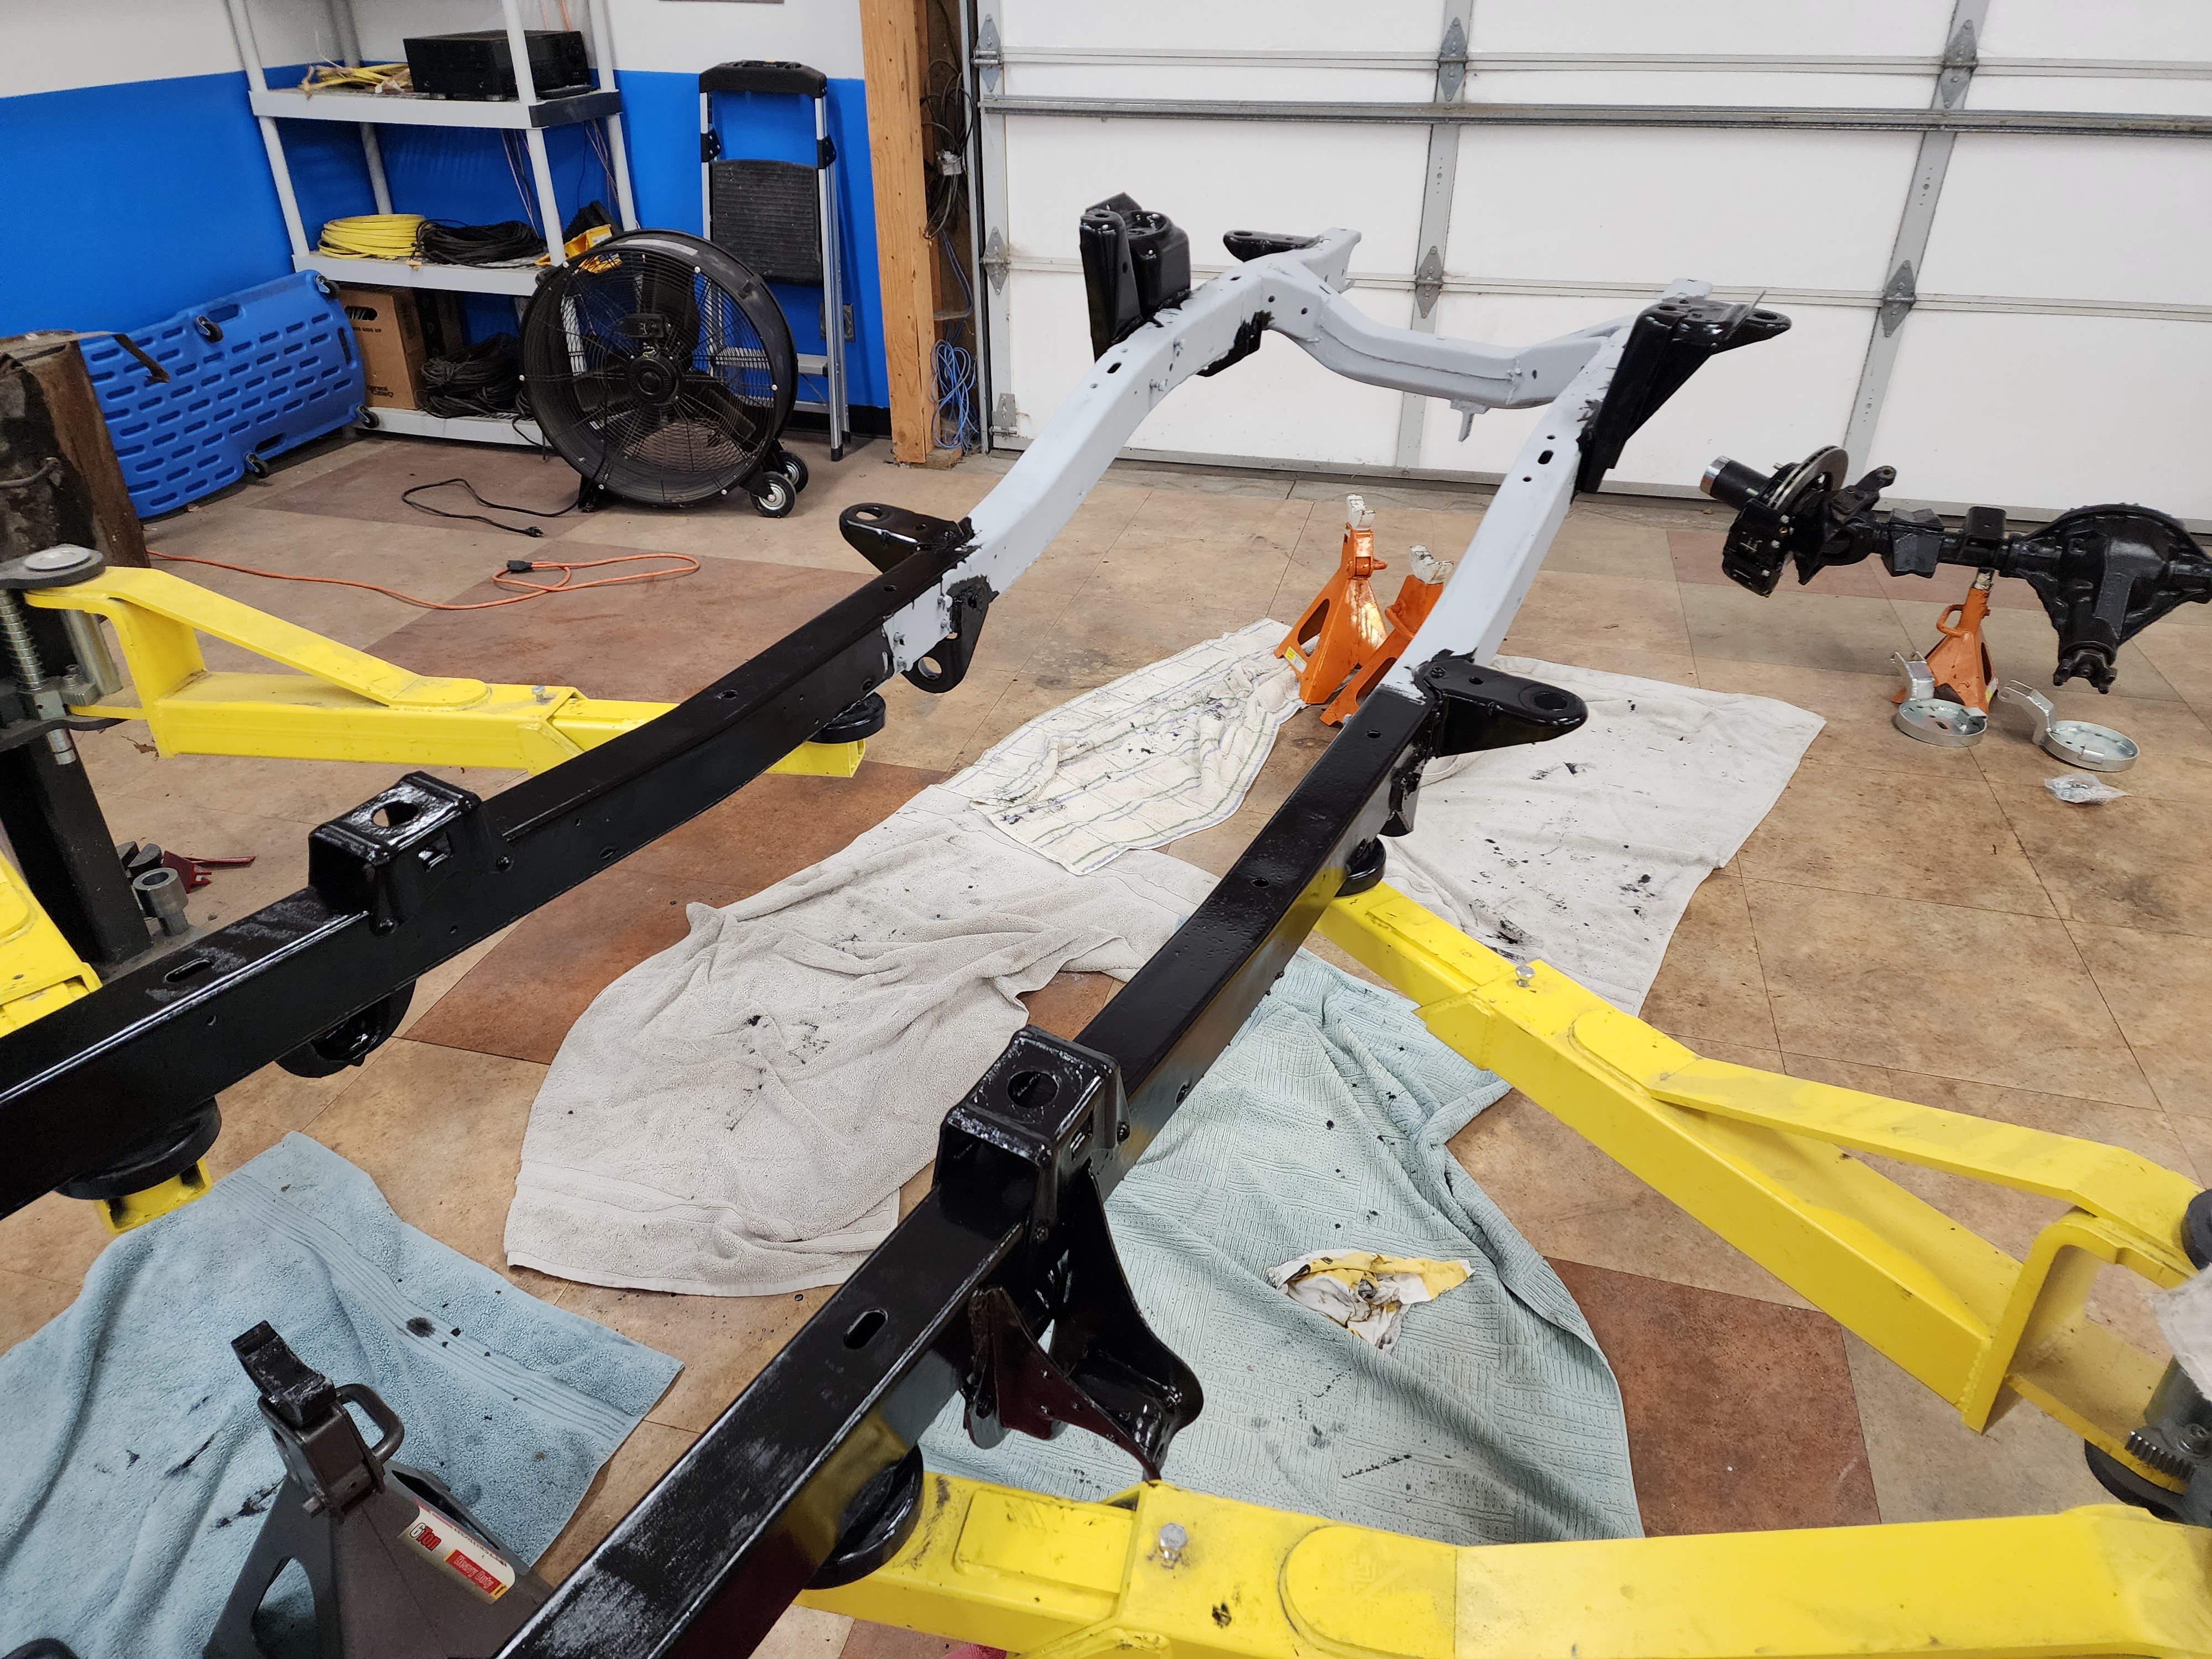
The rear
Assembling the rear suspension and axle was pretty simple, especially since I had already gone through the motions doing a mockup. Really it was a matter of lining holes up and inserting a bolt, then add a nut and torque to spec. I did run into a couple small diversions, though.
First was really just a “Doh!” moment for yours truly. I had jackstands holding up the frame. Trying to get the front eye of the leaf spring inserted into the hanger, I was struggling with the rear set of jackstands constantly being in the way. Lift the frame, shift the stand, over and over. After the third or so time, it dawned on me. Aren’t those two pillars on either side of this project a fraking car lift?! Sigh. Put the arms in place, raise them up. Hey, that works better.
Second was finding out that in order to property torque the nuts for the u-bolts, I was going to need to shorten the u-bolts so I could get a tall socket to reach. Not a big deal, but definitely a “measure twice, cut once” situation so all the u-bolt arms were the same length.
Getting past that, everything was torqued and ready to add the old wheels and tires. The only new step was adding shocks. Finally, this project was sitting properly on rubber and a suspension. At least in the back.
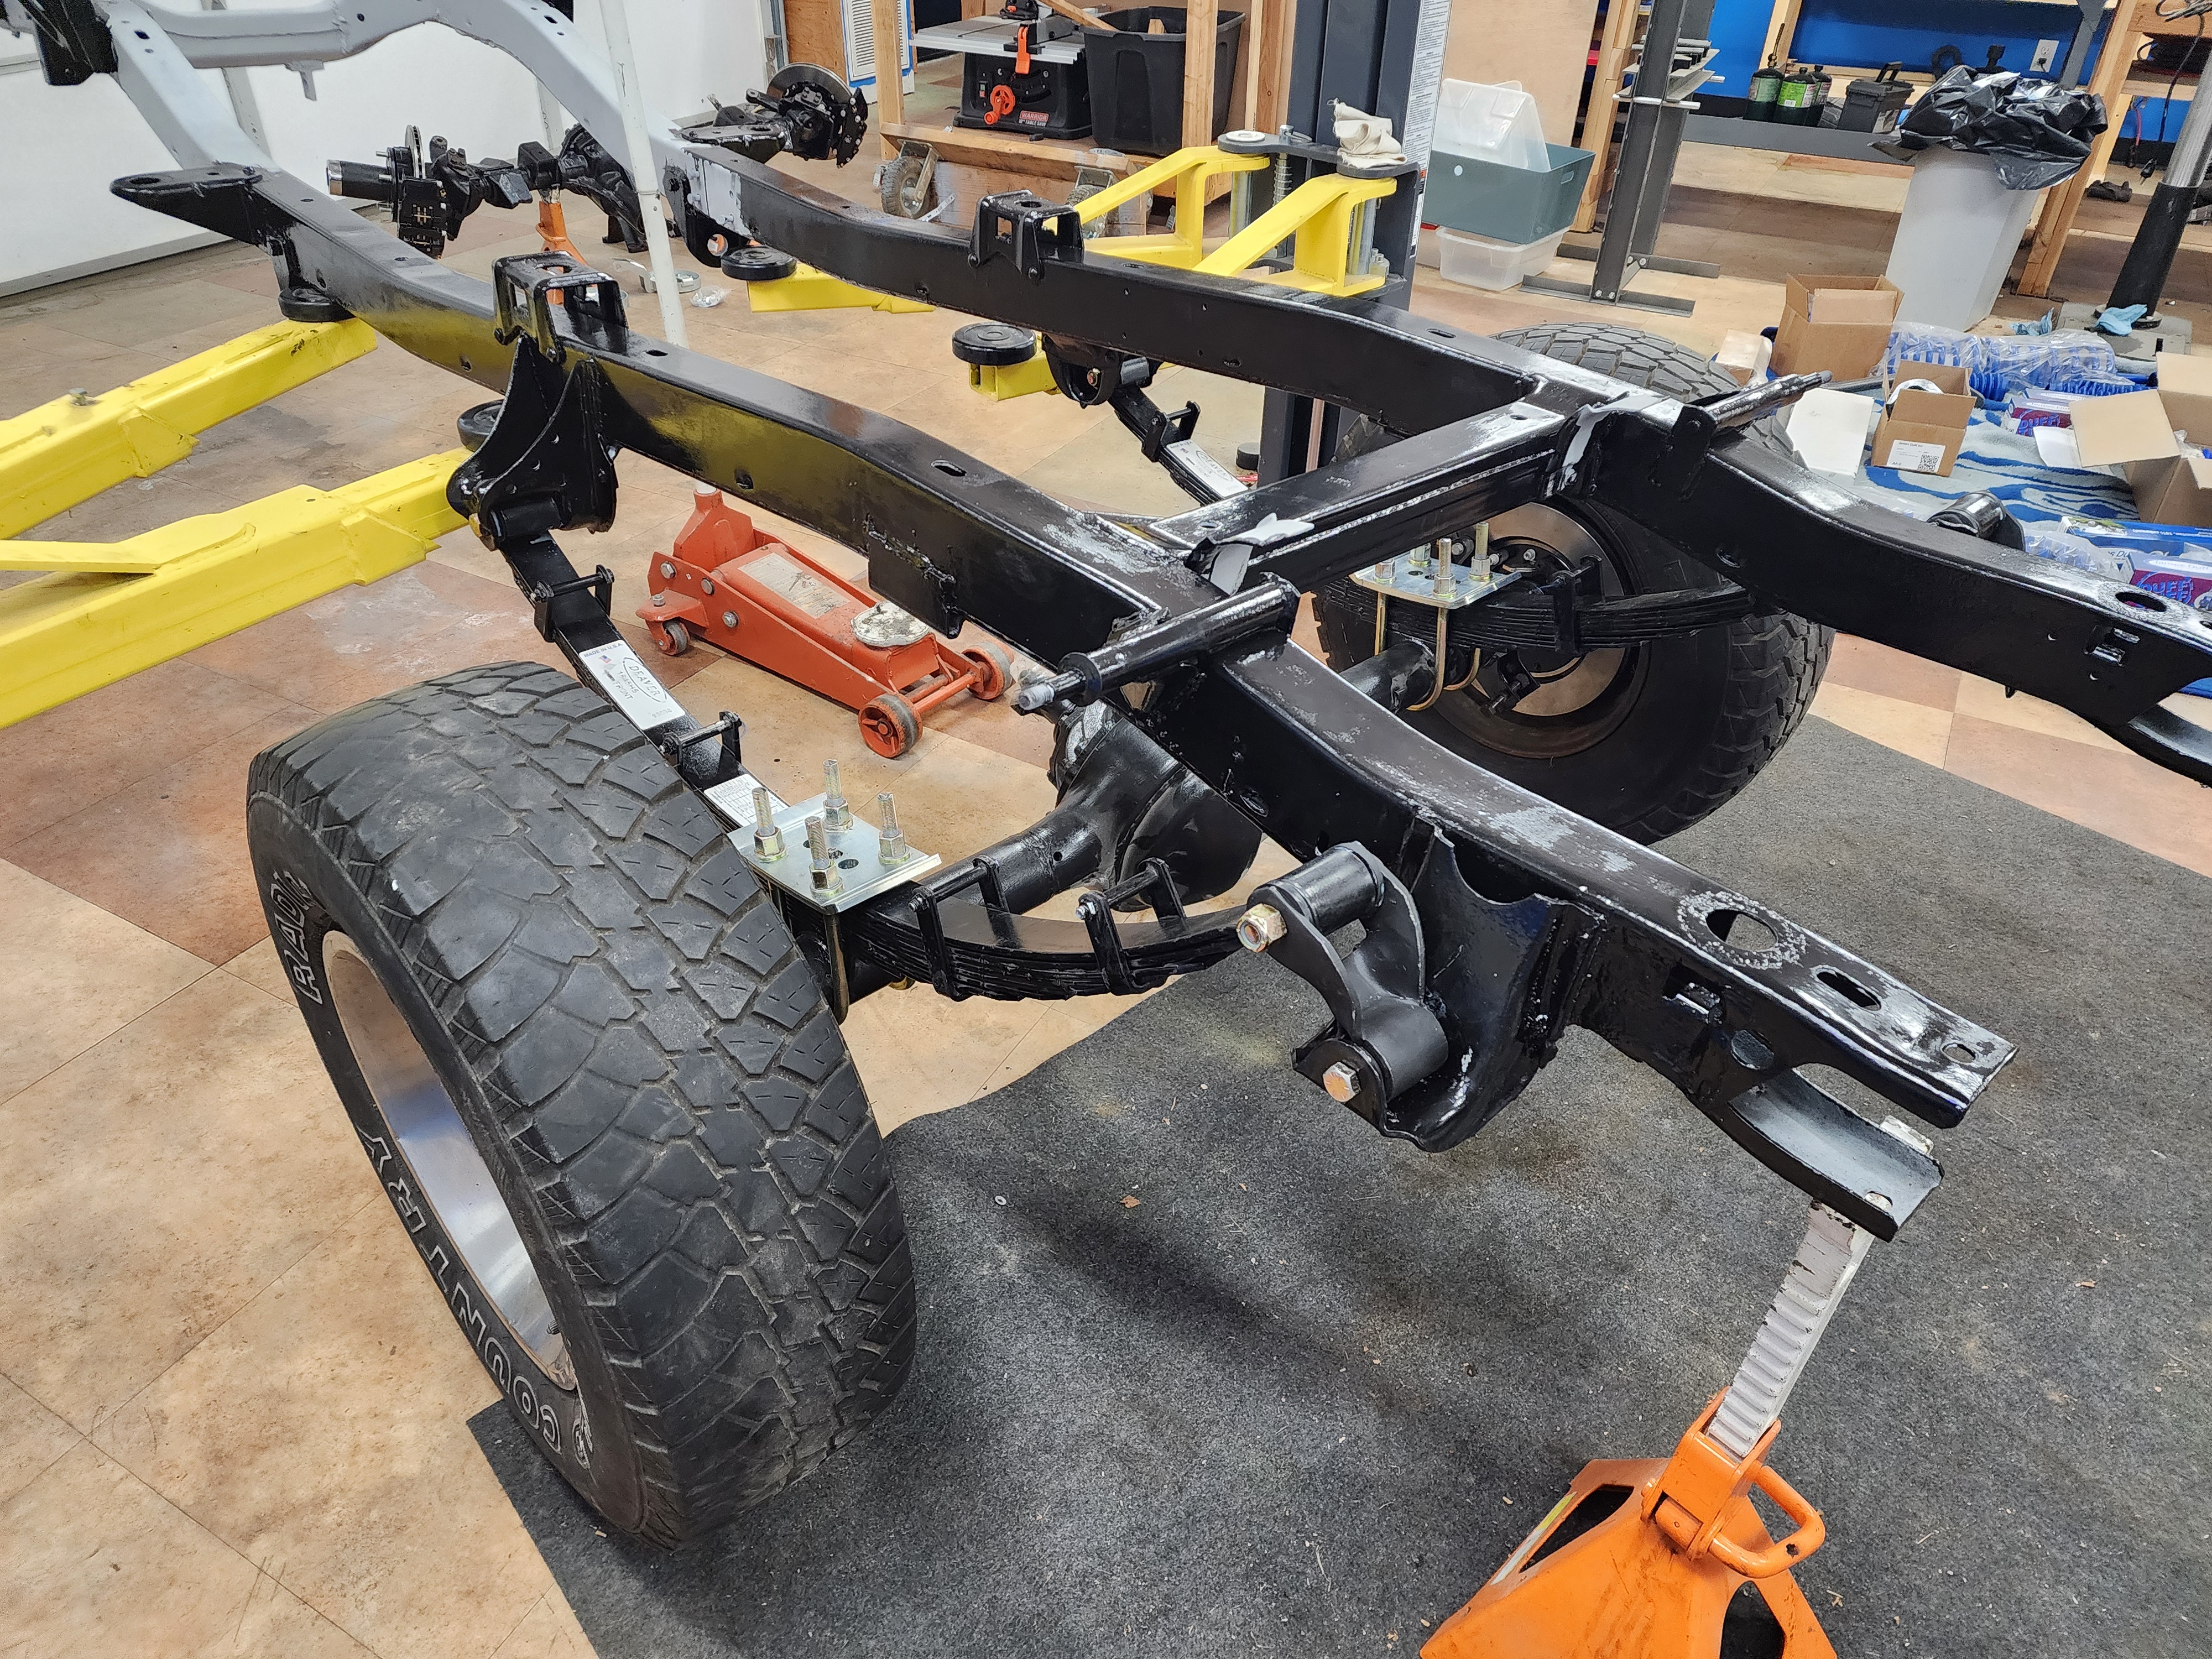
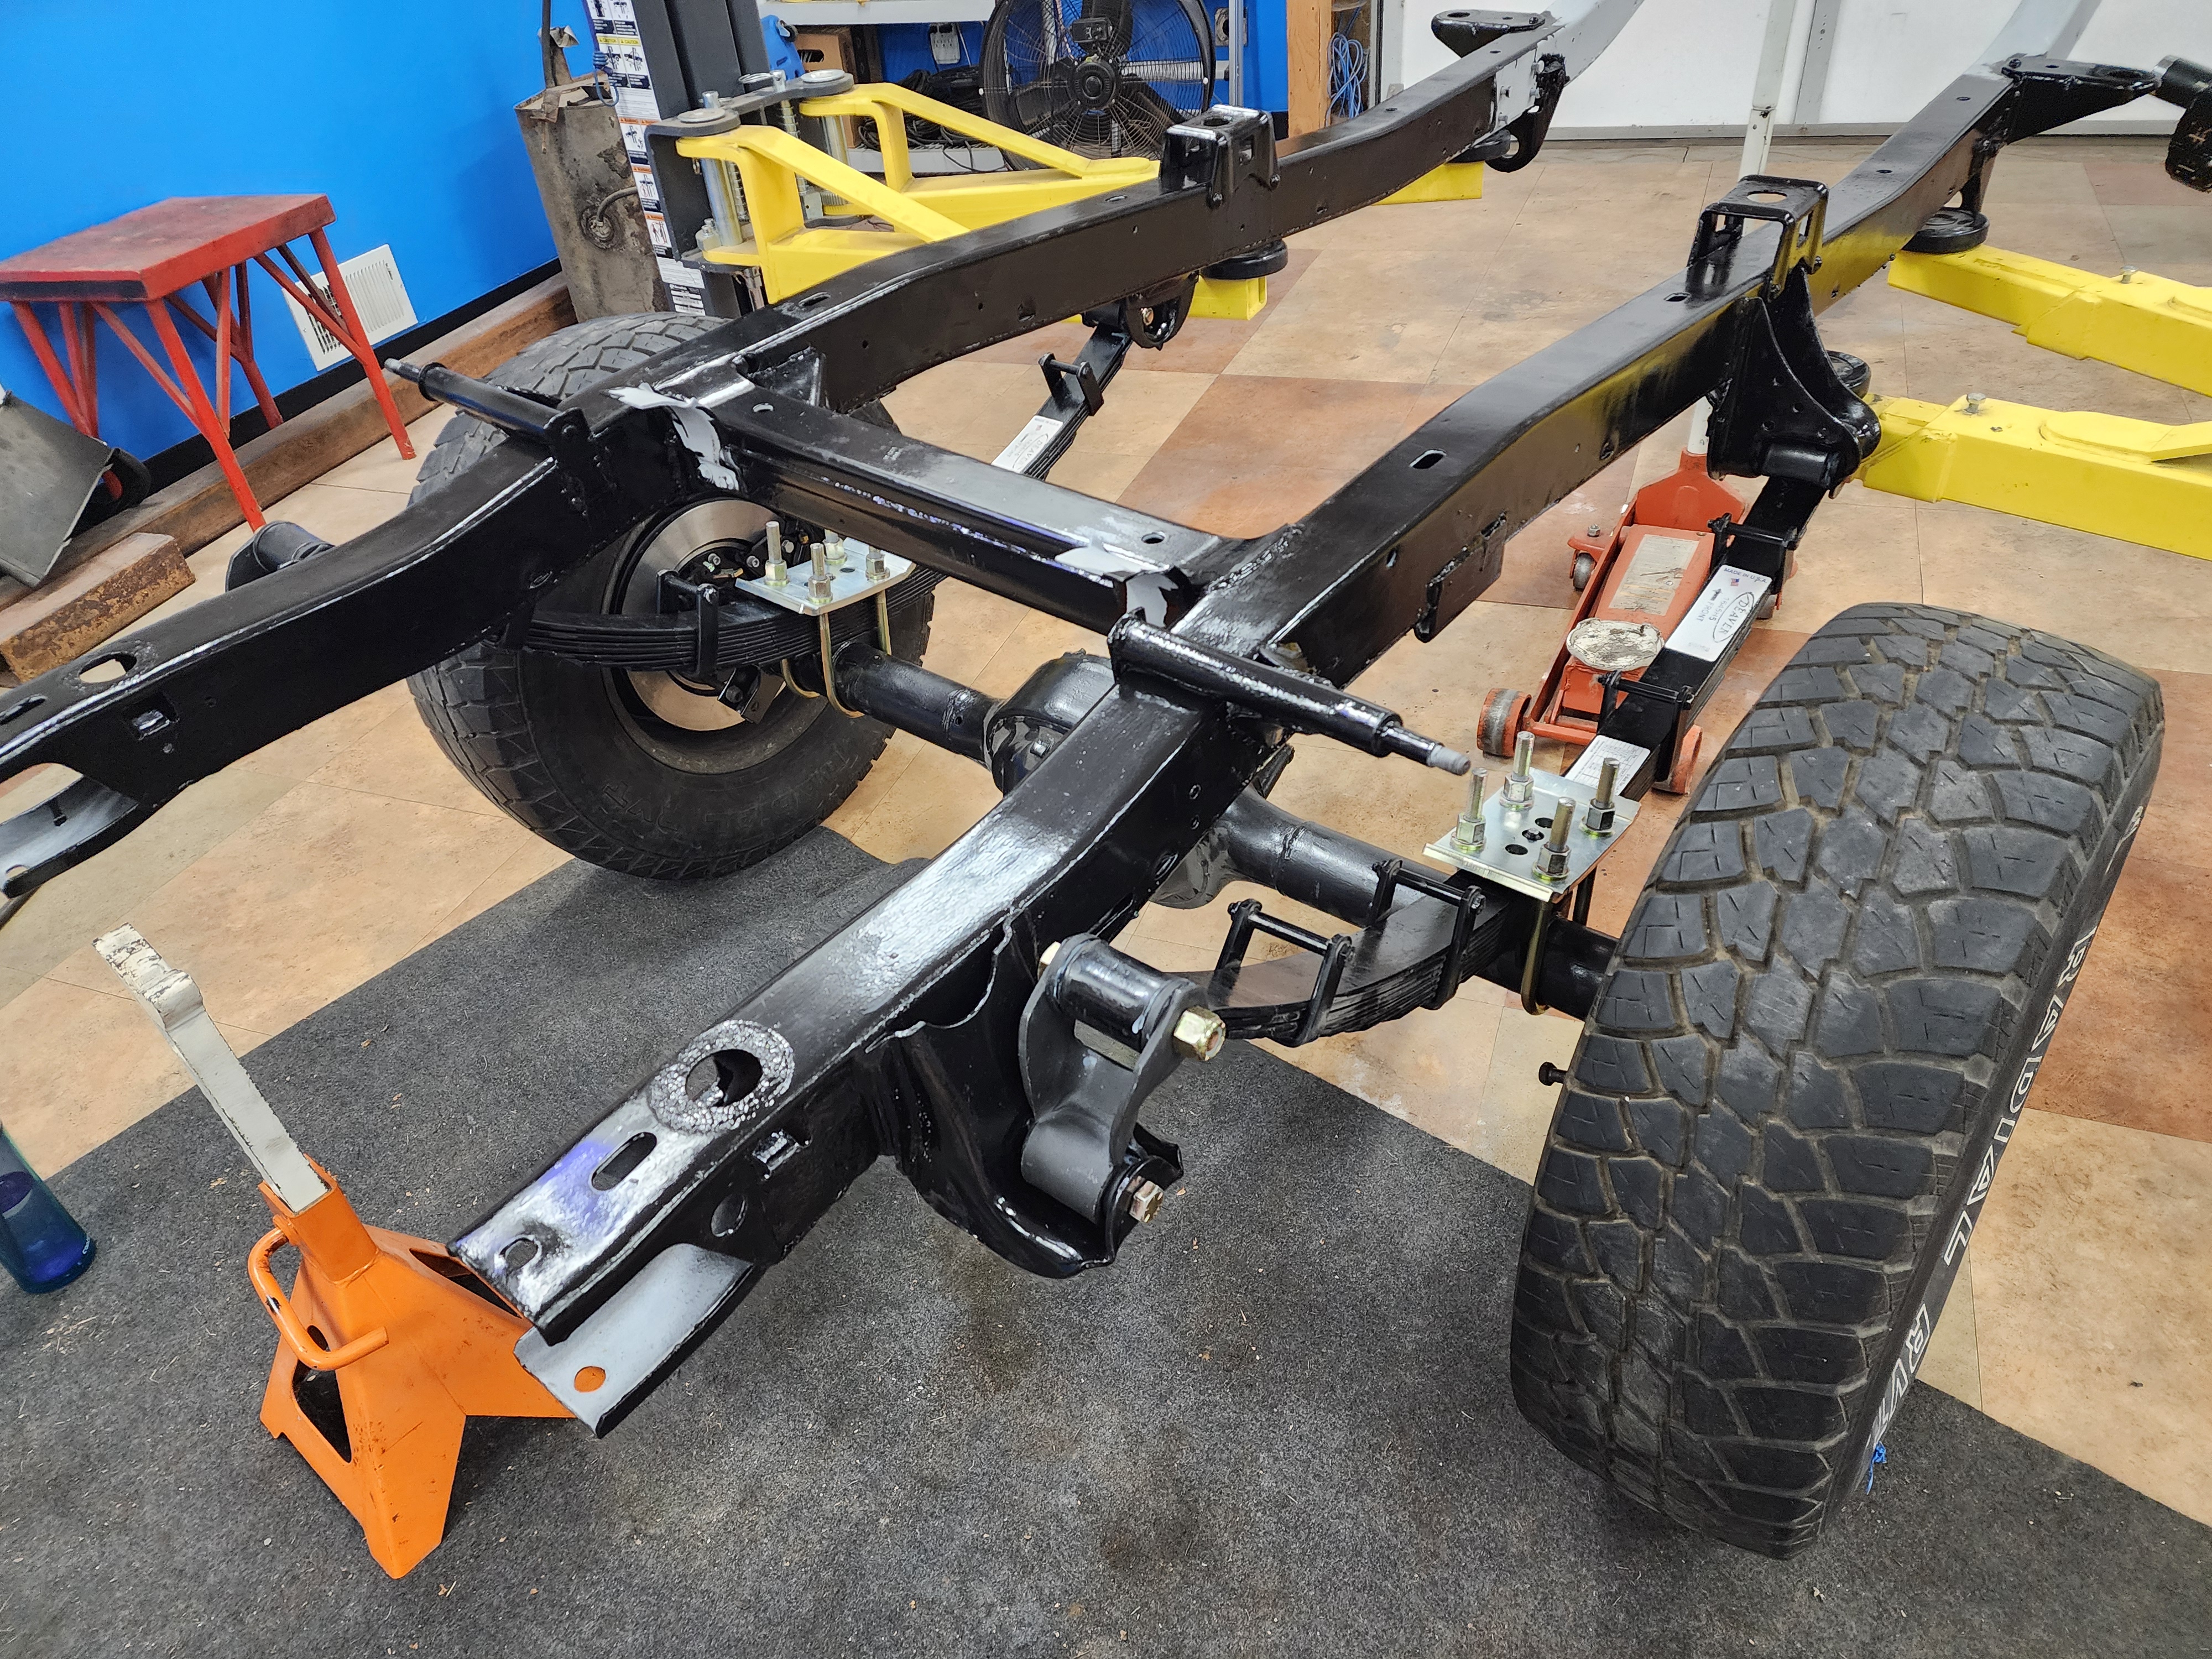
The front
Moving on to the front. Obviously, with the coil springs, the radius arms, and steering this is a bit more complicated of an assembly. And since some of the parts need welding (track bar riser), or have to wait until later (steering and front sway bar), this is a bit of a mockup project as well.
First I wanted to check out this track bar riser. Depending on how it goes on, my thought was that I could weld it first and move on. After reading the instructions, however, I decided it should wait until I was pretty confident with the steering setup. So, it sits with the bolts holding it in place for now.
Next then is the C bushings, with the new James Duff new rear caps clamping against the stock front. Duff supplied longer bolts to make it easier to get things started. Use the long bolts first, then once the two halves were cinched close enough, you could swap out the longer bolts for the real ones and finish tightening. Actually a brilliant plan, props to the James Duff team.
One small hurdle here. Whomever had added the extra front shock mounts welded the lower mount studs to the front C caps. Those studs prevented me from getting the new bolts into the holes. Out comes the fancy new angle grinder. Hurdle…hurdled.
Time for the new radius arms. James Duff has a whole procedure on how to tighten the c caps and radius arms to avoid the dreaded “Bronco lean.” I felt pretty good about my odds after following the steps. Ed. note: don’t go gambling with this person. Finally, I can screw the lower coil buckets on.
Now I get to roll this whole hunk of metal under the frame, which was actually easier then expected. Grab the radius arms and kinda pull and steer it where you want to go. What was unexpectedly difficult was actually mounting the arms to the frame. I had to lower the frame quite a bit more than expected to get the angle correct so the arm could poke though the mount. Even then, the side to side angles were just enough off to cause some headaches getting the bushings to install themselves and get the nuts to thread on. I chalk this up to the frame being 60 years old - some stuff just ain’t gonna line up!
The coil springs ended up being a pretty easy install, after a brief pause to decide which end was up. Once that gets determined, pop ’em in and bolt on the top coil retainer. Now you have a suspension. Bolt on the shocks to complete the package.
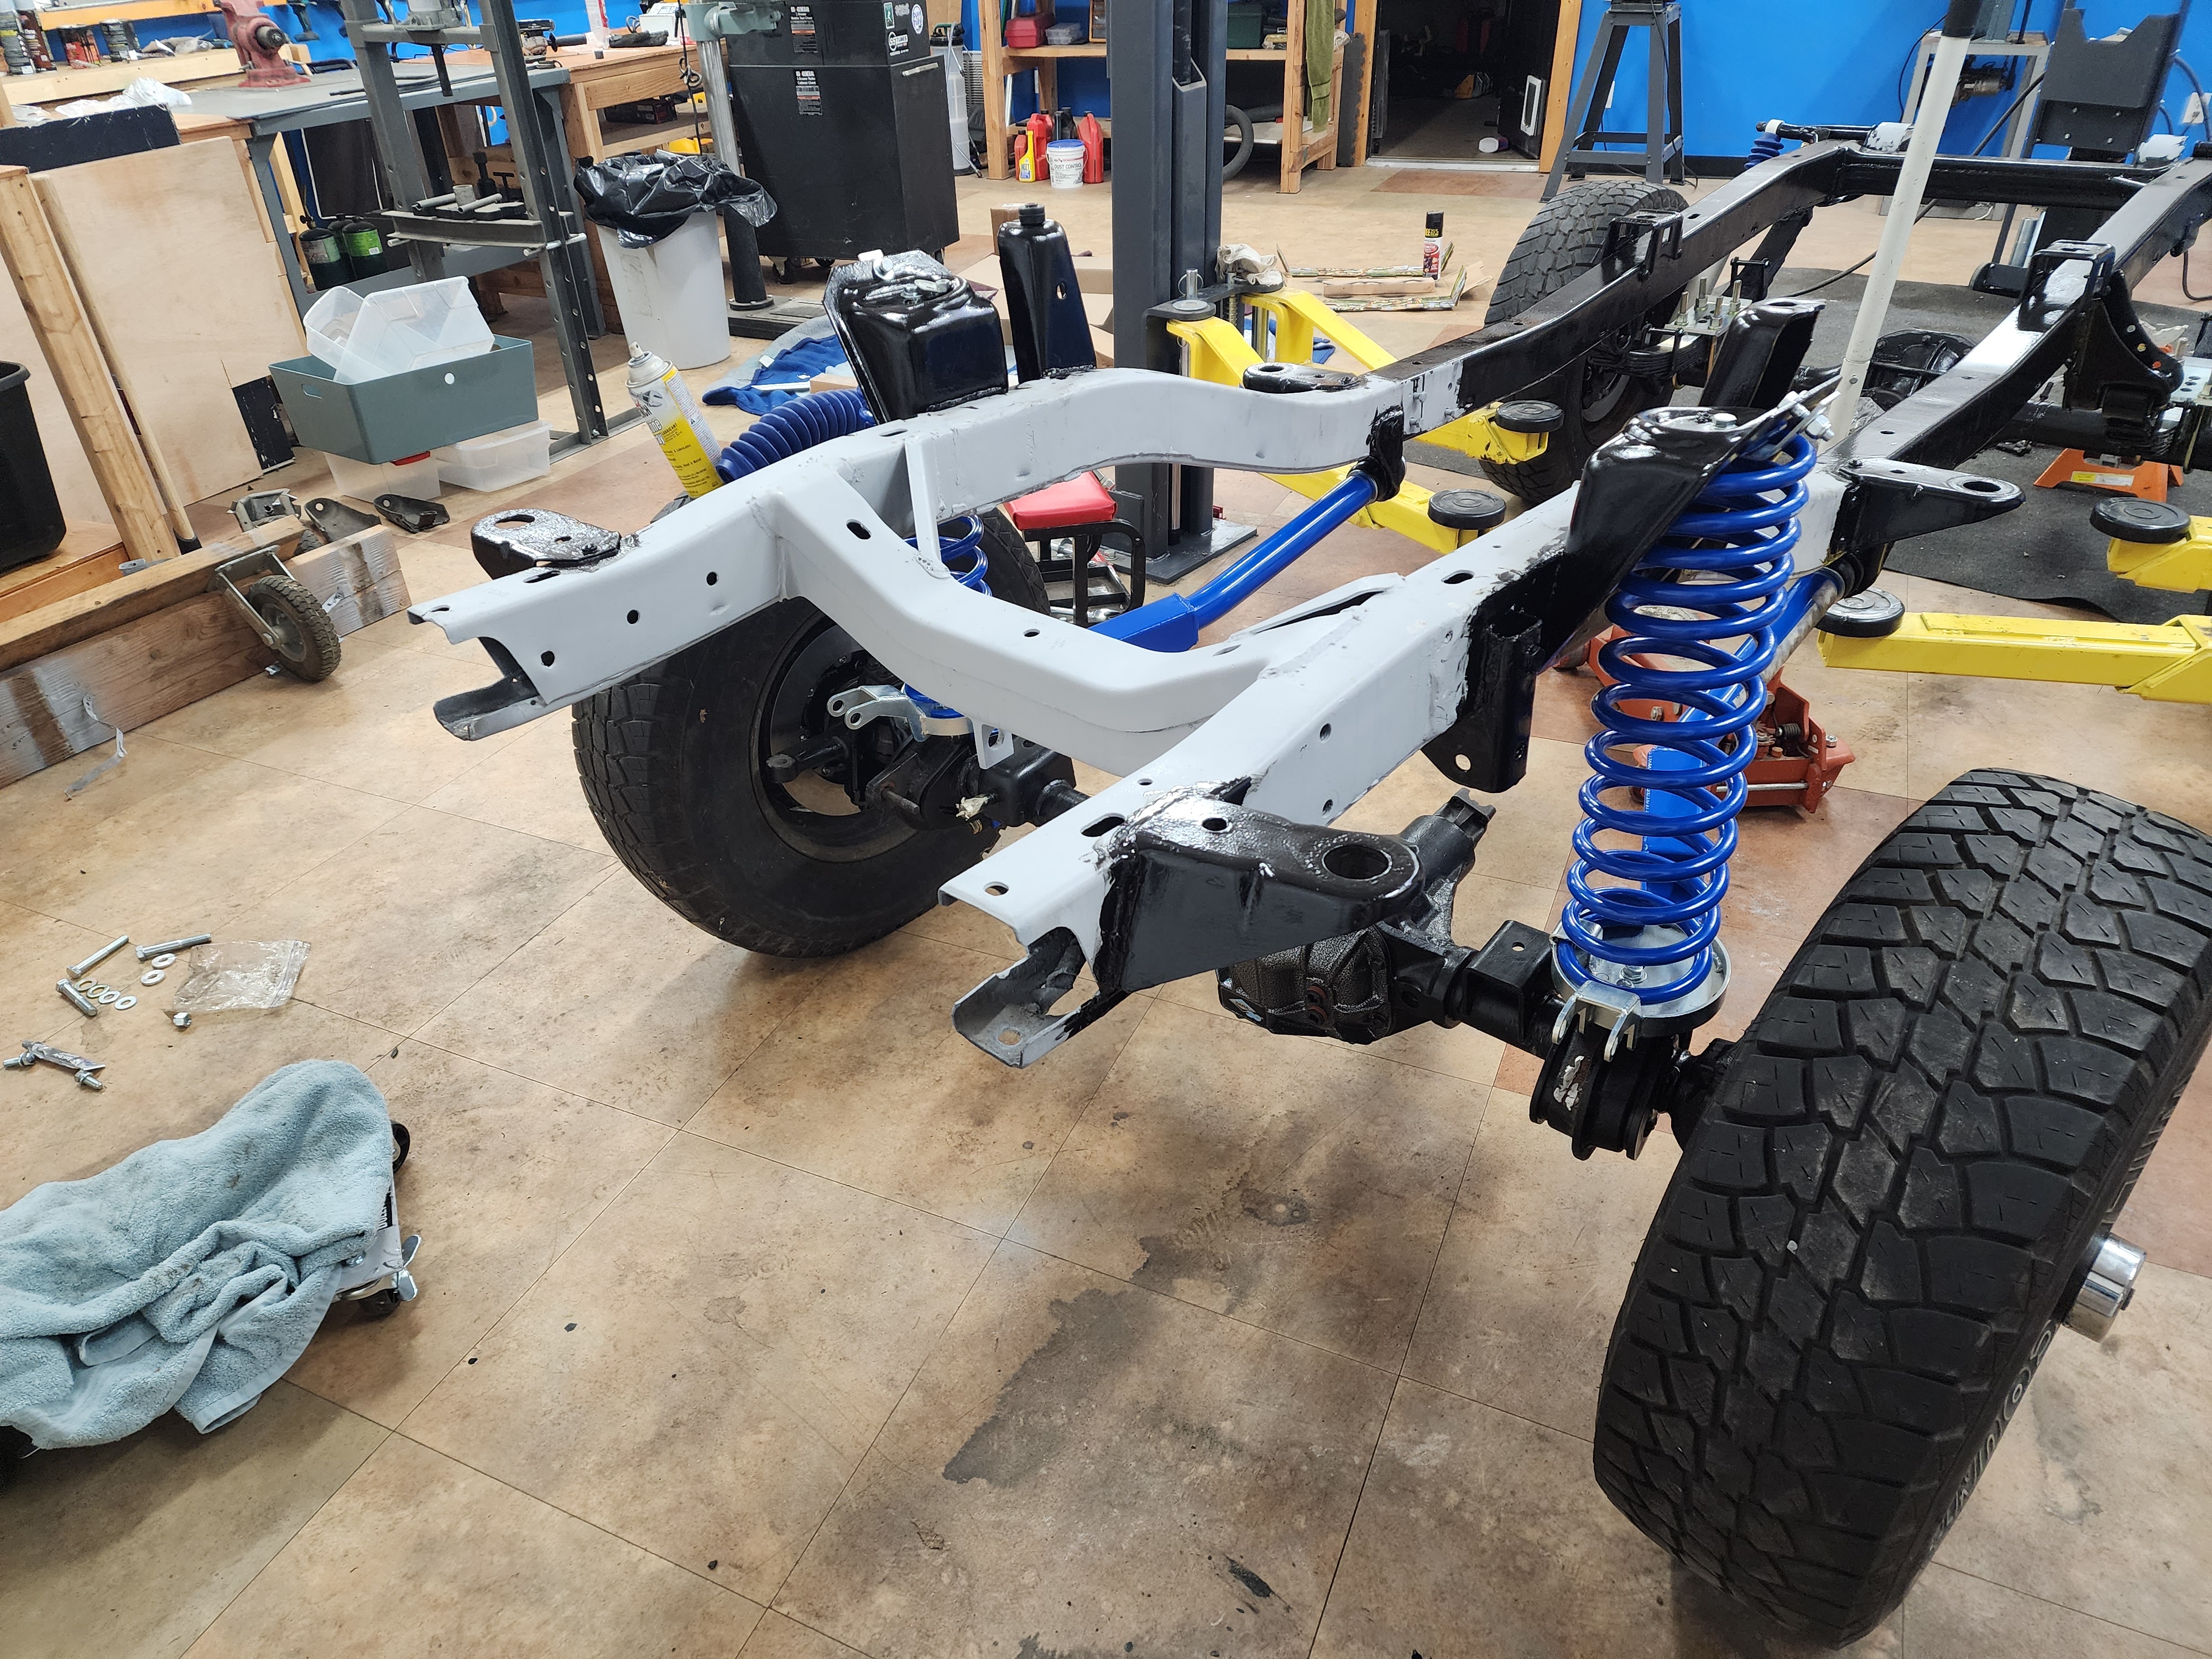
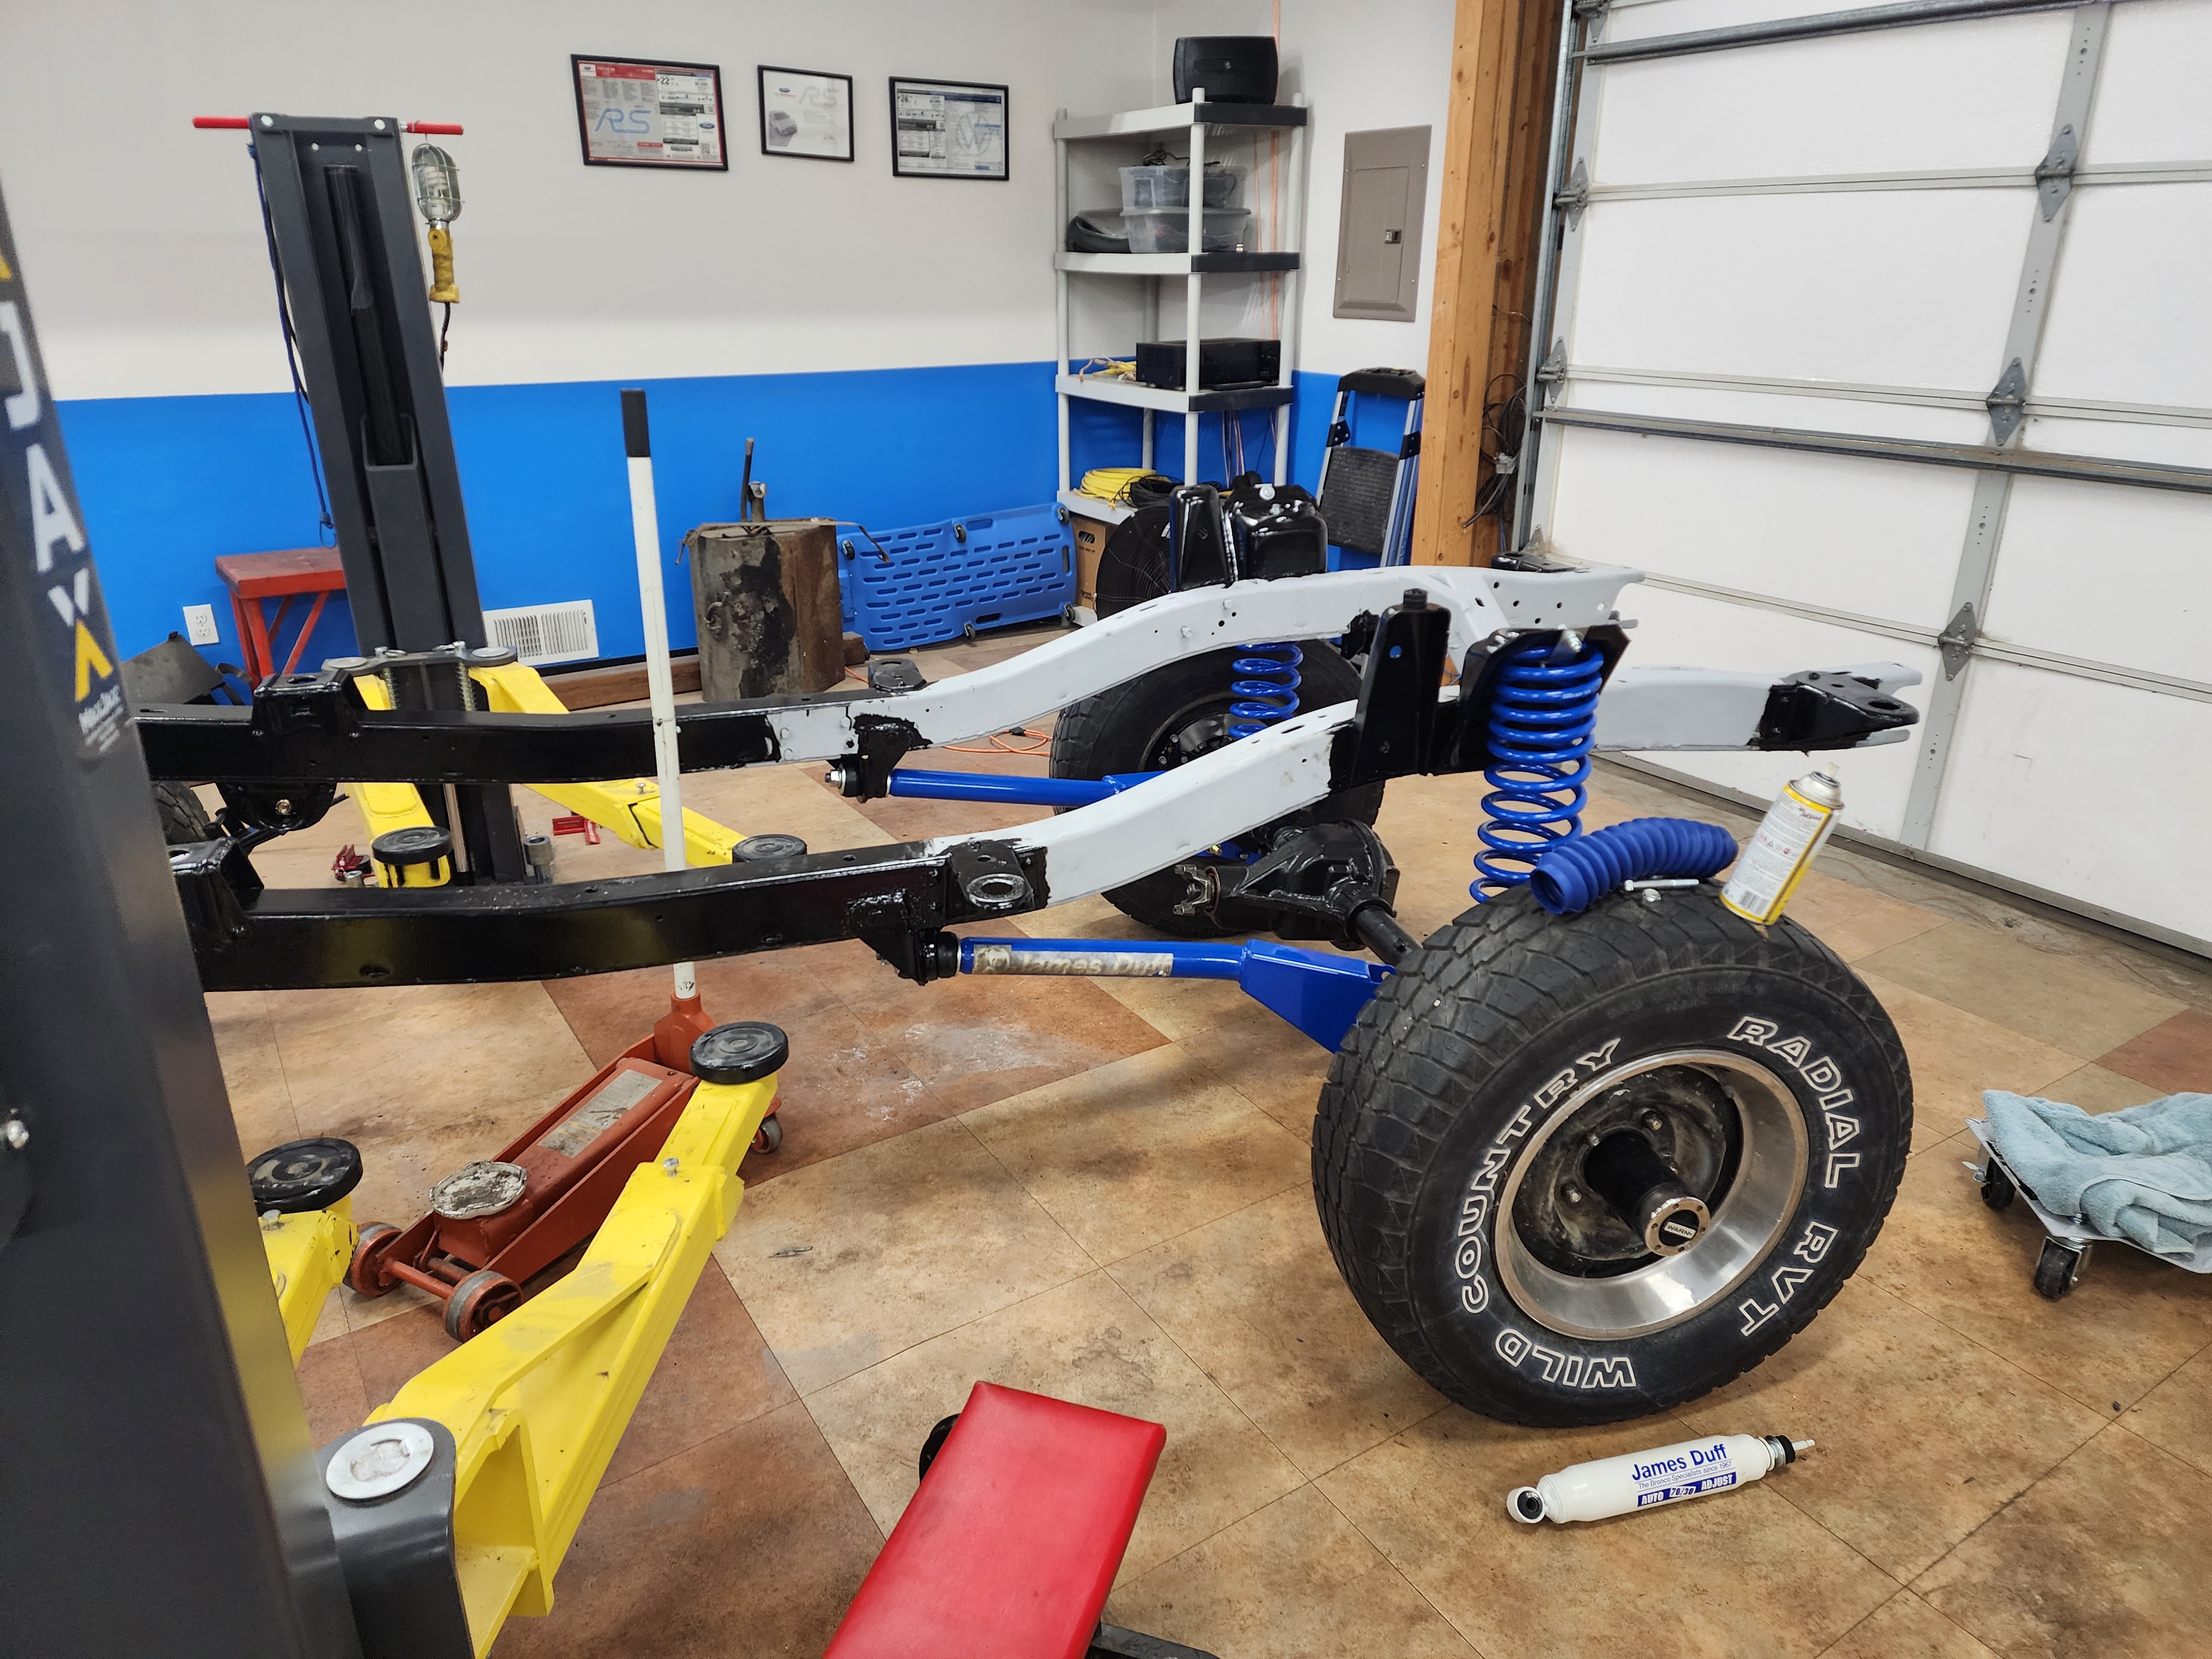
Steering stuff
Here is where it got experimental. Ever done a heim joint steering setup? Me neither. It turned out to be uneventful, however, though a bit slow because I wasn’t terribly confident. Once I got all the pieces screwed together properly, things made a lot more sense. I did have to enlarge the hole for the track bar mount, but that was no problem. The rest was lots of winding (and winding, and winding) threads together all the way.
And again, back to being able to add some temp wheels and tires.
Ladies and gentlemen, we have a roller!!
With a slight lean to the right. Crap.